


- NEW DVD Series – Stone Setting with Bezels
- Tube Set Charm by Kim St. Jean
- Prong Basket Pendant by Kim St. Jean
- NEW DVD Series – Stone Setting with Cold Connections
- New DVD Series – Stone Setting with Wire
- NEW DVD Series: Introduction to Stone Setting by Kim St. Jean
- Featured Tool: Bracelet Bending Plier
- NEW Dvd by Eva Sherman
- Fun, Fast Fold Forming DVD Series
- Double Band Ear Cuff from Alex Simkin
Clamshell Earrings and Pendant

by Judy Ellis, Wirejewelry.com
Wire Jewelry FREE Pattern for June 15th 2016
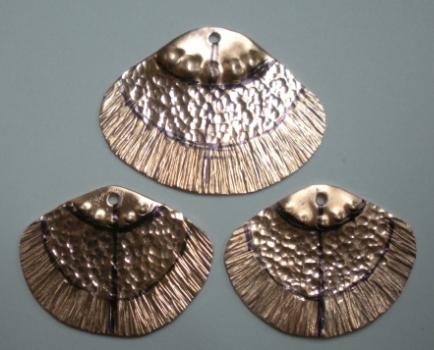
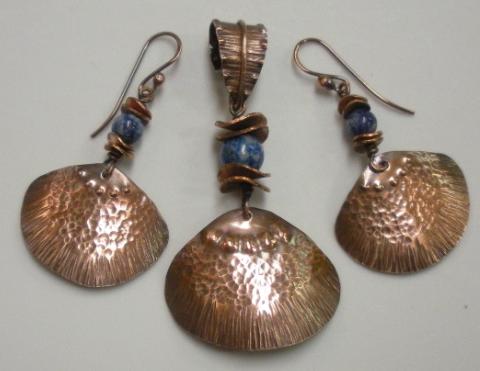
Clamshell Earrings and Pendant
by Judy Larson
I always love it when our contributors send us unique and exciting new tutorials – today is no different! Judy has shared her Clamshell Earrings and Pendant pattern with us. This pattern utilizes Judy’s Left Template Section of her Jewelry Component Templates.
Judy Says:

The step by step tutorials were written assuming that you have some jewelry making experience and follow all safety precautions. The tutorials do not show basic jewelry making skills or how to solder, rivet or use resin
The jewelry component templates in the left section will make three sets of earrings with matching pendants as well as a charm for a bracelet. The directions for the byzantine chain are not included.

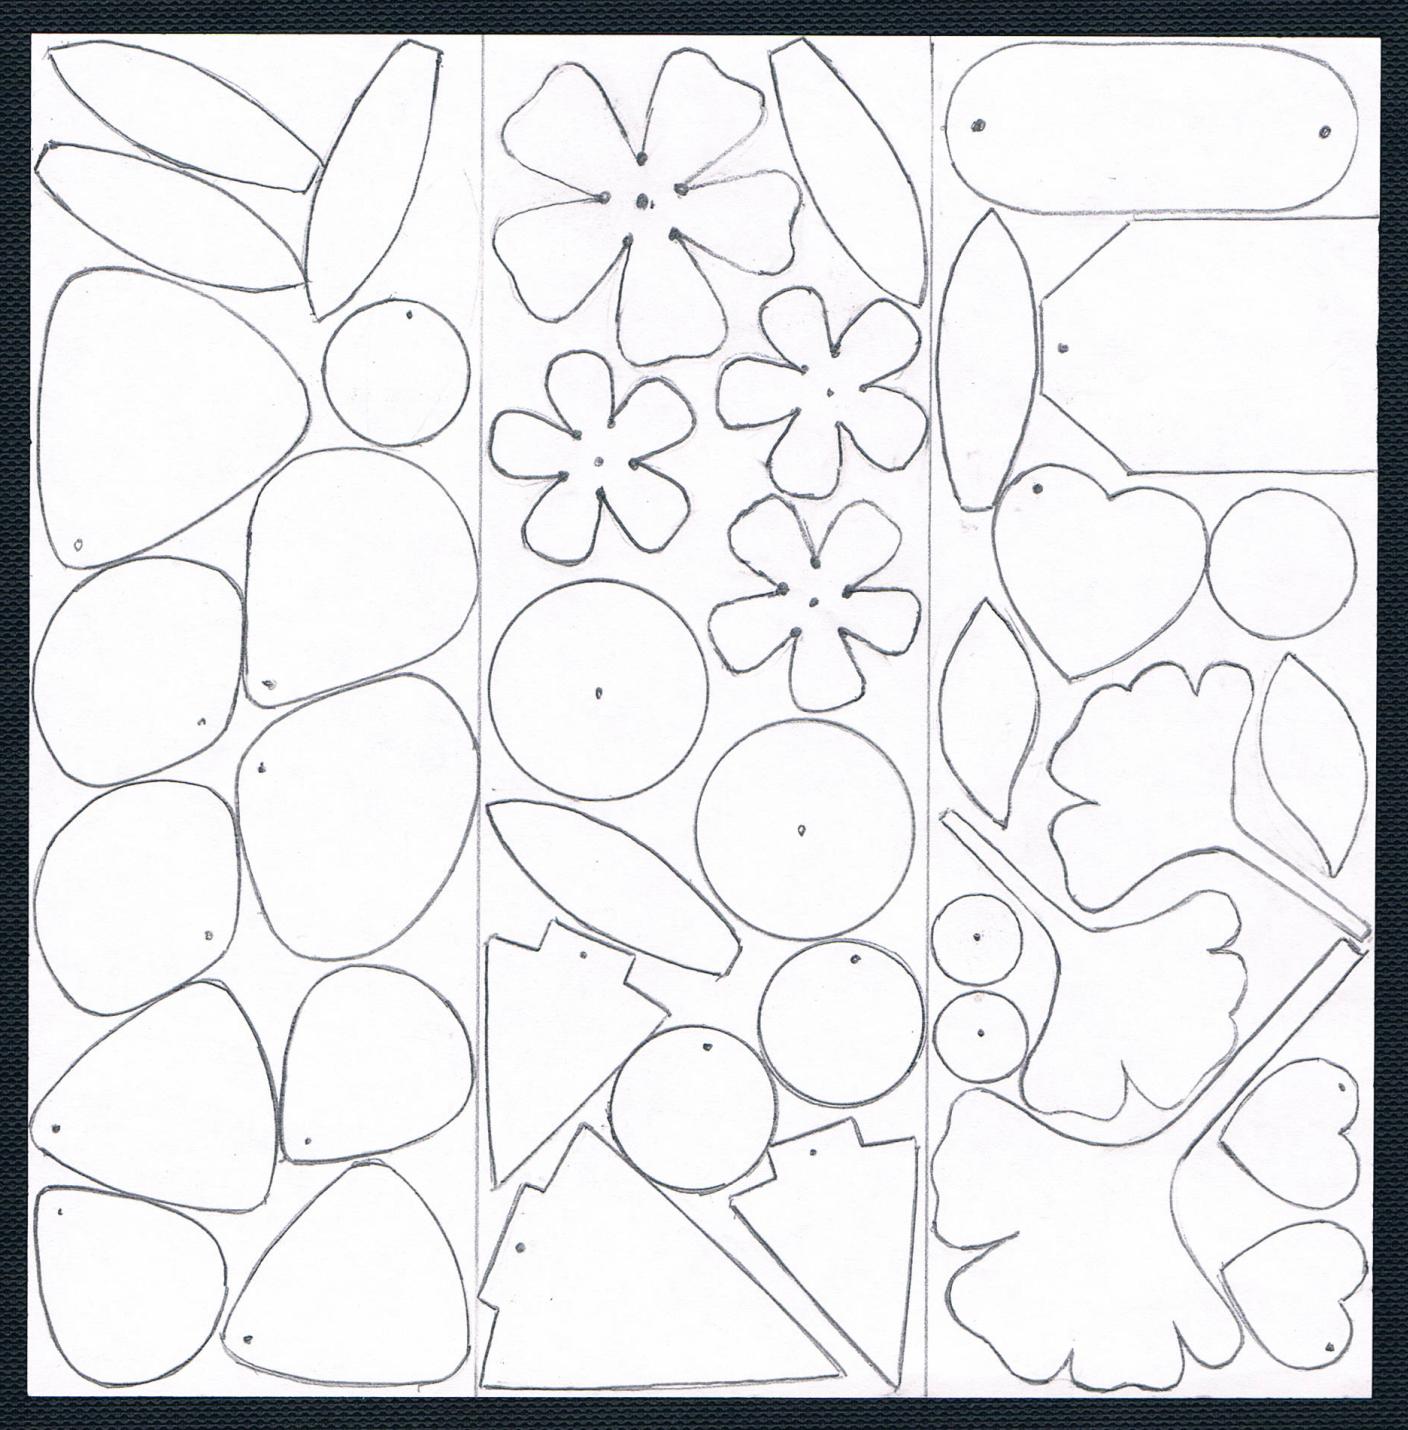
The 6″ sheet metal square used in this series is composed of three 2″X 6″ sections completely filled with jewelry component templates. Twelve jewelry sets or pieces can be made with this template by adding just a few short pieces of pipe, some beads and jewelry findings and 18 and 20 gauge round wire. Let your imagination run wild!
Templates:
Materials:
- 24 gauge sheet metal—use the three shell and one bail templates
- One 8mm round bead
- Two 6mm round beads
- Eight 6mm wavy disks
- Four 10mm wavy disks
- 12″ of 20 gauge round dead soft wire
- Set of purchased ear wires or make your own
- One purchased bail or make your own (shown)
Tools:
- Tools for your preferred method of cutting out sheet metal shapes
- 1mm dimpling pliers
- 3mm dimpling pliers
- Mini TruStrike Sharp Designer Hammer
- Mini TruStrike Embossing Hammer
- Rubber or plastic mallet
- Bench block
- 1.5mm hole punch
- Nylon bracelet bending pliers
- Round, flat and chain nose pliers
- Flush cutter
- File
- Alcohol
- Ultra fine point permanent marker
- Liver of sulfur and 0000 steel wool
Directions:
Step 1: Copy the templates.
Step 2. Transfer the designs to your sheet metal.
Step 3. Cut the shells out using your preferred method for cutting sheet metal.
Step 4. File any sharp edges.
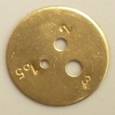
Step 5. Use a 1.5mm hole punch to make holes in the center top of each piece.
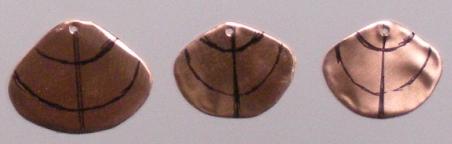
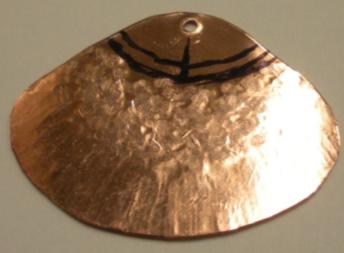
Step 6. Decide on the position of the design elements you want for your pieces. Use an ultra fine point permanent marker to draw these lines on the front of each piece. Mark the center line on the front and back of each piece.
Step 7. Place each shell shape on a bench block. Use the narrower side of the Mini TruStrike Sharp Designer Hammer to texture the outer edge on each shell.
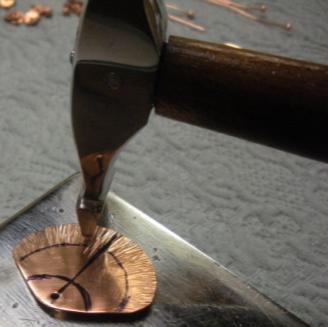
Step 8. Use the larger side of the Mini TruStrike Embossing Hammer to texture the center area on each shell.
Step 9. The metal pieces will no longer be flat after texturing. Place each piece on a bench block and use a rubber or plastic mallet to flatten them.

Your shell pieces should look like these.
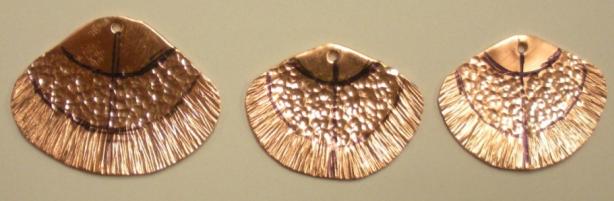
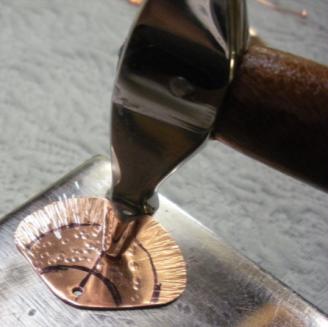
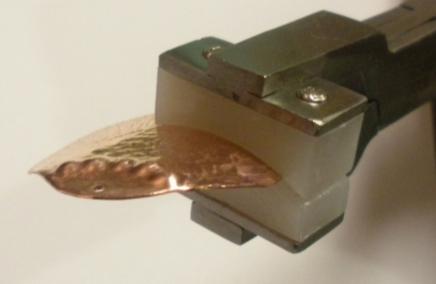
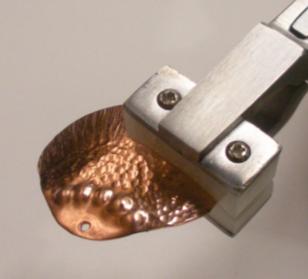
Step 10: The first decorative dimple should be formed right on the center line above the last textured section. You may want to draw lines above the textured section to help with placement. Place the indented cup side of the dimpling pliers on the FRONT side of the metal piece. When you close the jaws of the pliers, the hook portion should be on the center line on the BACK side of the piece. IMPORTANT: Use the 1mm dimpling pliers for the earrings and the 3mm dimpling pliers for the pendant.
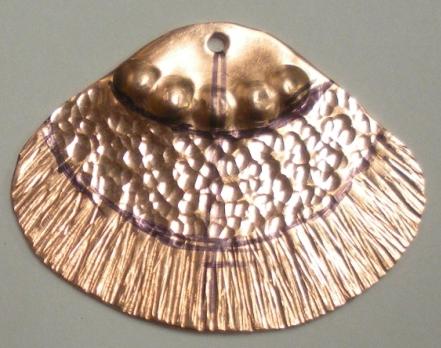
Step 11. To make each succeeding dimple out from center, place the edge of the indented side of the dimpling pliers jaw against the previous dimple. Your shell pieces will now look like those to the left.
Step 12. Remove the marker lines from the pieces with an alcohol soaked pad.
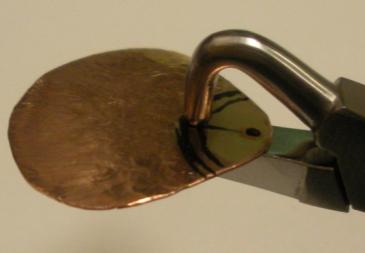
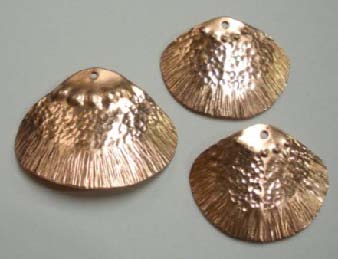
Step 13. Use a nylon bracelet bending pliers to shape each shell. Your shell pieces will now look like these.
Step 14. Cut three 4″ long pieces of 20 gauge wire. 1½” in from one end, make a loop on each wire large enough that the shell component will move and freely swing. Slide the component onto the wire so it hangs in the loop. Finish the wire wrapped loop on each piece.

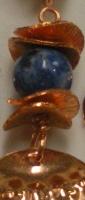
Step 15. 6mm beads and 6mm wavy disks were used for the earrings and an 8mm bead and 10mm wavy disks were used for the pendant. Slide two wavy disks, one bead and two wavy disks onto the wire. Finish with a small wire wrapped loop at the top.

Step 16. Attach ear wires to the earrings and the bail to the pendant.
Step 17. You can leave your pieces bright and shiny or use liver of sulfur to patina your pieces. Buff with 0000 steel wool to bring out the dimension of your texturing.
I hope you’ve enjoyed making this set of earrings and pendant by Judy Larson. If you are interested in creating the Leaf Bail that Judy uses in this pattern – CLICK HERE.
Happy Wrapping!
![]()
Click to Receive Daily Tips by Email
Related Posts


One Comment

Wire Jewelry Ideas
-
 See Yourself as a Creative Thinker-Part IV By Karen Meador, PhD
Wire Jewelry Article for September 27th, 2017 If...
- September 27, 2017
-
 See Yourself as a Creative Thinker-Part III By Karen Meador, PhD
Wire Jewelry Article for September 20th, 2017 If...
- September 20, 2017
-
 See Yourself as a Creative Thinker-Part II By Karen Meador, PhD
Wire Jewelry Article for September 13th, 2017 If you...
- September 13, 2017
-
 See Yourself as a Creative Thinker By Karen Meador PhD
Wire Jewelry Article for September 6th, 2017 This is...
- September 6, 2017

Design & Inspiration
-
 Free Pattern: Smile Cluster Necklace by Karen Meador
by Judy Ellis, Wirejewelry.com Wire Jewelry Pattern for August...
- August 7, 2017
-
 Free Pattern: Long crystal round maille earrings by Kylie Jones
by Judy Ellis, Wirejewelry.com Wire Jewelry Pattern for August...
- August 3, 2017
-
 Free Pattern: Stone Twist Wrap by Karen Meador
by Judy Ellis, Wirejewelry.com Wire Jewelry Pattern for July...
- July 31, 2017
-
 Free Pattern: Floating Bead Earrings By Kimberly Newman
by Judy Ellis, Wirejewelry.com Wire Jewelry Pattern for July...
- July 27, 2017
Featured Tools
-
 Get to Know Your Hand Tools – Tube-Cutting Jig By Helen I. Driggs
by Judy Ellis, Wirejewelry.com Wire Jewelry Tip for August...
- August 4, 2017
-
 Wire Jewelry Video: Using Punch Pliers by Judy Freyer Thompson
by Judy Ellis, Wirejewelry.com Wire Jewelry Tip for August...
- August 2, 2017
-
 Wire Jewelry Video: Aligning a Hole Punch by Judy Freyer Thompson
by Judy Ellis, Wirejewelry.com Wire Jewelry Tip for July...
- July 26, 2017
-
 Get to Know Your Hand Tools – Wire Cutters – Helen I. Driggs
by Judy Ellis, Wirejewelry.com Wire Jewelry Tip for July...
- July 25, 2017
Teresa Dalton
June 15, 2016 at 7:39 pm
Thanks! Great project! I thank you very much for providing these tutorials! All of them are fantastic and challengin. Just exactly what I needed, as always. Please don’t ever discontinue all of the tips and tutorials! For what it is worth, you always have, at least me, watching and enjoying every one of them! Thanks again for all your guidance,inspiration and effort!
Happy regards,
Teresa Dalton