- NEW DVD Series – Stone Setting with Bezels
- Tube Set Charm by Kim St. Jean
- Prong Basket Pendant by Kim St. Jean
- NEW DVD Series – Stone Setting with Cold Connections
- New DVD Series – Stone Setting with Wire
- NEW DVD Series: Introduction to Stone Setting by Kim St. Jean
- Featured Tool: Bracelet Bending Plier
- NEW Dvd by Eva Sherman
- Fun, Fast Fold Forming DVD Series
- Double Band Ear Cuff from Alex Simkin
Making Perfect Wire Loops by Jennifer VanBenschoten
by Judy Ellis, Wirejewelry.com
Wire Jewelry Tip for August 15th, 2017
Making Perfect Wire Loops
by Jennifer VanBenschoten
If you love to make bead and wire chains but don’t happen to have one of those fancy looping pliers handy, don’t fret: you can learn how to effortlessly make perfect wire loops (almost) every time! All you need are a couple of pairs of pliers, a flush cutter, and a little bit of time to practice.
Making wire loops is a necessary and handy skill to have if you run out of eye pins or enjoy making bead and wire chains.
I prefer to make my loops with a pair of combination pliers. This wire jewelry making tool has one jaw that is round like a pair of round nose pliers, and other flat and pointed like a pair of chain nose pliers. When I’m making a lot of beaded chain components, I can work quickly and easily without having to pick up and put down different pairs of pliers between each step.
If you don’t have a pair of combination pliers, you can use a pair of round nose pliers and a pair of chain nose pliers.
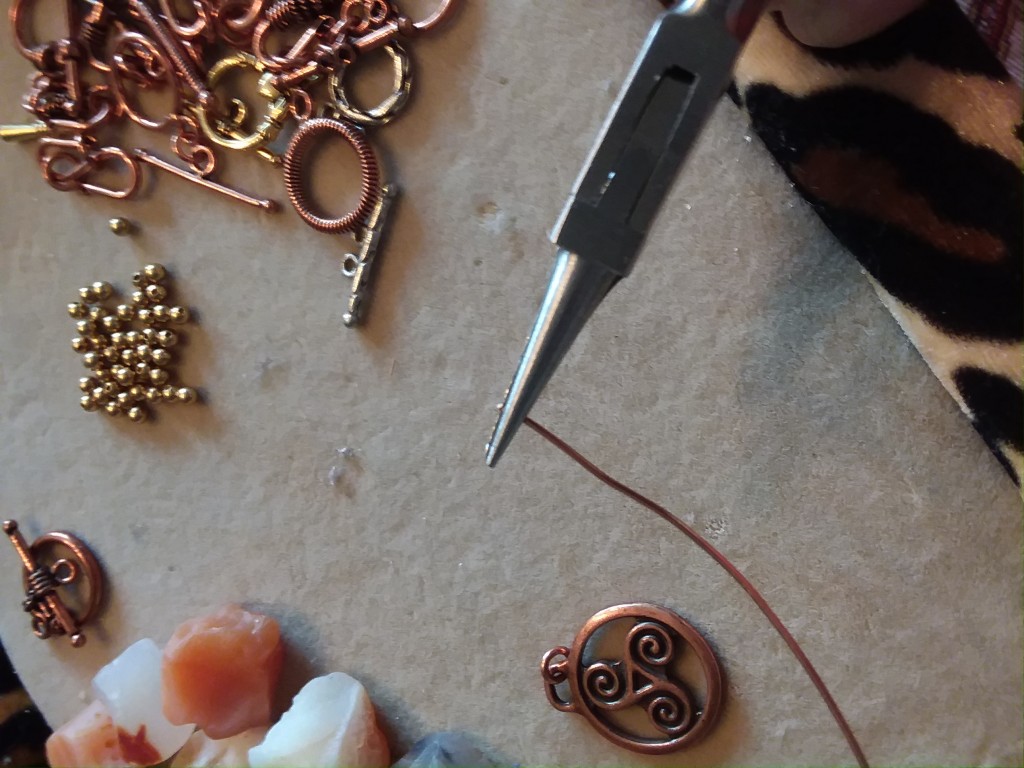
Step 1: Grasp the very tip of the wire in your round nose pliers, or if you’re using combination pliers, up against the flat jaw of the pliers. Get the tip of the wire lined up as closely as possible to the outside edge of the pliers.
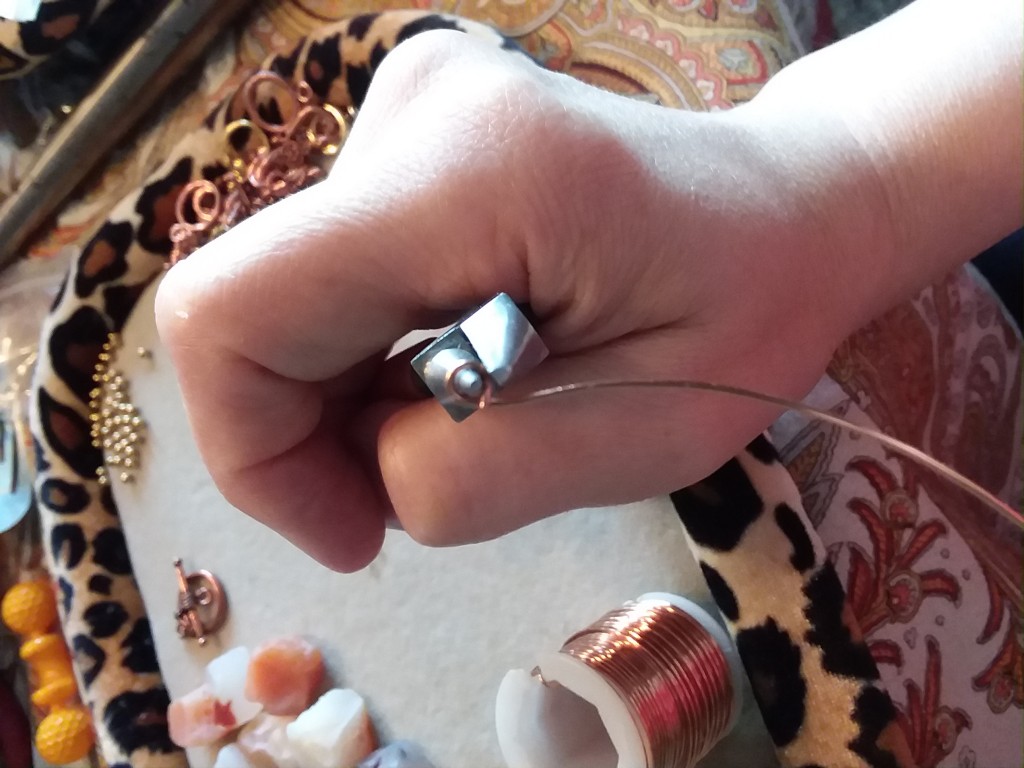
Step 2: Begin to roll the wire around the round jaw of the pliers. Go past the tail of the wire so that the loop overlaps on itself very slightly.
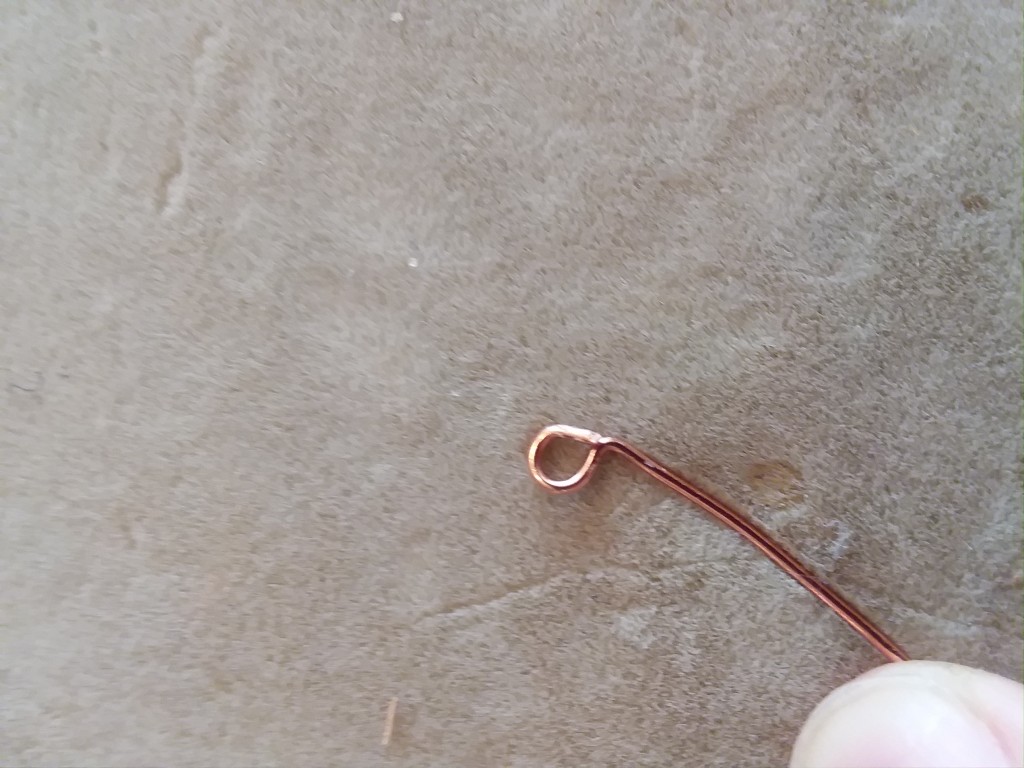
Step 3: If you’re not using combination pliers, pick up the chain nose pliers and grasp the inside of the loop near the base and make a 90 degree bend. If you’re using the combination pliers, just shift your view so you can see the base of the loop and make a 90 degree bend over the chain nose jaw of the pliers.
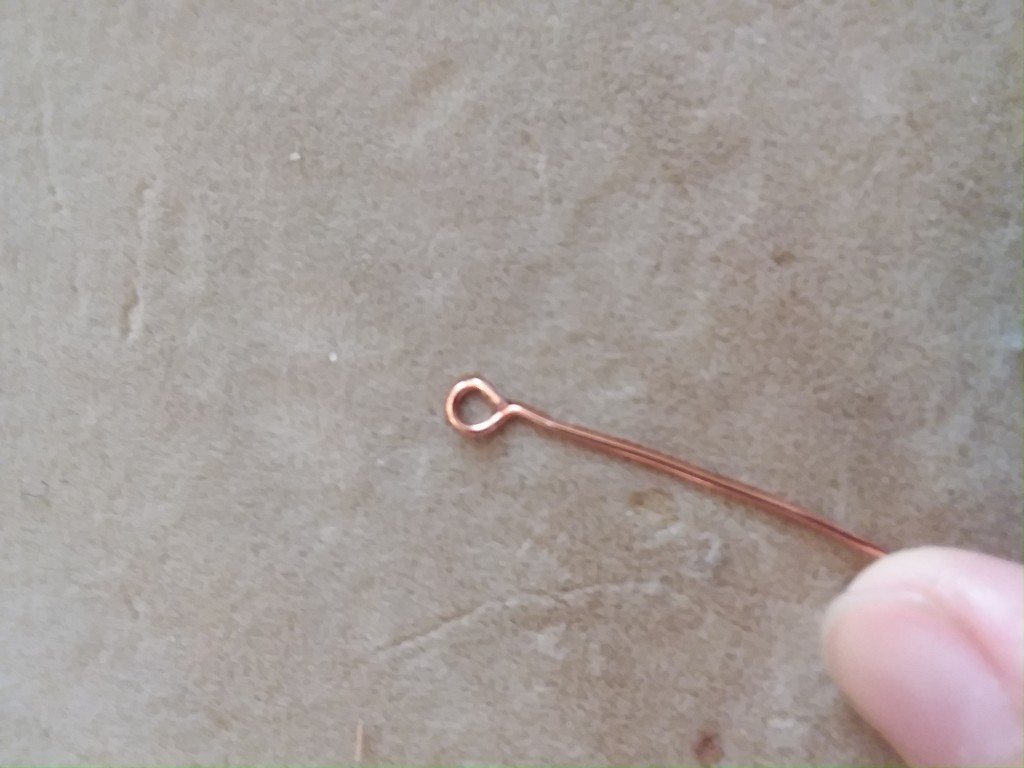
Step 4: Remove the pliers and trim a tiny bit from the tip of the loop using a pair of flush cutters. Use your pliers to adjust the closure of the loop.
For more consistently-sized loops, mark your round nose pliers with a permanent marker and use that as a guide for turning wire loops. Ta-da! With a little bit of practice, you’ll be churning out consistent and perfectly-sized loops for your wire jewelry making projects in no time!
Happy Wrapping!
![]()
Click to Receive Daily Tips by Email


cb
August 20, 2017 at 6:16 pm
Loved the tutorial. I have a hard time making my loops the same, but I will practice with two pliers as suggested.