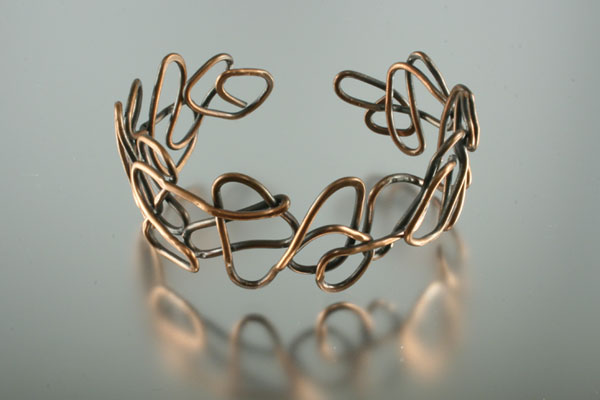
Right Angles Cuff
Designed by Patti Bullard © 2011
Skill Level: Beginner
Technique: Heavy-gauge wire forming, hammering and shaping, liver of sulfur patina process
Patti Bullard, Ph.D is a jewelry artist and instructor as well as the creator of the Wubbers pliers brand! You'll love this simple tutorial, which includes step-by-step directions on using Liver of Sulfur.
A big thank-you to Patti and Wubbers® for sharing this pattern with us!

Get your Wubbers Classic Wide Flat Nose Pliers ready for a creative adventure and you can easily make this no-fail project that will turn out different every time! This pattern is so simple to make, yet filled with numerous design possibilities. Your Wubbers Classic Wide Flat Nose Pliers are perfect for working with the recommended 14-gauge wire and for making the angled bends that will complete your design. -Patti Bullard
Materials
- 14-gauge round dead soft copper wire, 10 feet
Tools
- Wubbers Wide Flat nose pliers (featuring a 6.2mm wide jaw)
- Wire cutters
- Steel Bench Block
- Dome-Faced Chasing Hammer
- Rawhide Mallet
- Oval Bracelet Mandrel
- Liver of sulfur gel (and a glass bowl with warm water for it)*
- Tweezers
- #0000 Steel Wool (finest grade)
- Chemical-resistant gloves
* - Safety note: Always use chemical-safe gloves and use adequate ventilation, such as a fan, when working with liver of sulfur.
Instructions
-
Flush cut each end of the 14-gauge wire.
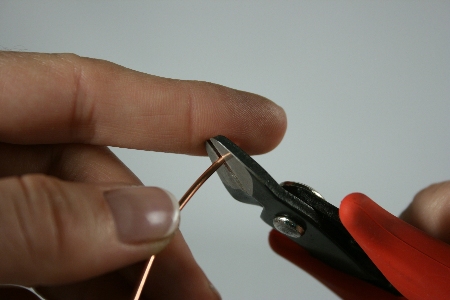

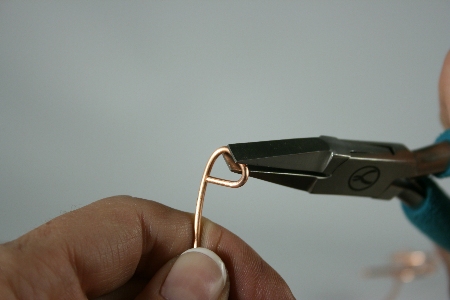
- Using your Wubbers Classic Wide Flat Nose Pliers, form a triangle shape with the wire. You can use the width of the jaw of the Wubbers Wide Flat Nose Pliers to form each side of the triangle.

- You will now begin to make random bends in the wire. You can achieve some nice effects crossing the wire over and under itself randomly, alternating as you work. Keep the overall shape of the bracelet very similar to the template provided below.
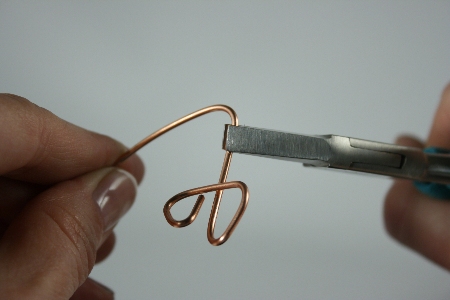
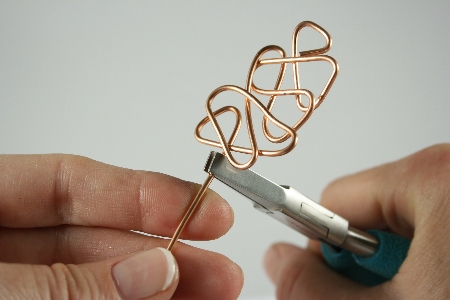
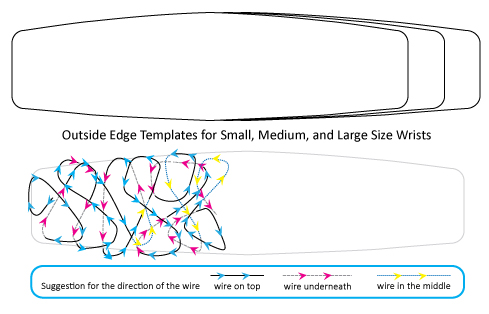
Click here to download a printable version of this template (645kb). Make sure to go to File > Print and select "Print Actual Size," not "Scale to Page."

- For the second end of the bracelet, you will need to form another triangle shape before cutting the wire. Flush cut the wire in the appropriate place, and adjust it so that the end of the wire is flush against the first side of the triangle.
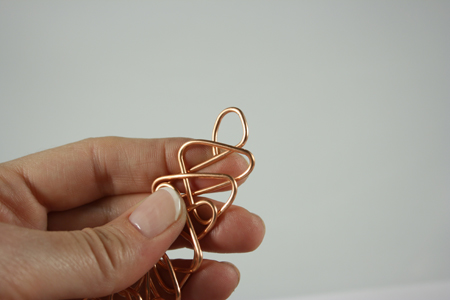

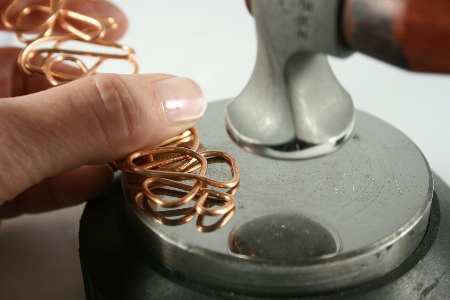
- You may wish to add interest to your design by lightly hammering the flat bracelet.
With the large head of a polished, slightly dome-faced chasing hammer, gently flatten the metal, working your way from one end to the other and then back up the opposite side. Evaluate as you work to make sure that you are getting a desired effect and that you are not over-hammering. You can add additional texture by using the small head of your hammer. Still using the small head of the hammer, you may wish to hammer gently where the wire crosses over itself to add some texture and interest. If too much pressure is used where the wire crosses over itself, you will most likely get an undesired effect and there is even a possibility of breaking or cutting the wire.
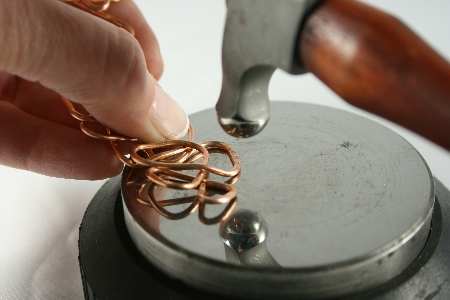

- Shape the flat bracelet into an oval shape using an oval bracelet mandrel.
After working with the wire to make your bracelet, it should be hardened and "springy" enough so that the bracelet will hold its shape. However, if desired, you can work harden it further by placing it on a bracelet mandrel and tapping it with a rawhide hammer.
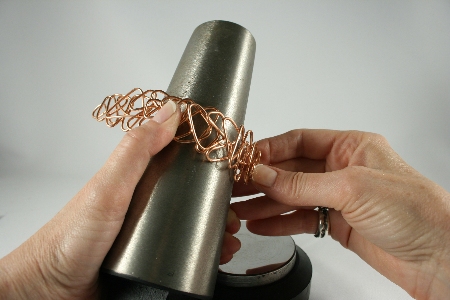
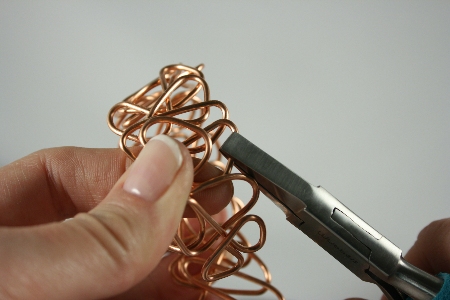

- Once you have the desired shape completed, you may need to adjust some of the edges of the bracelet. To do this, use the Wubbers Wide Flat Nose Pliers to turn the bends of the wire so that their angle is slightly downward. They should be down against the wrist rather than tilted upward and away from the wrist.
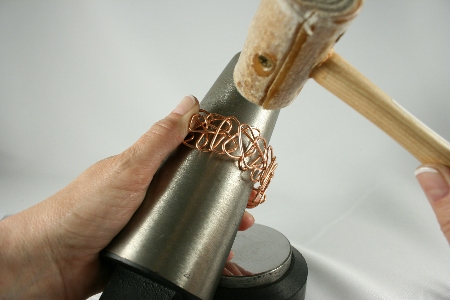

-
In this step, you will add a beautiful antique finish to your cuff.
In a well-ventilated area, add a small amount of Liver of Sulphur Gel to a glass bowl of about 8 oz. of hot, not boiling water. There should be enough water to completely submerse your bracelet and the water will be a bright yellow to light brown color. Stir with your tweezers until mixed. Take care not to get the mixture on your hands and avoid breathing the fumes. You may wish to wear a pair of Nitrile gloves to protect your hands. Using a pair of stainless steel tweezers, lower the bracelet into the solution. Allow the bracelet to turn completely black, then remove it from the solution and rinse thoroughly with running water. To dispose of the liver of sulfur solution, it is fine to dilute it with plenty of water and pour it down the drain, flushing the pipes with water for a few minutes afterward.

-
Completely dry the bracelet, which should now be a matte black color. Use a piece of #0000 steel wool and rub/polish each section of the bracelet until you remove the desired amount of the black and your bracelet has the antique look that you desire.
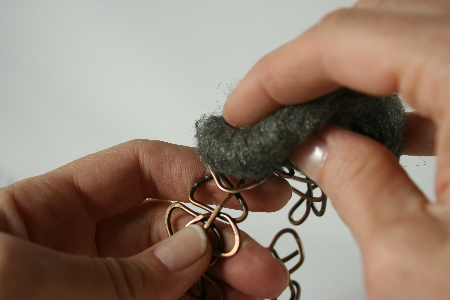

-
Before declaring your bracelet ready to wear, place it on a flat surface so that you can make sure that its shape is perfect. It should rest on the surface evenly, and should not appear "warped." Make any needed adjustments with your Wubbers. Flip the bracelet over and check it from that direction too.
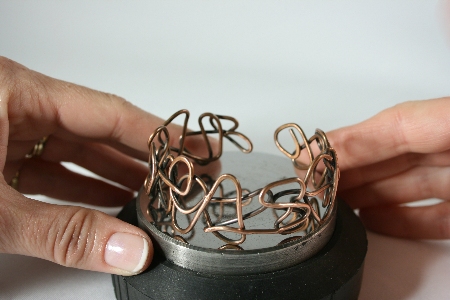

Our thanks again to Patti Bullard and Wubbers for the use of this fun pattern!

Check out the Wide Flat Nose Pliers here, and click here to see the entire Wubbers Line of Pliers!
 Free Wire Jewelry Patterns
Did you find this pattern through a link from a friend? This Free Wire Jewelry Pattern is just one of dozens of free wire jewelry patterns we send via email. Get patterns like this one straight to your inbox - click here!


