
Graduated Bead Component
- Category: Contemporary
- Technique(s): Wrapping
- Skill Level: Beginner
This design can be used to create a decorative focal on a bracelet, necklace or even a brooch or a hair pin. Any beads of any size can be incorporated into the design (just adjust your wire lengths accordingly, to add decorative coils and framing to the beads of your choice!)
Watch the Video Here
Watch the Video Here
Materials

18 Gauge Round Half Hard Argentium .940 Silver Wire
H19-18H
- Lesson Quantity: 4.00 inches
- Purchase Quantity: 1.00 1FT
- Price: $8.04
- Gold Club Price: $6.03

20 Gauge Round Half Hard Argentium .940 Silver Wire
H19-20H
- Lesson Quantity: 20.00 inches
- Purchase Quantity: 1.00 5FT
- Price: $27.64
- Gold Club Price: $20.73

26 Gauge Round Half Hard Argentium .940 Silver Wire
H19-26H
- Lesson Quantity: 40.00 inches
- Purchase Quantity: 1.00 5FT
- Price: $6.53
- Gold Club Price: $4.90

Lapis 6mm Round Beads - 8 Inch Strand
A1-242
- Lesson Quantity: 2.00 pieces
- Purchase Quantity: 1.00 each
- Price: $17.85
- Gold Club Price: $13.39

Lapis 8mm Round Beads - 8 Inch Strand
A1-243
- Lesson Quantity: 2.00 pieces
- Purchase Quantity: 1.00 each
- Price: $22.05
- Gold Club Price: $16.54

Lapis 10mm Round Beads - 8 Inch Strand
A1-235
- Lesson Quantity: 1.00 pieces
- Purchase Quantity: 1.00 each
- Price: $29.40
- Gold Club Price: $22.05

5 Graduated beads of your choice

Sterling Silver Spring Ring 8mm Closed - Pack of 6
K3-193
- Lesson Quantity: 1.00 pieces
- Purchase Quantity: 1.00 each
- Price: $10.07
- Gold Club Price: $7.55

Chain of your choice - suggest unfinished and cut length of choice
Tools

Round Nose Wire Pliers
G2-507
- G2-507
- Lesson Quantity: 1.00 pieces
- Purchase Quantity: 1.00 each
- Price: $32.95
- Gold Club Price: $24.71

Chain Nose Wire Pliers
G2-508
- G2-508
- Lesson Quantity: 1.00 pieces
- Purchase Quantity: 1.00 each
- Price: $32.95
- Gold Club Price: $24.71

5 1/2 Inch Nylon Flat Jaw Pliers with Replacement Jaws
G2-1
- G2-1
- Lesson Quantity: 1.00 pieces
- Purchase Quantity: 1.00 each
- Price: $9.97
- Gold Club Price: $7.48

C.H.P Milano Angled Flush Cutter, 5-1/4 Inches
PLR-489.00
- PLR-489.00
- Lesson Quantity: 1.00 pieces
- Purchase Quantity: 1.00 each
- Price: $21.95
- Gold Club Price: $16.46
Optional Tools

WireJewelry - Ultimate Wire-Pliers Jewelry Pliers with Case, Set of 5
G15-20
- Lesson Quantity: 1.00 pieces
- Purchase Quantity: 1.00 each
- Price: $170.72
- Gold Club Price: $128.04
Instructions
Step 1
Make a simple loop at one end of the 18-gauge wire with round-nose pliers to make a long eye pin.

Step 2
Bend the 20-gauge wire so that there is approximately 20cm/8 inches on one side and 30cm/12 inches on the other.

Step 3
Attach this wire from the point of the bend to the 18-gauge wire underneath the loop.
Tighten the loop with pliers.
Tighten the loop with pliers.

Step 4
Add on the smallest (6mm) bead to the 18-gauge core wire

Step 5
Bring the longer tail wire around one side of the bead to frame it.

Step 6
Take the wire back behind the 18-gauge core base wire.

Step 7
Bring the 20-gauge wire back across the top again so that it is fully wrapped around the core base wire.

Step 8
Add on the next bead (8mm) and wrap the 20-gauge wire around to frame the bead in the same way.

Step 9
Attach the wire around the 18-gauge core to create one full wrap to fix the bead in place.

Step 10
Add on the next largest bead 10mm) wrapping the 20-gauge wire around one side of the bead and back behind the 18-gauge core base wire and across the top.

Step 11
Keep the 20-gauge framing wire close to be beads and straighten it out before adding on the next bead.

Step 12
Add on the next bead, graduating back down in size (8mm), wrapping the wire around one side of the bead and back behind the 18-gauge core base wire and across the top.
The framing wire should surround the opposite side of the next bead.
The framing wire should surround the opposite side of the next bead.

Step 13
Add another of the smallest size beads (6mm) and frame with the 20-gauge wire as before.
The framing wire can be tightened to the core wire with pliers.
The framing wire can be tightened to the core wire with pliers.

Step 14
Coil the tail of the 20-gauge wire with 0.4mm/26 gauge wire, coiling for approximately 13cm/5 inches in length (enough to frame the beads on the other side.)

Step 15
For ease, start the coil towards the end of the wire and slide up next to the bead.

Step 16
Cut off and tuck in the starting tail of the weaving/coiling wire.

Step 17
Slide the coil up close below the bead.

Step 18
Wrap the coiled wire around the beads in the same way as before to frame the other side of the beads.

Step 19
The coiled wire should wrap around the core wire and sit between the beads.

Step 20
Continue wrapping the coil around all of the beads, flattening down into position with pliers if necessary.

Step 21
Each bead should have a coiled wire framing one half of the bead and the uncoiled 20-gauge wire framing the other side.

Step 22
Ensure that the coiled wire reaches around the last bead (add more coils with the weaving wire if needed, before cutting off any excess weaving wire and tucking in to prevent catching.)

Step 23
Wrap the 20-gauge wire around the core wire underneath the loop.

Step 24
Cut off any excess and tuck in.

Step 25
Bring the remaining (shorter) length of 20-gauge wire around to the other side of the bead.

Step 26
Position it to follow the path and curve of the coiled wire so that it sits on the inside of the coiled wire.

Step 27
Wrap this wire around the beads, positioning it closely underneath the coiled wire.

Step 28
Continue placing this wire to frame each of the beads.

Step 29
Wrap the remaining wire around the core 18-gauge wire twice to secure in place, before cutting off any excess and tucking it in to prevent any sharp edges.

Step 30
Bend the 18-gauge wire at a ninety degree angle.

Step 31
Using round nose pliers, form a simple loop, equal in size to the one formed at the other end.
Trim excess wire
Trim excess wire

Step 32
This can now be curved gently to fit the shape intended.

Step 33
If adding onto a bracelet, curve the piece to fit the wrist.

Step 34
If making a feature for the center of a necklace, turn the ends near the loops gently upwards to create a curve.

Step 35
The loops at each end can be opened to attach a chain.

Step 36:
Watch the Step by Step Video Here






 French Hook Ear Wires
 Adjustable Wire Wrapped Ring with Gemstone Bead
 Top Drilled Stone Pendant
 Wire Wrapped Donut Pendant
 Coiled Wrap Bead Earrings
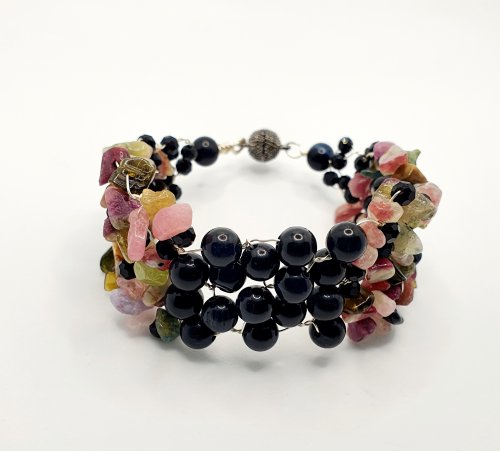 Gemstone Chip and Wire Cuff Bracelet
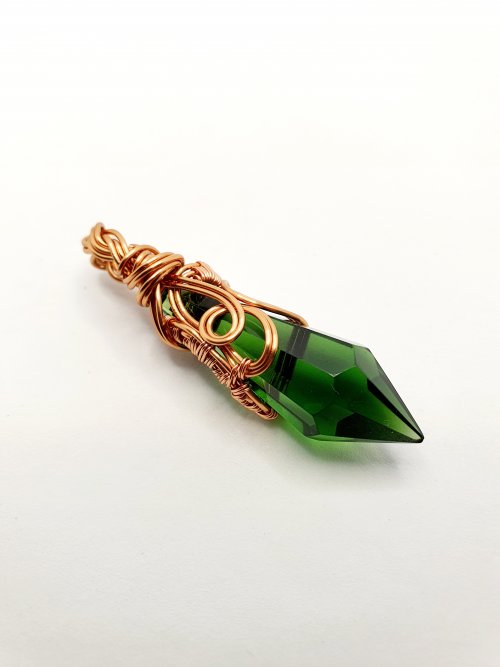 Wire Wrap a Chandelier Crystal
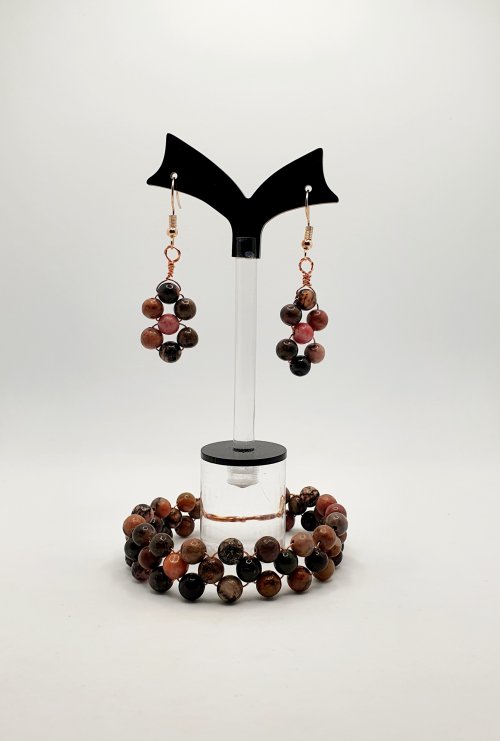 Beaded Wire Jewelry Set
 Braided Wire Cuff
 Classic Wrap Pumpkin Pendant
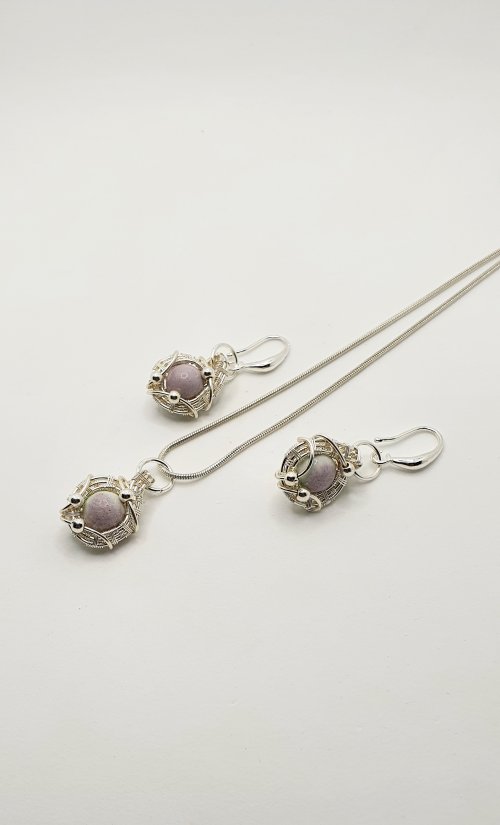 Woven Wire Pendant and Earrings Set
 Beaded Wire Christmas Tree Ornament
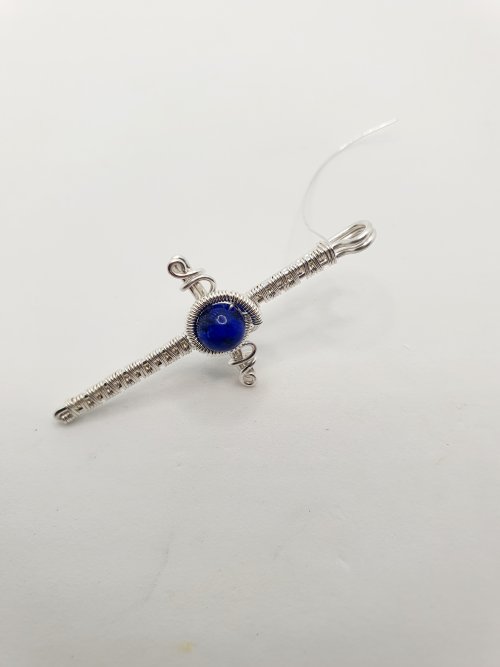 Woven Wire Cross Pendant
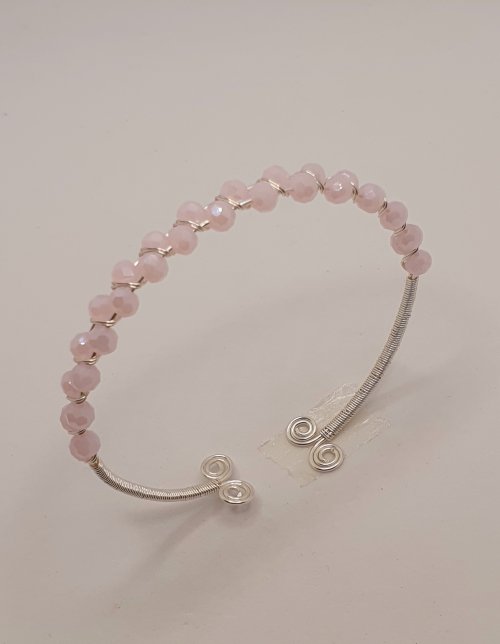 Adjustable Beaded Wire Bracelet
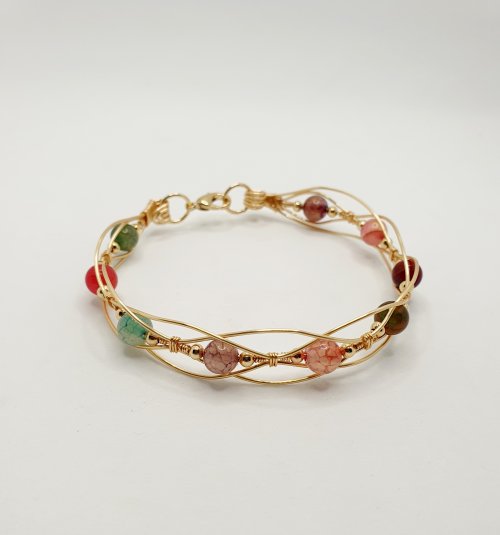 Beaded Wire Bracelet
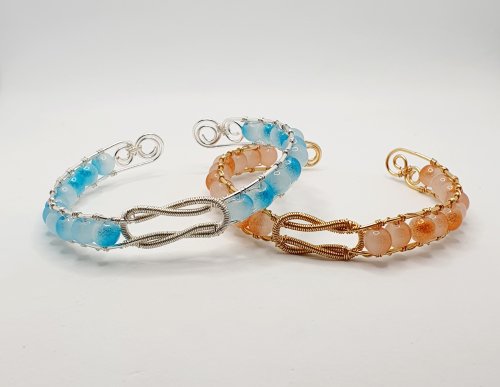 Interlocking Coil Bangle
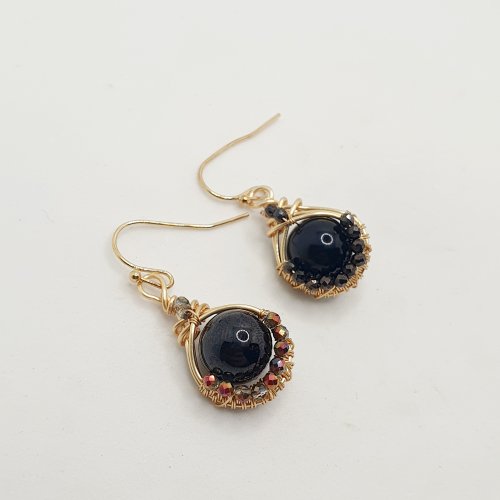 Bead and Micro-Crystal Wire Earrings
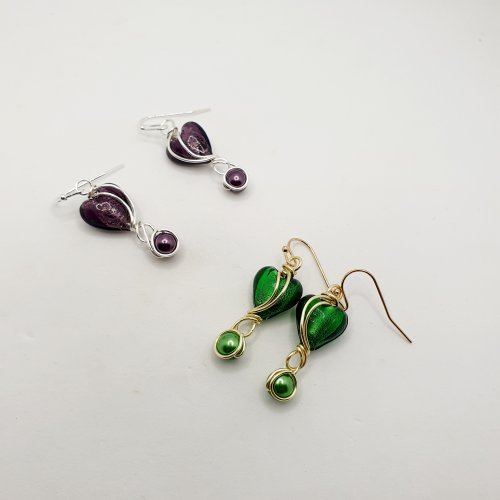 Valentine Heart Wire Earrings
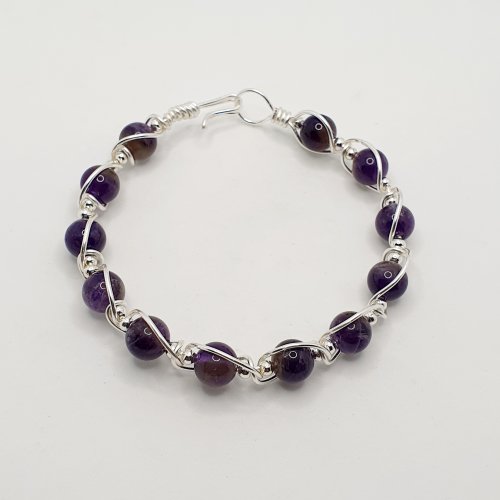 Gemstone and Spacer Bead Bangle
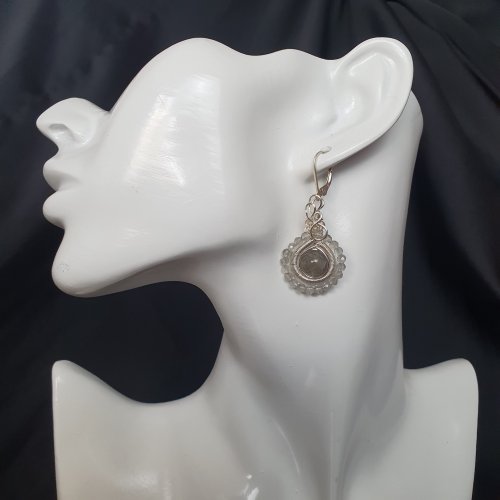 Coiled Wire Earrings
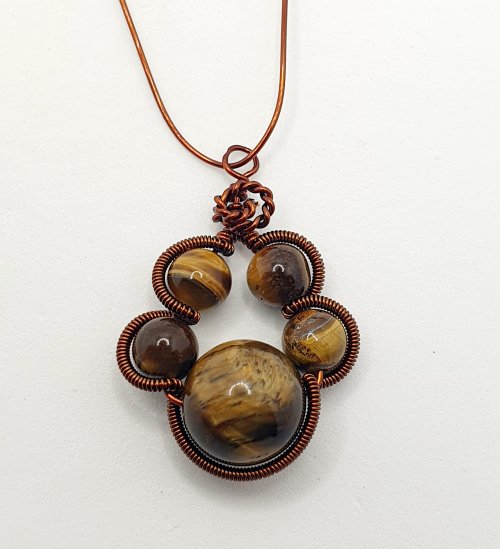 Pawprint Pendant and Earrings
 Right Angle Weave Wire Earrings
 Wire-filled Heart Earrings
 Wire Flower Component
 Woven Wire Wrapped Cabochon Ring
 Wire Beaded Bangle
 Adjustable Wire Wrapped Cocktail Ring
 Beaded Coiled Wire Beads
 Beaded Wire Bracelet
 Beaded Flowery Wire Bracelet
 Beaded Wire Cross
 Wire Caged Beads
 Delicate Wire and Chain Bracelet
 Bead and Wire Bracelet with Attached Clasp
 Spiral Chain Maille
 Beaded Flower Connector
 Bead and Wire Circular Component
 Simple Beaded Bangle Bracelet
 Channel-set Beaded Cuff Bracelet
 Birds Nest Pendant
 Byzantine Chainmaille Earrings
 Lotus Pendant
 Romanov Chainmaille Pendant
 Planet Jewellery
 Herringbone Weave Connectors
 Shoot For the Stars Earrings
 Chain Tassel Earrings
 Byzantine Diamond Chainmaille
 Herringbone Memory Wrap Wire Bangle
 Braided Bracelet
 Fall Into Chainmaille
 Twisted Seedbead Earrings
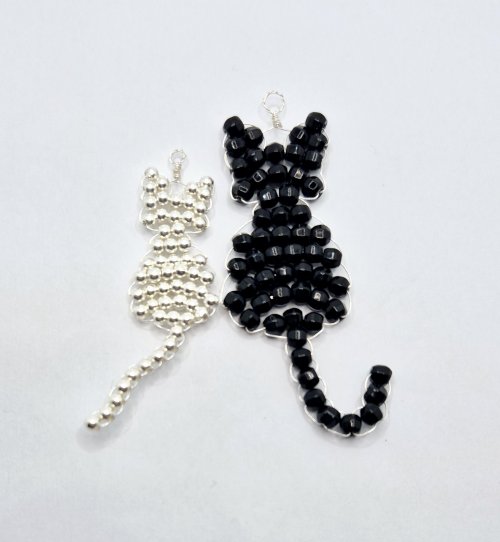 The Purrfect Feline Pendant
 Right Angle Weave Memory Bangle

