




Wrapped Loops Beyond the Basics
Even the most reliable techniques can start to feel routine-but Cathryn Jakicic proves that a little creativity can take a jewelry-making basic to the next level.
When her go-to wrapped loops began to feel too predictable, she experimented with subtle design tweaks that completely transformed their look.
In this quick tip, she shares how to add polish and personality to your wrapped loops without losing their strength or simplicity.
When her go-to wrapped loops began to feel too predictable, she experimented with subtle design tweaks that completely transformed their look.
In this quick tip, she shares how to add polish and personality to your wrapped loops without losing their strength or simplicity.
Here's a link to the basic steps, illustrated: Wire Wrapped Loops
There are three main types of wrapped loops
The Lollipop Loop
The lollipop design is made using chain nose pliers to bend the wire about 2 mm above a bead or other component on a headpin (or bit more than an inch from the end of a piece of wire.).Grab the bend in the wire with pair of round-nose pliers. The closer to the tip of the pliers with your "grab," the smaller the loop. Curve the short end of the wire over the top jaw of the pliers.
(This next part is key to the round lollipop)
Reposition the pliers so the lower jaw of the round-nose pliers is in the loop. Curve the wire around the bottom jaw.
To complete the wraps, hold the loop with one of your chain-nose pliers.
With another pair of pliers (or your fingers if you have enough wire), wrap the wire around the stem two or three times. Trim the excess wire.
Press the cut end close to the wraps with chain-nose pliers - or even better use the first notch on a pair of crimping pliers.

Upside Down Teardrop Loop
For a more casual loop (upside down teardrop) just wrap the wire all the way around the top jaw of the round nose pliers and don't bother to reposition.Before moving the round-nose pliers, straighten the loop if you need to. Then continue on with the wraps.

Organic, Casual Loop
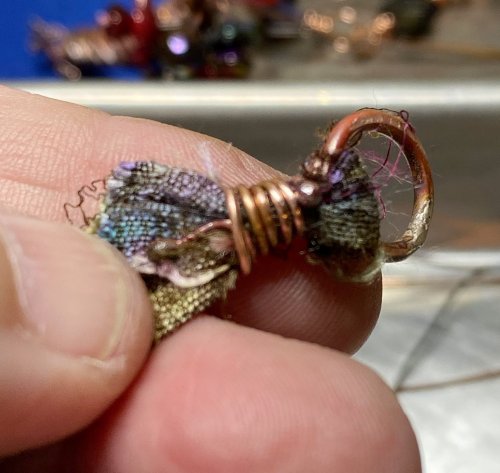
For an organic, casual look, once you've made your tear-shaped loop, make quick overlapping wraps underneath (no stacking!), you can even wrap part of the wire around the bead.

Choosing the right loop
When choosing the right loop, you not only want to think about the style or feeling you're trying to achieve, you should also think about proportion, generally speaking you don't want to have your loop to overwhelm the bead - unless the loop itself is part of your design.
For instance: A small loop works with petite beads and a formal, precise design.
For instance: A small loop works with petite beads and a formal, precise design.
The standard loop (about 4 mm) works when the loop is simply a matter of connection.


Adding to your design options
As you get more comfortable with making loops, try using other tools and techniques to make different shapes.
Look around your craft area - and the whole house - to see what's available.
Use something square or rectangular to create a box "loop," or tilt it for a diamond.
Look around your craft area - and the whole house - to see what's available.
Use something square or rectangular to create a box "loop," or tilt it for a diamond.

A triangle "loop" also can create a design with a little something extra.

Use a both jaws of a round-nose pliers for a figure 8.

You can even make a long stack of wraps as part of your design.
The options are nearly endless, be sure to experiment with different shapes depending on what you're using.
The options are nearly endless, be sure to experiment with different shapes depending on what you're using.

Materials

20 Gauge Round Half Hard .925 Sterling Silver Wire
H8-20H
- Lesson Quantity: 1.00 feet
- Purchase Quantity: 1.00 1FT
- Price: $11.97
- Gold Club Price: $8.97
Tools

Round Nose Wire Pliers
G2-507
- G2-507
- Lesson Quantity: 1.00 pieces
- Purchase Quantity: 1.00 each
- Price: $32.95
- Gold Club Price: $24.71

Chain Nose Wire Pliers
G2-508
- G2-508
- Lesson Quantity: 1.00 pieces
- Purchase Quantity: 1.00 each
- Price: $32.95
- Gold Club Price: $24.71

C.H.P Milano Italian Flush Cutter, 5 1/2 Inches
PLR-487.00
- PLR-487.00
- Lesson Quantity: 1.00 pieces
- Purchase Quantity: 1.00 each
- Price: $16.97
- Gold Club Price: $12.73
Supply Detail
loading...
Change Metal:
This Article requires:
Purchase quantity:
Price: $
Gold Club Price: $
Purchase quantity:
Price: $
Gold Club Price: $
- Category: Design
- Technique(s): Making Loops
Cathryn Jakicic
 Working with Complementary Colors
 Working with Analogous Colors
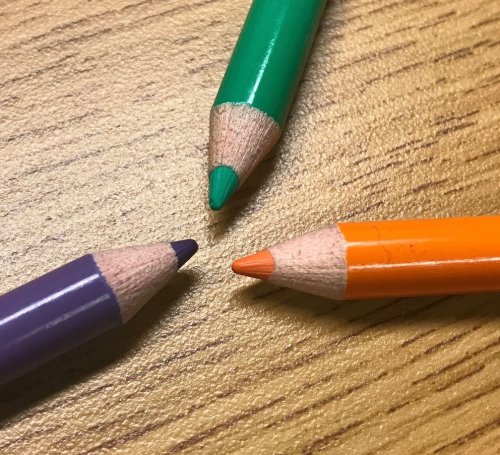 Working with Split Complementary Colors
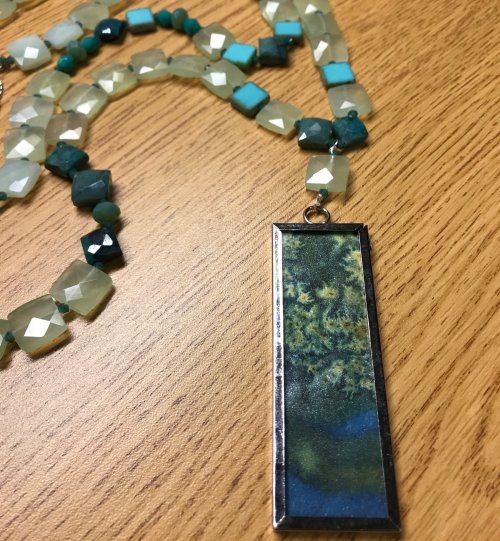 Color Inspiration - Cool Blues and Greens
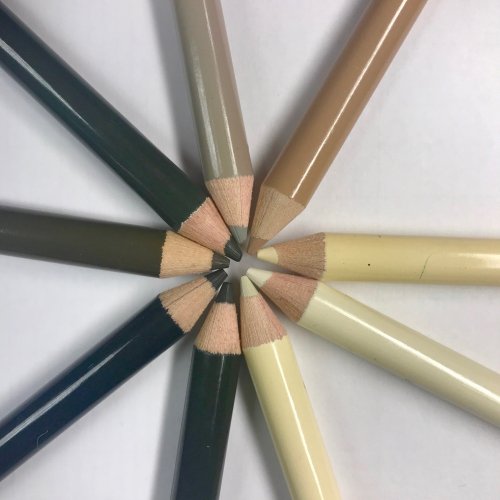 Designing with Neutral and Universal Colors
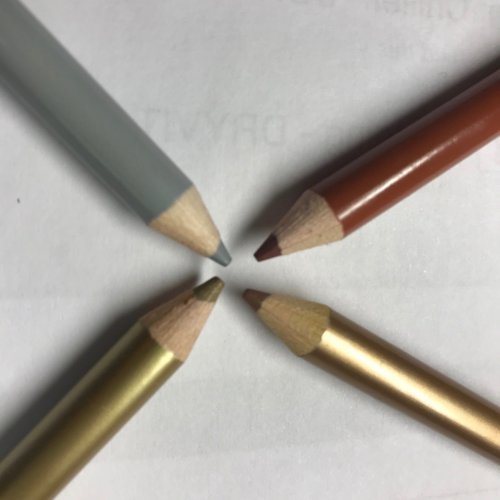 Mixing Color with Metal

The premier place for all your jewelry making needs. The best in wire, tools, cabochons, gemstone beads and more. As well as a superior resource for educational support to help build your jewelry making skills and techniques.
Connect With Us

® 2007 - 2026 Wirejewelry.com Powered by ClaimTheWeb Cart