Wire Wrapped Loops
Today we bring you another great tip for beginners. How to make a wire wrapped loop. This is a skill that, if mastered early, is a building block for many other skills. Judy gives us a great step by step on how to do it.
When first learning to make jewelry, the first thing you need to learn to do well is make a wire wrapped loop. Learning how to make consistent wire wrapped loops will make you more comfortable and confident with working with wire when you go on to the next step/stage in your wire wrapping/weaving journey.
When first learning to make jewelry, the first thing you need to learn to do well is make a wire wrapped loop. Learning how to make consistent wire wrapped loops will make you more comfortable and confident with working with wire when you go on to the next step/stage in your wire wrapping/weaving journey.
Instructions
A "messy wrap" can be beautiful, but there is structure to the wrapped loop that should not be ignored.
Pro Tip: When learning to make wire wrapped loops, or any skill for that matter, you can improve your "muscle memory" by repeating the skill many times. How many times do you think you practiced each letter of the alphabet before you perfected your printing and writing skills? That same "practice makes perfect" adage works when learning new skills in wire work.
Pro Tip: When you first learn to make wire wrapped loops, it is easier to use a longer headpin or wire than you really need. When you become proficient in making the wraps, you can then start to use shorter headpins lengths of wire.The first project my students make is a Multi Gemstone Charm Bracelet with over 20 gemstone drops

Slide your choice of beads on the headpins. In that project, we use 3″ headpins as we stack small beads and use up to 8mm single beads.
Then follow the steps to make the wrapped loops. BUT, COMPLETE EACH STEP WITH EACH HEADPIN BEFORE CONTINUING ON TO THE NEXT STEP
Then follow the steps to make the wrapped loops. BUT, COMPLETE EACH STEP WITH EACH HEADPIN BEFORE CONTINUING ON TO THE NEXT STEP

Directions for a Single Wrapped Loop
Step 1: Slide a bead on a headpin.
With the tip of the chain nose pliers, grasp the wire as close to the bead as possible.
Hint:: The thinner the tip of your pliers, the shorter the wrapped loop will be.
With the tip of the chain nose pliers, grasp the wire as close to the bead as possible.
Hint:: The thinner the tip of your pliers, the shorter the wrapped loop will be.

Step 2: Use your fingers to bend the wire at a 90 degree angle away from you across the top of the plier tips.
This creates the "neck" of the loop.
This creates the "neck" of the loop.

Step 3: Switch to round nose pliers.
Place the tips of the pliers on the wire as shown in the photo.
The lower tip should fit snugly in the bend.
Place the tips of the pliers on the wire as shown in the photo.
The lower tip should fit snugly in the bend.

Step 4: Keeping the pliers tightly closed (but not so tightly closed as to dent or mar the suface of the headpin), use your thumb or fingertip to push the wire up over the back of the top plier jaw and to the front.
Keep the wire as tight to the plier jaw tip as possible.
Keep the wire as tight to the plier jaw tip as possible.

Step 5: Still keeping the pliers tightly closed, push the wire down over the front of the top jaw.

Step 6: Loosen your grip on the wire but do not let the loop go.
You need to shift the lower jaw to become the upper jaw so you can continue the wrap by pulling the wire back and up to finish the loop.
You need to shift the lower jaw to become the upper jaw so you can continue the wrap by pulling the wire back and up to finish the loop.

Note: This is the point where you would slide this looped wire through a finished wire wrapped loop if you wanted two wrapped loop beads connected.
Then you would finish by wrapping Step 7-10.
Then you would finish by wrapping Step 7-10.

Step 7: Switch to chain nose pliers to grip the loop.
You can use flat nose pliers for this if you prefer.
Firmly grasp as much of the loop as possible without interfering with the wrap wire.
You can use flat nose pliers for this if you prefer.
Firmly grasp as much of the loop as possible without interfering with the wrap wire.

Step 8:Grasp the end of the wire with a bent nose pliers and pull the wire around the front of the neck and towards the back.
You will find it easier to do the wrap is you pull the wire in a slightly upwards motion.
You will find it easier to do the wrap is you pull the wire in a slightly upwards motion.
Continue to wind the wire around the neck until you have three full wraps.
You may only get two wraps if you do not wrap closely together.
If your wraps are tight, as they should be, but you made a longer neck, you may make four wraps.
Consistency in all your wraps is the key, not the number of wraps you make.
You may only get two wraps if you do not wrap closely together.
If your wraps are tight, as they should be, but you made a longer neck, you may make four wraps.
Consistency in all your wraps is the key, not the number of wraps you make.
Pro Tip: Note: You will notice in the tutorial photos that the winding wire was never let go and wire wrapped around the tip of the pliers. This is not the way to make a wire wrapped loop if you want to conserve wire, but it is easier for the beginner. When you get better at it, you will drop the wrap wire and change plier positions to wrap, using less wire.


Step 9: Pull the wire to the back of the bead and trim off the excess wire using a flush cutter.


Pro Tip: A bead crimping pliers is a great tool to use to gently squeeze the wrap wires into place. Use the front round section of the plier "round" the wraps while also pushing the tail in.


Materials

Snowflake Obsidian 8mm Round Gemstone Beads - 8 Inch Strand
A1-689
- Lesson Quantity: 1.00 pieces
- Purchase Quantity: 1.00 each
- Price: $7.35
- Gold Club Price: $5.51

Bronzite 8mm Round Gemstone Beads - 8 Inch Strand
A1-687
- Lesson Quantity: 1.00 pieces
- Purchase Quantity: 1.00 each
- Price: $6.67
- Gold Club Price: $5.00

Beads

Silver Filled Headpins 22GA 2 inch - Pack of 10
S8-14
- Lesson Quantity: 1.00 pieces
- Purchase Quantity: 1.00 each
- Price: $2.21
- Gold Club Price: $1.65
Tools

Chain Nose Wire Pliers
G2-508
- G2-508
- Lesson Quantity: 1.00 pieces
- Purchase Quantity: 1.00 each
- Price: $32.95
- Gold Club Price: $24.71

Round Nose Wire Pliers
G2-507
- G2-507
- Lesson Quantity: 1.00 pieces
- Purchase Quantity: 1.00 each
- Price: $32.95
- Gold Club Price: $24.71

C.H.P Milano Italian Flush Cutter, 5 1/2 Inches
PLR-487.00
- PLR-487.00
- Lesson Quantity: 1.00 pieces
- Purchase Quantity: 1.00 each
- Price: $16.97
- Gold Club Price: $12.73

90 Degree Bent Nose Pliers
G2-66
- G2-66
- Lesson Quantity: 1.00 pieces
- Purchase Quantity: 1.00 each
- Price: $7.97
- Gold Club Price: $5.98

Original Bead Crimper
PLR-585.00
- PLR-585.00
- Lesson Quantity: 1.00 pieces
- Purchase Quantity: 1.00 each
- Price: $12.97
- Gold Club Price: $9.73
- Category: Findings
- Technique(s): Coiling, Making Findings, Making Loops, Wrapping







 Cleaning Your Jewelry
 Build A Tool Rack
 Clamps for Jewelry Making
 Finishing Wire Ends
 Handmade Closures
 Removing Tarnish From Your Jewelry
 Homemade Pickle
 How to Make Balled Head Pins
 Lessen the Noise - Save Your Eardrums
 Make a Rivet and Eyelet Tile
 Two Tips for Making Pendant Bails with Craft Wire
 Petal Forming on a Wood Block
 Save Your Fingers while Texturing
 Soldering on Copper
 Sticker Templates
 Using 6 Step Barrel Pliers
 Using a Center Finder
 Using a Tile to Cut Rivets
 Using Household Super Glue on Minor Cuts, Nicks and Scrapes
 Using Tiles on Tube Rivets and Eyelets
 Clothespin Tools
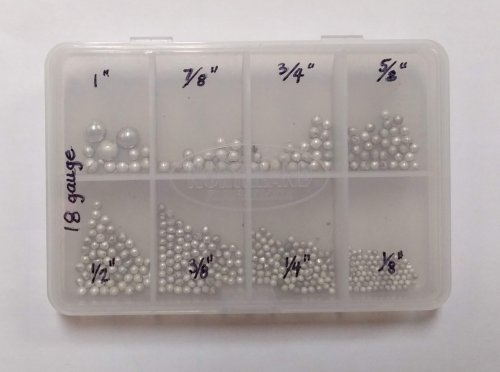 Making Decorative Granulation Beads
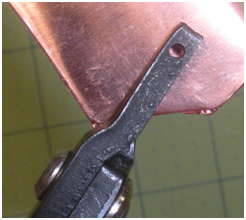 Using Your Hole Punch Pliers
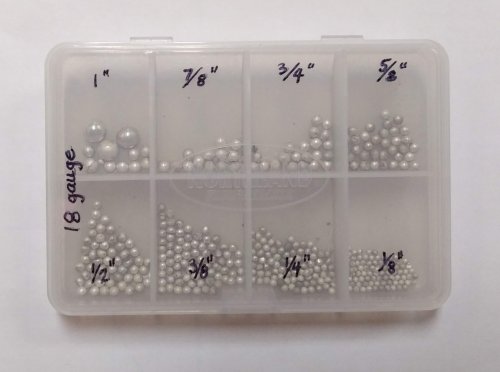 Decorative Granulation and Beads
 How to Find and Mark the Center of a Disc.
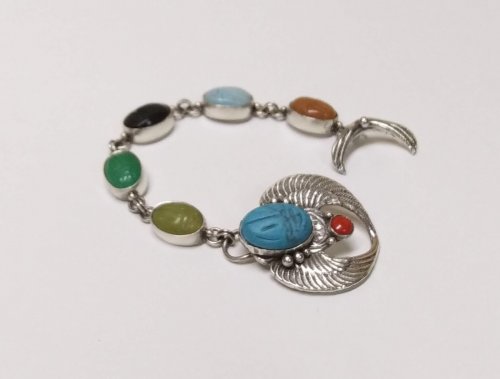 Choosing the Right Clasp
 Chunky Chain Inspiration
 Tool Tip - Steampunk or Industrial Rivets
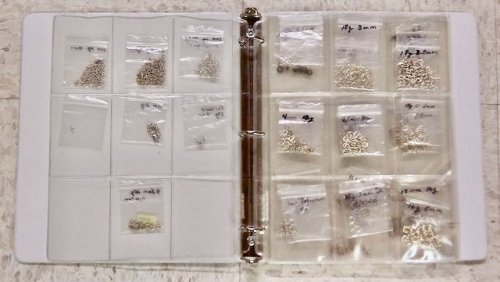 Storing Jump Rings
 Wear Your Brooches on a Neckwire
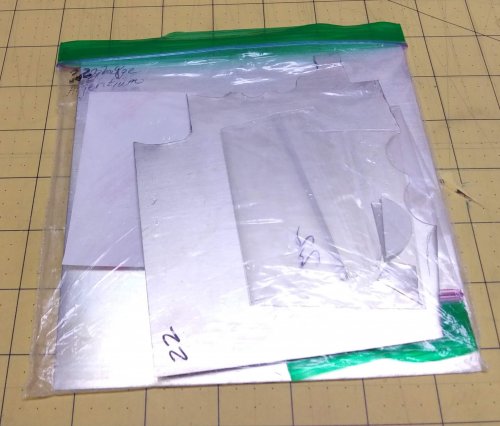 Storing Your Metal
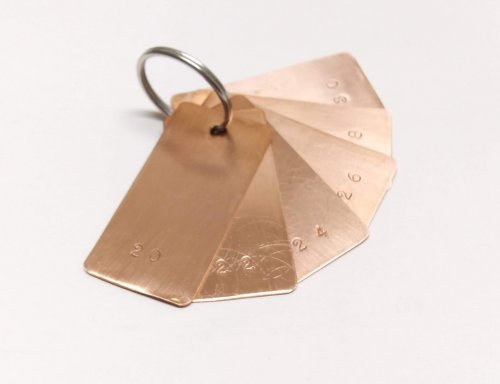 Using Disc Cutter Shims
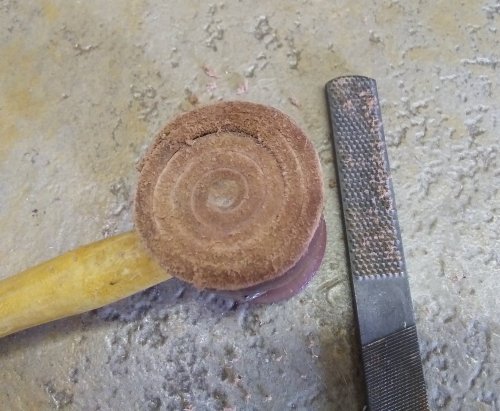 Conditioning a Rawhide Mallet
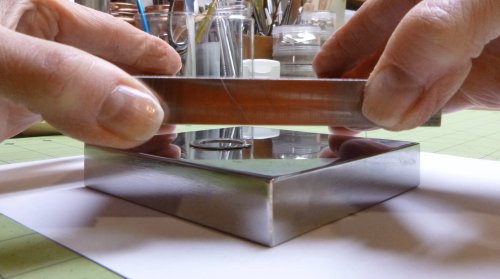 Flattening Metal Pieces
 Quenching
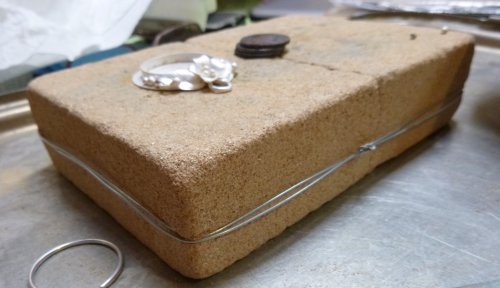 Saving a Broken Solder Brick
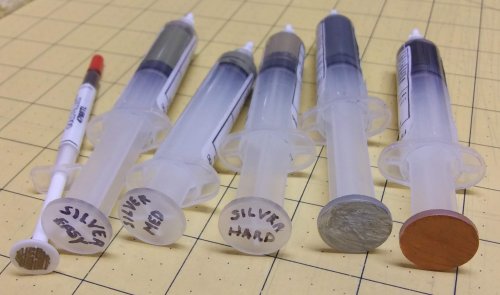 Why I Use Solder Paste
 Designing a Toggle Clasp That Works
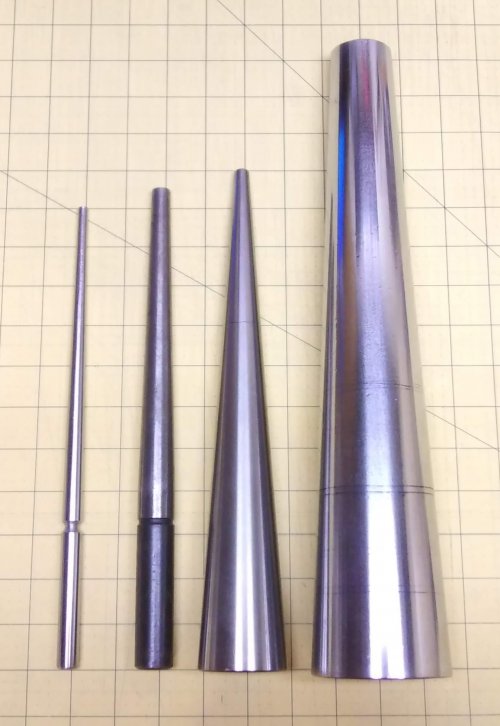 Round Mandrels
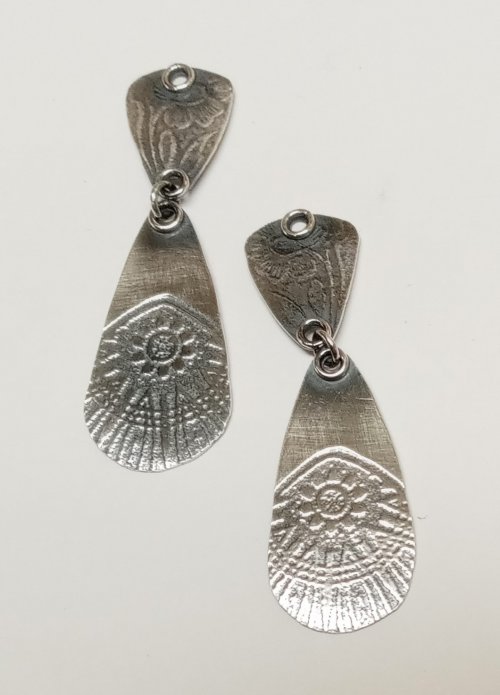 Get the Look of Eyelets
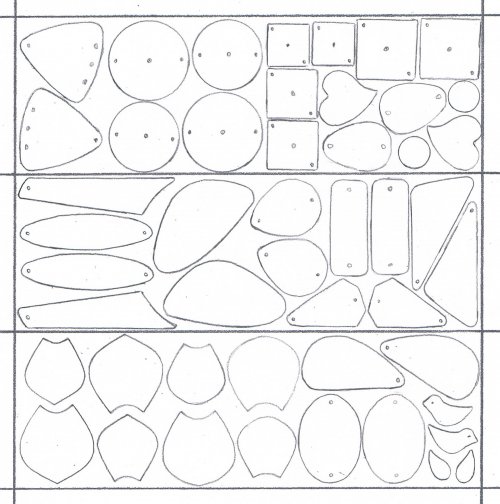 Earring Pairs Template
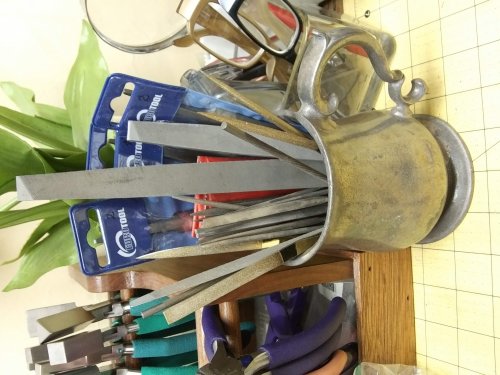 Storing and Caring for Files
 Open or Closed Jump RIngs on Bracelets and Necklaces
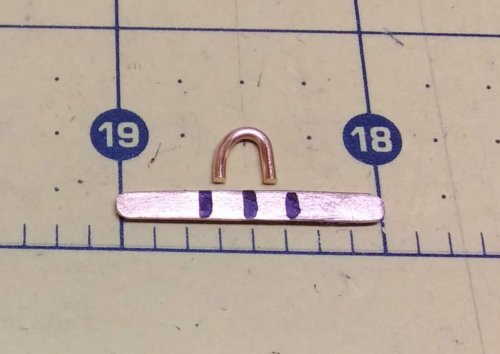 Versatile Permanent Markers
 You Used What
 Rescuing a Very Used Magnesia Soldering Block
 Using Hole Punch Pliers
 Metal Shears Care
 Paperclip Earrings
 Think Outside the Box - Alternative Metal Texturing
 Make Stamping Metal a Bit Easier
 Stone Bezel Setting Tips
 Viking Knit Tips
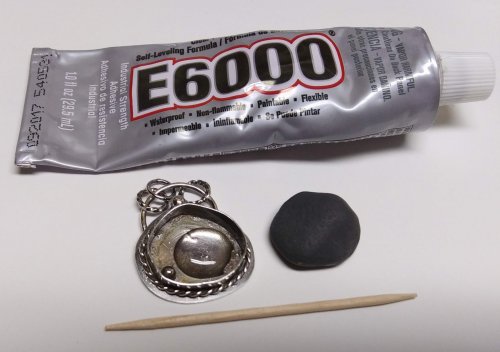 Using Glue Under Cabochons
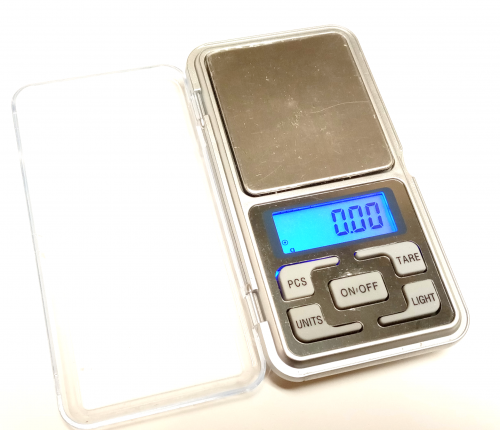 Tool Tip - Digital Pocket Scale
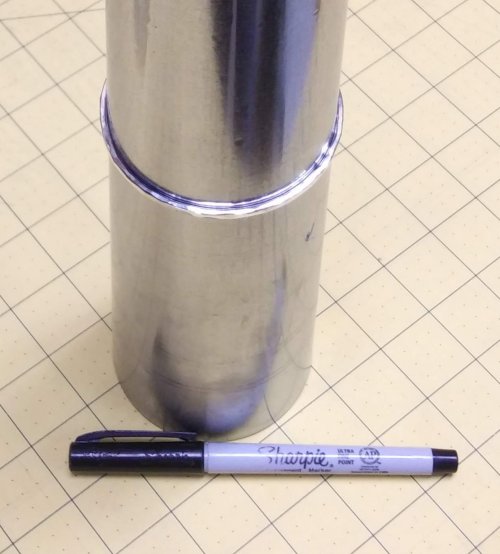 Repeat Performance
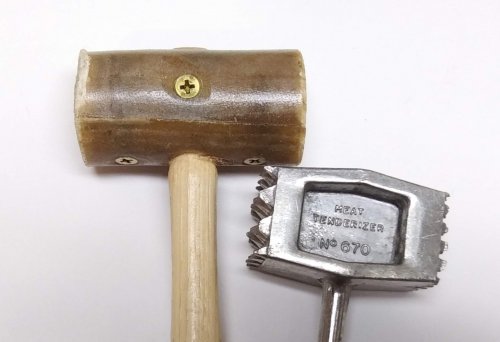 Another Way to Condition a Rawhide Mallet
 Carry a Sketch Pad
 Why You Should Take a Class
 Jewelry Making Templates
 Carry a Sketch Pad
 Keeping Your Bracelet Focals in Place
 Metal Content Stamping
 Pine Trees, Animals, and Mountains Templates
 Using Sanding Sponges and Papers
 Adding Depth to Carved Beads and Cabochons
 Closing Rings Tightly for Soldering
 Squaring Wire Ends
 Ring Mandrels
 Tool Tip - Bench Brushes
 Scrap Wire Twisted Rings
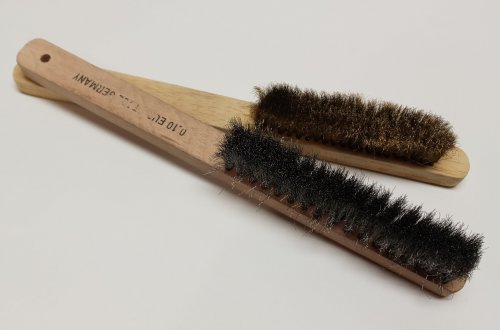 Tool Tip - Soft Bristle Metal Brushes
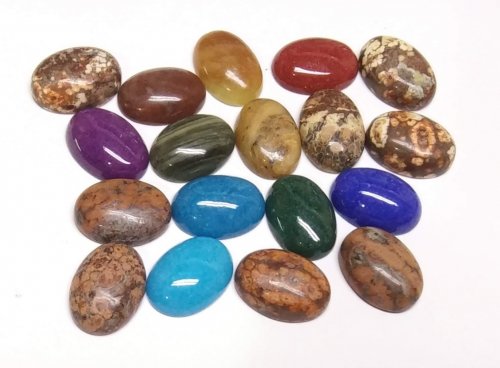 Project Multiples - Calibrated Cabochons
 Mobius Pearl Drop Earrings
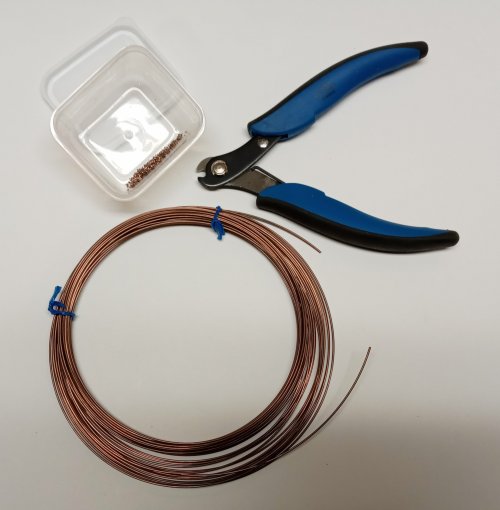 Copper Wire Solder
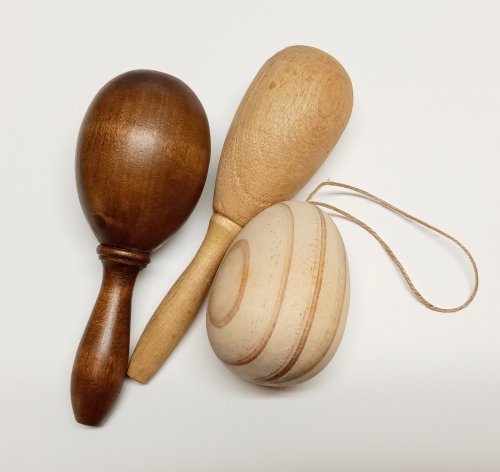 Large Dapping Punches and Alternatives
 Project Multiples - Glass Pebble Cabs
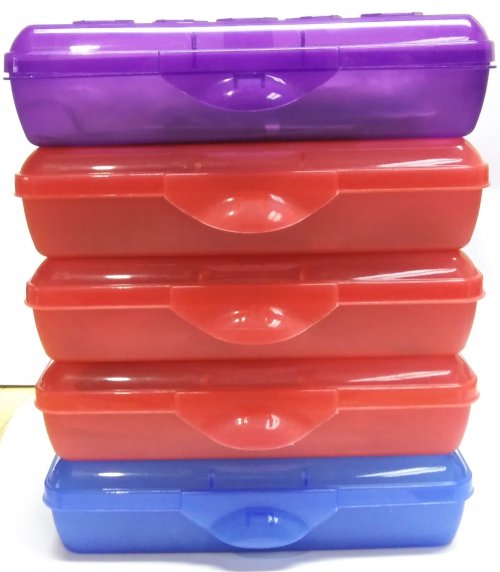 Project Storage
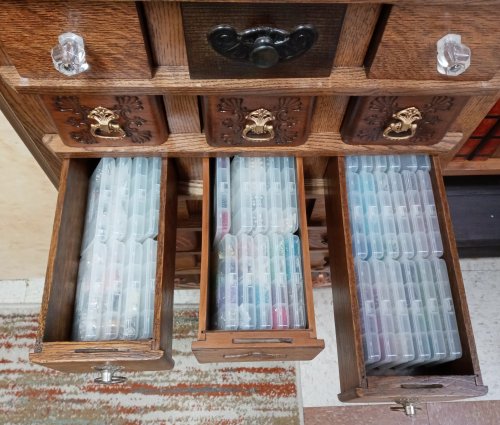 Tiny Bead and Findings Storage
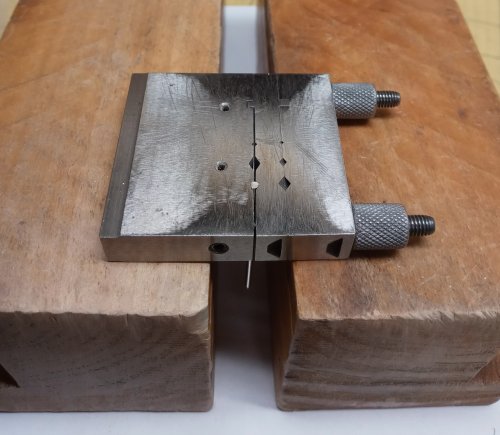 Working Smart
 Display Trays as Storage
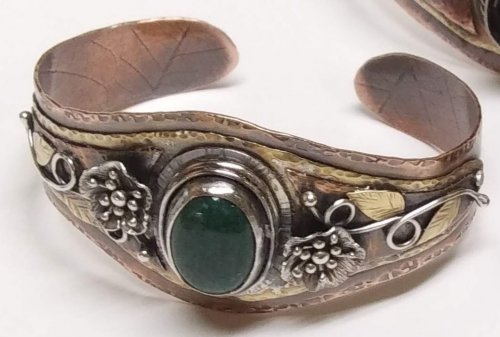 Making TIny Leaves
 Adapting a Tutorial
 Build Better Bead Storage
 Using Magical Crimping Pliers
 Add a Touch of Gold
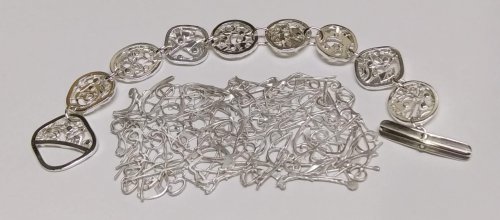 Make a Lacy Argentium Scrap Metal Sheet
 Birch Bark Texture
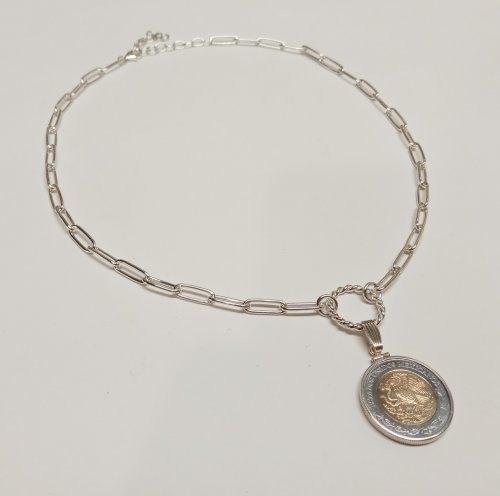 Versatile Snap-on Bails
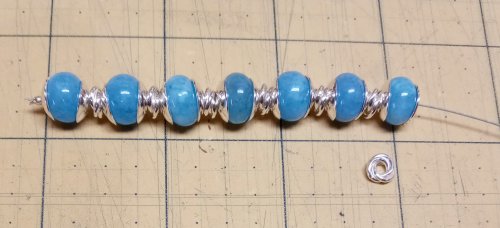 Bead Cap Primer
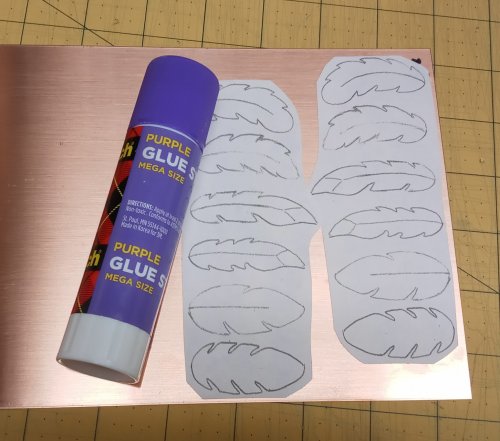 Using Glue Sticks with Printed Templates
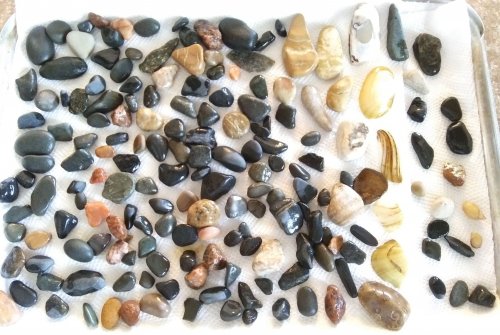 Choosing a Lake or Riverstone
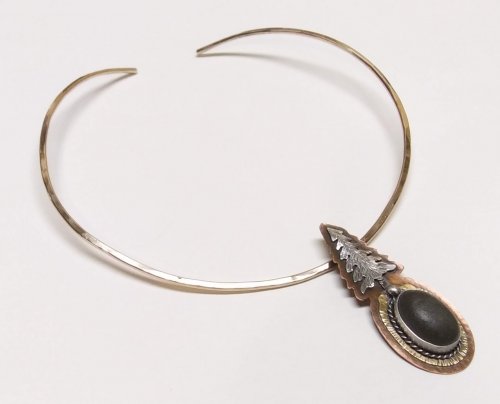 Do a Facebook Collaboration
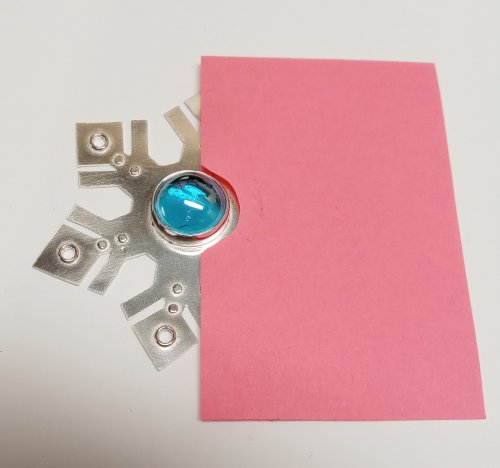 Shielding a Jewelry Piece When Stone Setting
 Some Ideas Are Right in Front of You
 Curving and Scrolling Wire
 Using Snapsets to Add Sparkle to Your Work
 Cutting Wire Multiples of the Same Length
 Separating Distinct Textures on a Single Piece of Metal
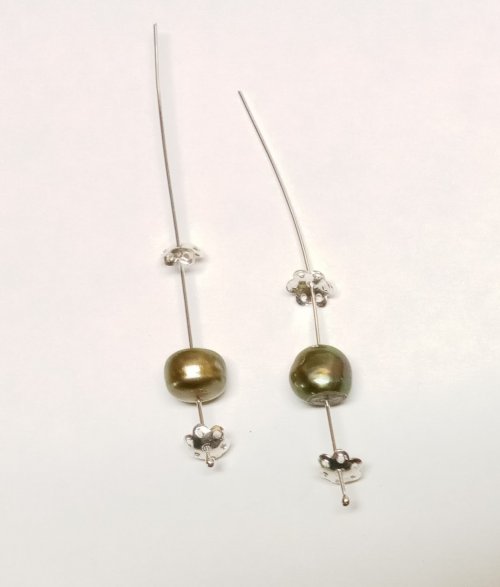 Changing the Size of a Pearl
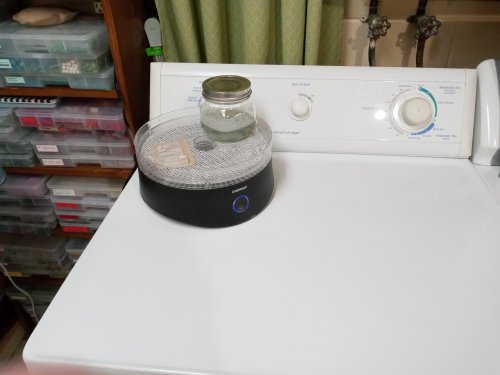 Easy Ring Cleaning
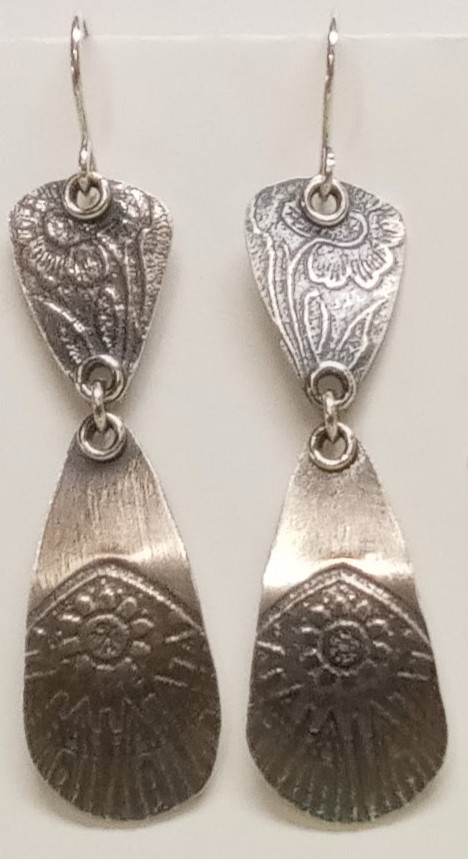 Add a Bit of Dimension
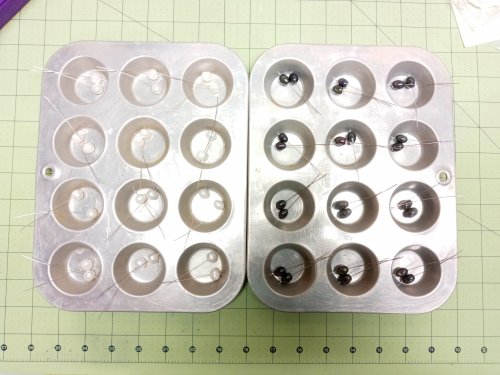 Keeping Projects Separate
 Tumbling and Polishing Metal Beads
 Unexpected Jewels
 Saws and Turning Radius
 Flattening Metal Pieces
 Mobius Ring Spacers
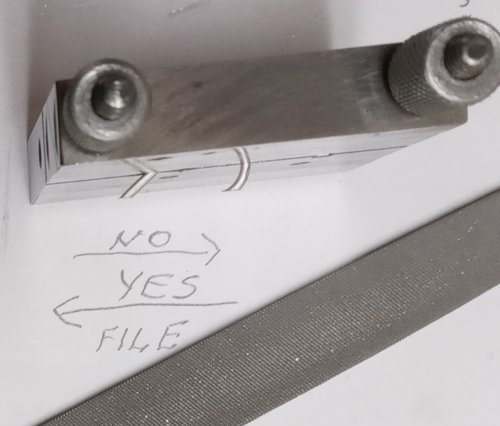 Filing Angled Wires in a Jig
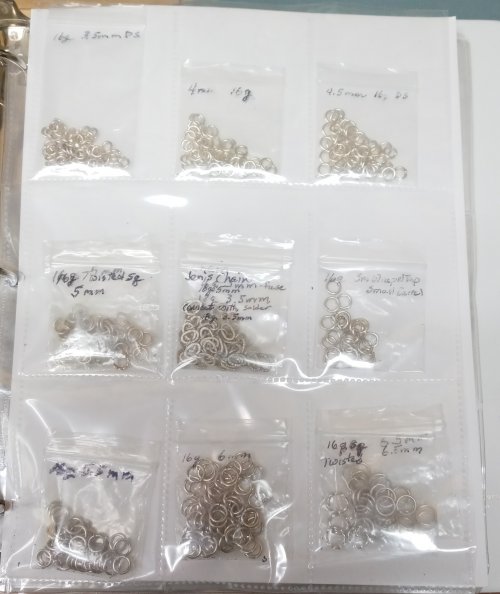 Storing Handmade Elements
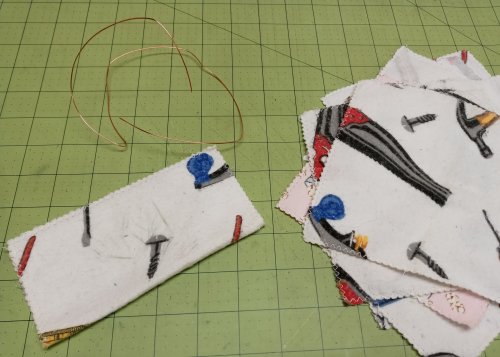 Simple Way to Straighten Wire
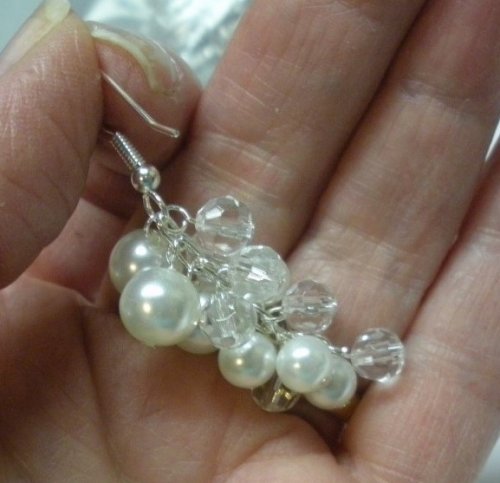 Two Ways to Make Simple Loops
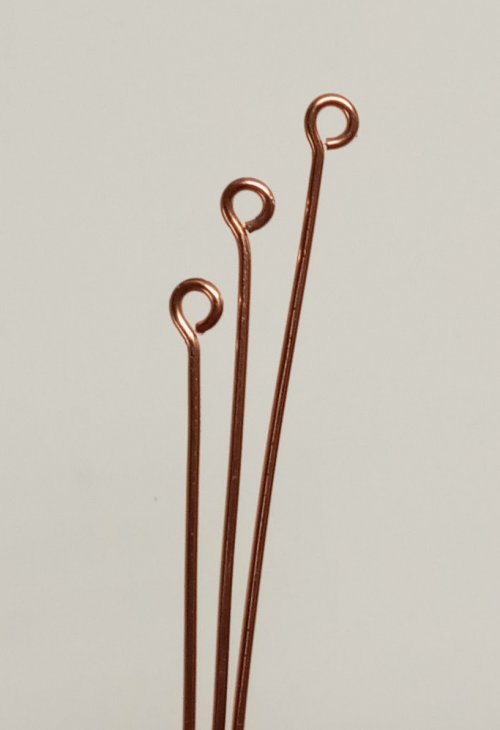 Making Simple Eyepins
 Using Fun Tak as a Resist
 Why Use a Binder to Store Embellishments
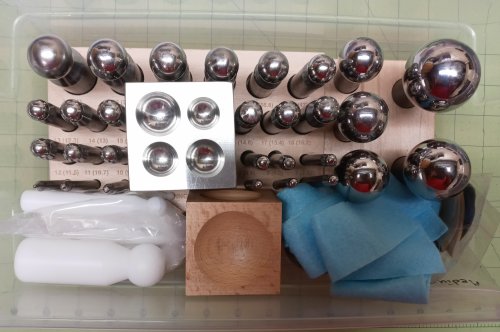 Storing Dapping Blocks and Punches
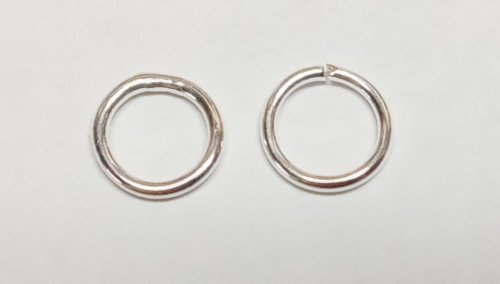 Wire Basics - Opening and Closing Jump Rings
 Enlarging a Bezel
 Leaf Inspirations
 Earring Findings for Different Ages
 Accidentally Learning Something New
 Fusing Jump Rings
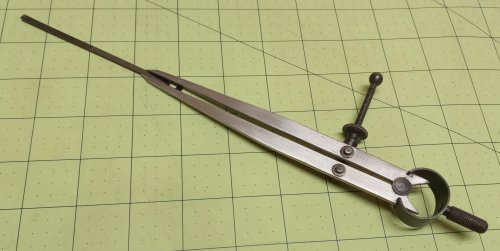 Tool Tip - Divided Caliper Scribe
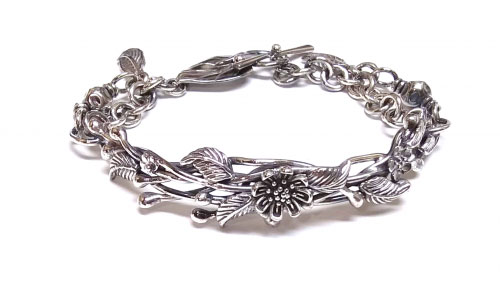 Out of the Mouths of Babes or Fixing a Spinning Bracelet
 Rethinking a Design
 When Bead Holes are Too Large
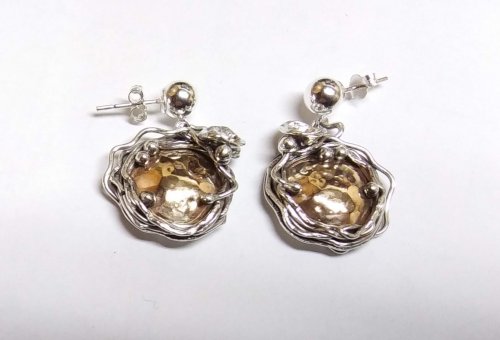 Soldering a Dome to a Backplate
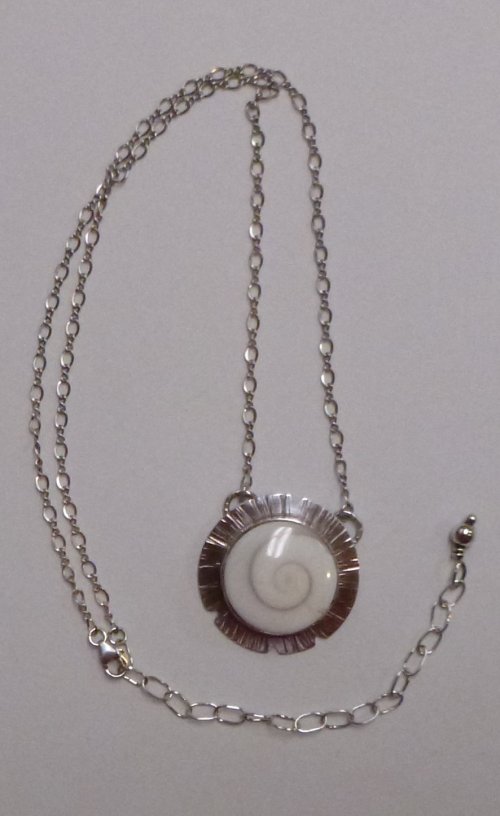 Eye of Shiva AKA Pacific Cat's Eye
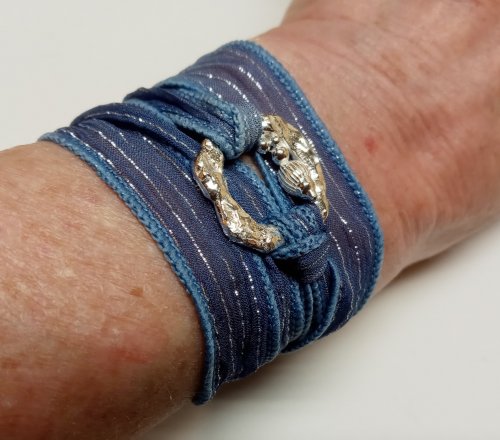 Ribbon Wrapped Bracelet tips
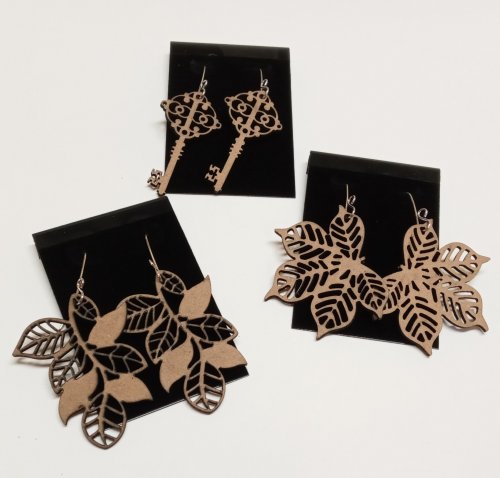 Making Lightweight Earrings with Unexpected Finds
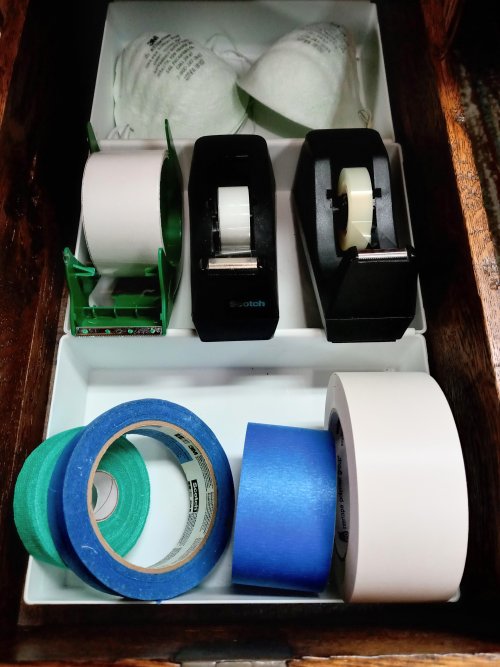 Tool Tip - Indispensable Tapes
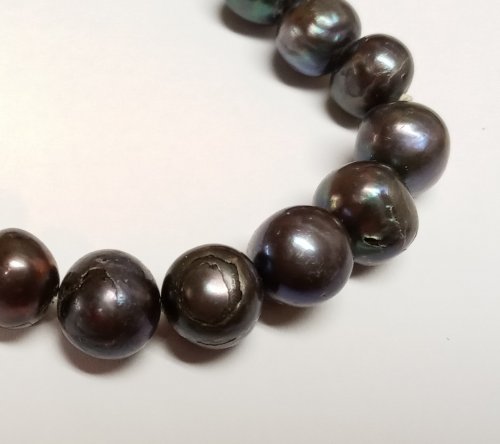 What Happens To Pearls Not Worn, Cleaned, and Stored Properly
 Aha Lightbulb Moment
 Adding Loops for Dangles on a Classic Wire Bezel Wrap
 After the Rain - Found Treasures
 Back to School
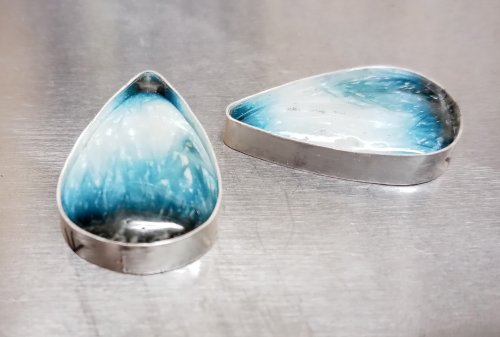 Bezel Solution for Corners and Points
 Filling Holes in Stones
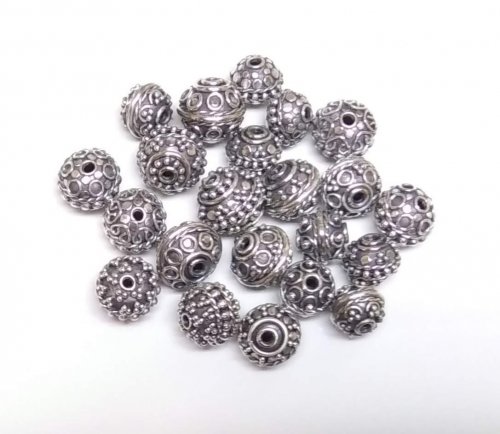 Dots to the Rescue
 Raising Stones in Bezel Settings
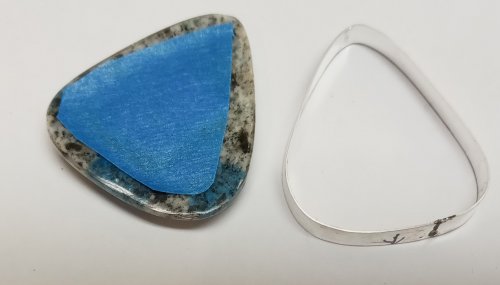 Leveling the Bottom of a Large Bezel
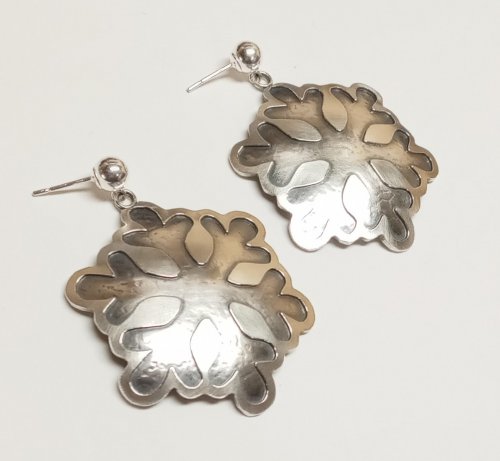 Using Leftovers
 Make-do Sawing Solutions
 Combining Tutorials
 Scrap Melt
 What's Your Jewelry Style
 Using Wax from Braces
 Sometimes Simple Really is Better
 Bead Soup and Small Changes
 Repurposing Sterling Cord End Findings
 Wire Wrapped Bail Finishing Options
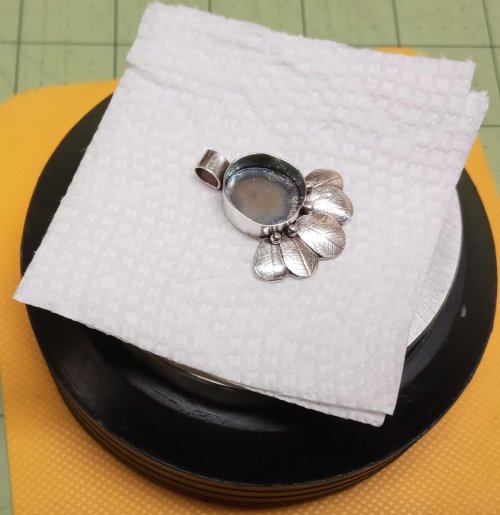 Protecting The Back of a Piece When Setting Stones
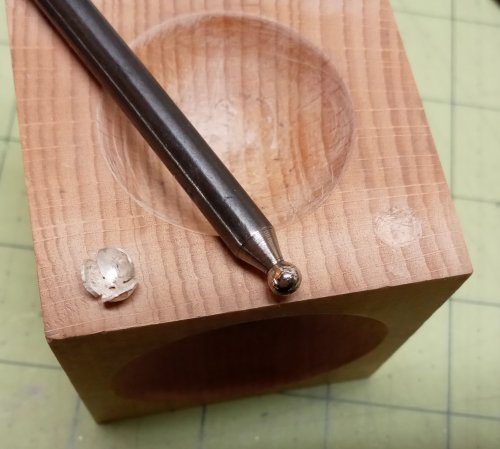 Altering Your Dapping Block
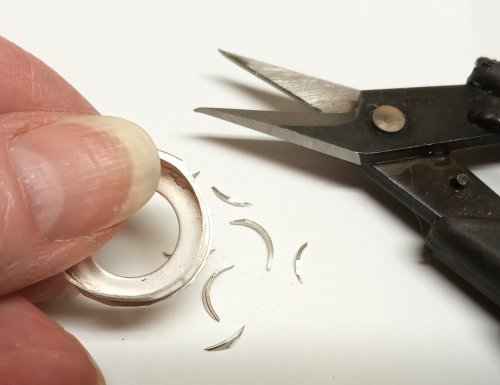 Trimming Around a Bezel
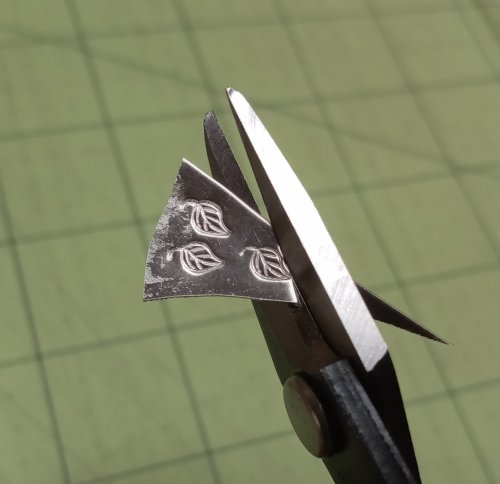 Making Tiny Dapped Metal Leaves
 Labeling Cabs When Working with Them
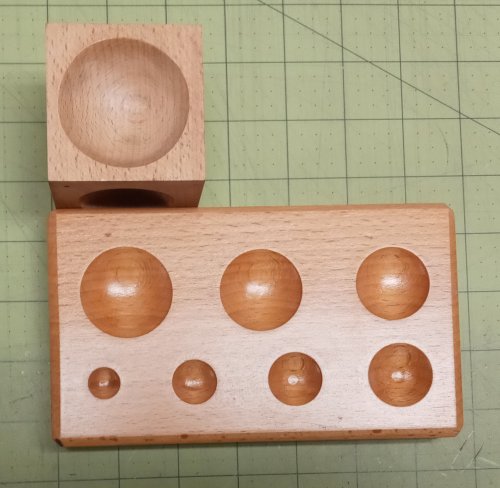 Basic Round Well Wood Dapping Blocks
 Get Inspired by What's on Your Bench
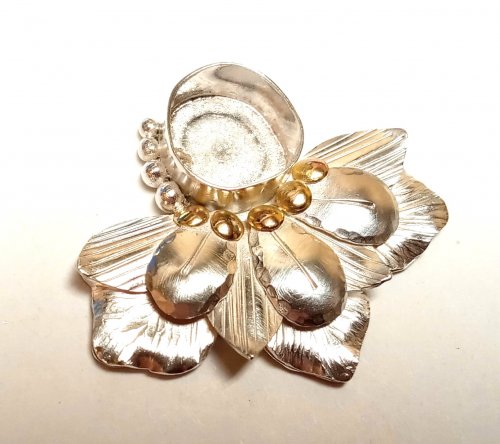 When Things Go Awry
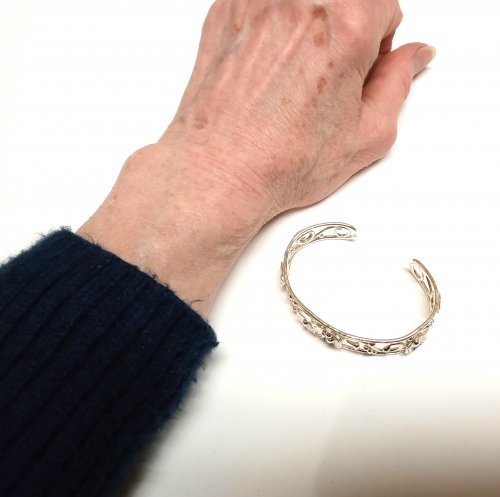 Putting On and Taking Off a Cuff Bracelet
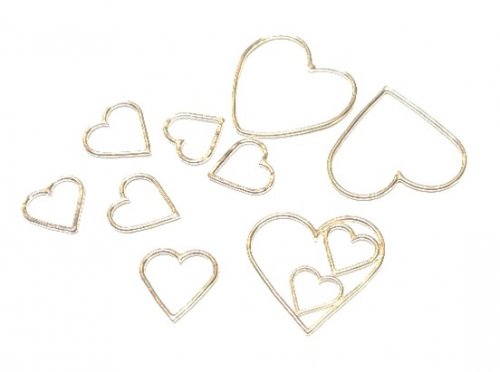
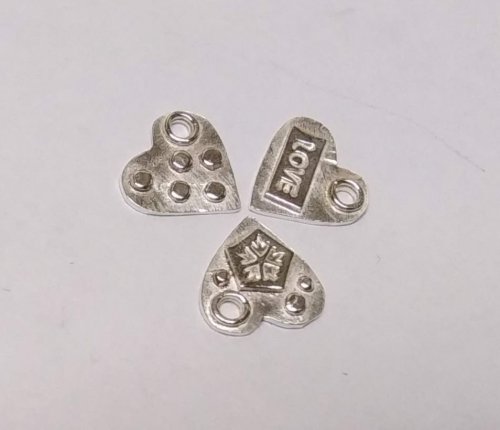 Adding Hearts to Your Designs
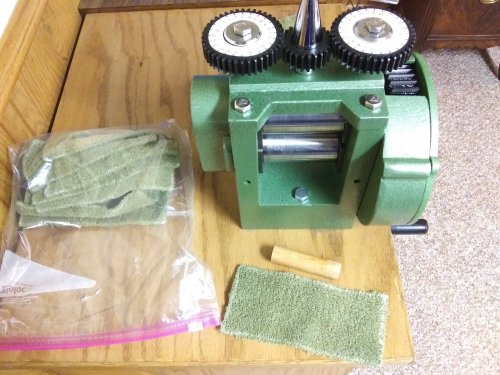 Taking Care of Your Rolling Mill
 Power Up
 Hammer Basics
 Wire Temper and Jump Rings
 Embellish Bezels with Twisted Wire
 Embellish a Treasure Box
 Make a Polymer Clay Cabochon Mandrel
 Jewelry Packaging for Small Items - Pillow Boxes
 Make-do Sawing Solutions
 Ball Chain Embellishments
 Pickling and Super Pickle
 A Better T-bar
 A Better Way to Change a Saw Blade
 Making Consistent Hanging Loops
 Targeted Patina
 Coin Focal Inspiration
 Bracelet and Paperclip Trick
 What Wire is Best for Earring Findings
 Storing Your Metal Stamps
 Save Those Old Buttons
 Adjusting Purchased Ear Wires
 Twisted Wire Tips
 Stash Inspiration and Notes
 Short Quotes for Stamped Jewelry
 My Favorite Tweezers
 No Rolling Mill- No Problem
 Coiling Wire for Jump Rings
 Cutting Coils Into Jump Rings
 Closed Jump Rings Soldering vs Fusing
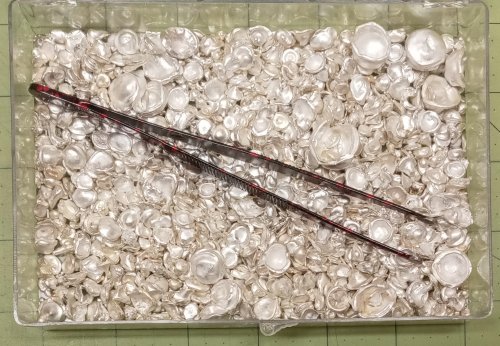 Recycling Scrap Into Sheet Metal

