


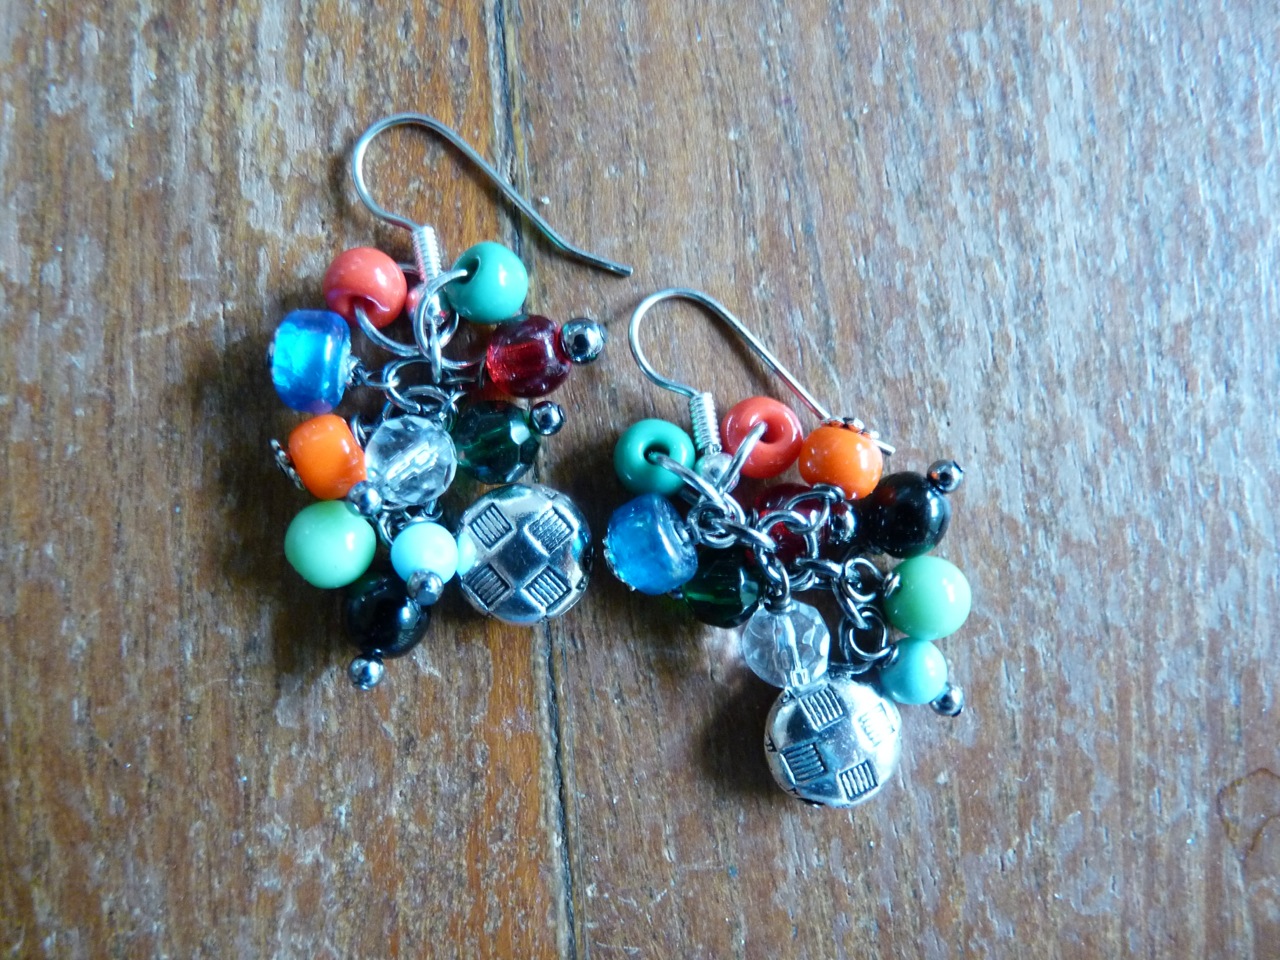
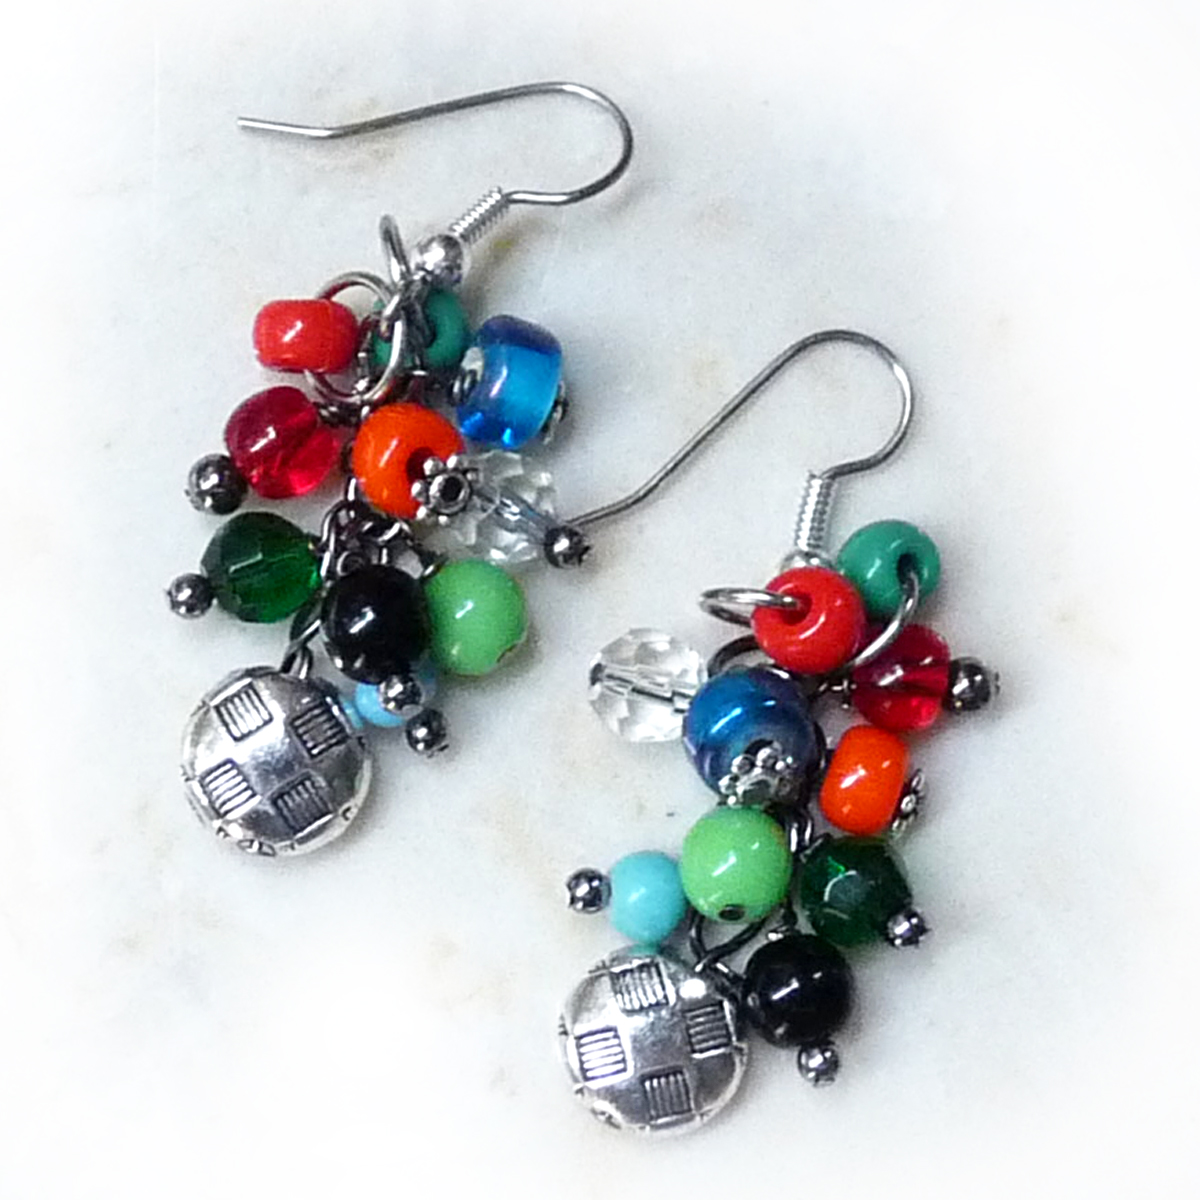
Beaded Cluster Earrings

Designed by Rhonda Chase © 2016
Skill Level: Beginner
There are many ways to make popular cluster dangle earrings like these. The directions I see most often are for attaching beads to a chain with jump rings. However, my favorite way to make these great earrings is a little more laborious, but it gives you more control, a sturdier earring and often a fuller look. In this tutorial, I'll show you how to make your own dangles and build your own dangle chain for the earring base. This is also an ideal project to practice making wrapped loops and end up with awesome earrings. I hope you enjoy it!
Materials:
- An even number of small beads (20-30). If the holes are bigger than the headpins, you'll also need the same number of seed beads.
- Two larger beads
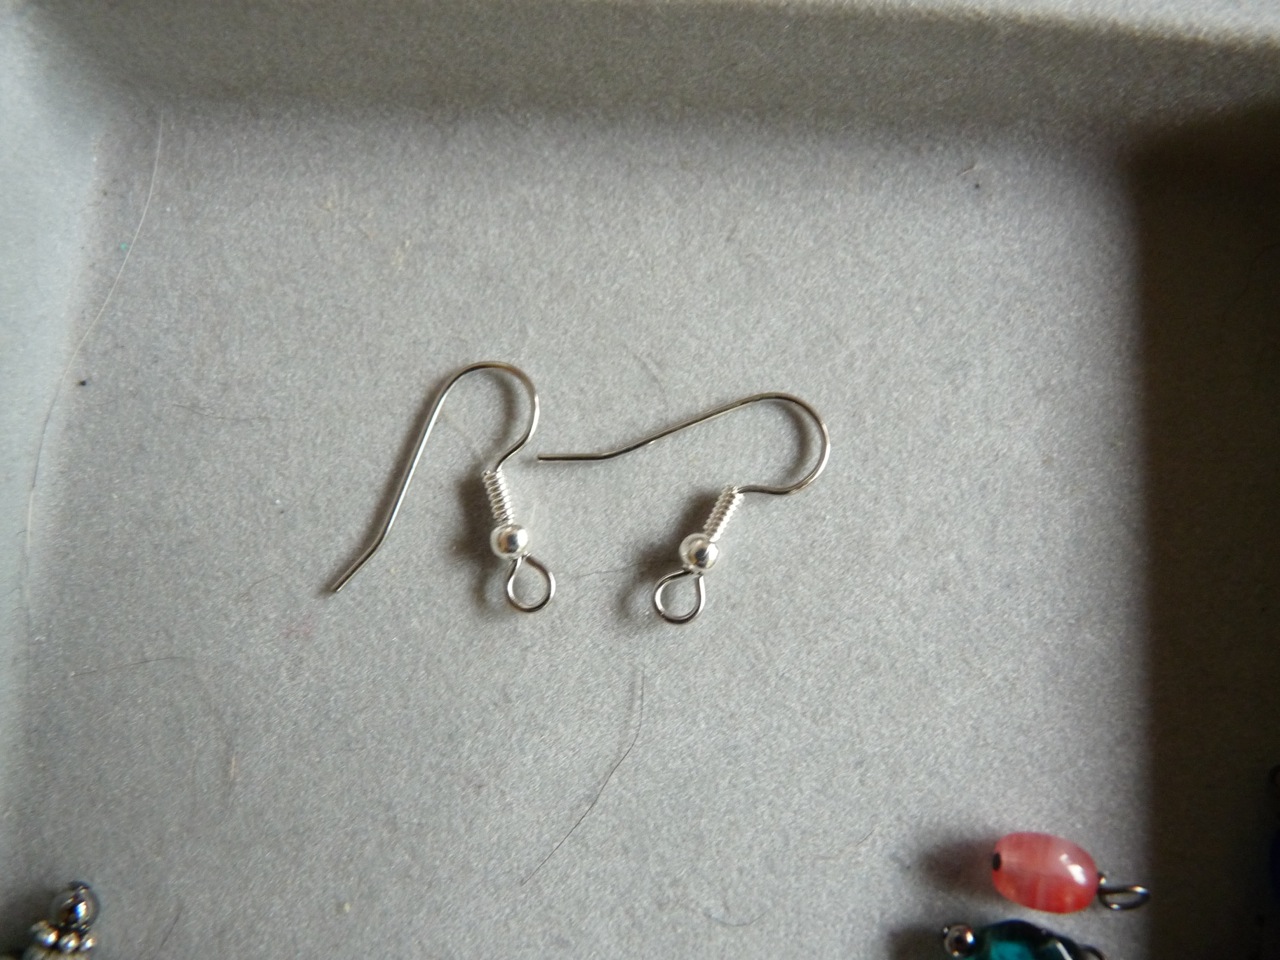
- One pair of ear wires
- Jump rings : (open) - I used 4mm ovals. (10 - 14, depending on how many beads you use)
- Headpins: one per bead (1 - 2 inches, 22g - 24g)
Tools:
- Two pairs of pliers with a flat interior surface. They can be chain nose or flat nose.
- Round nose pliers
- Wire cutter
Directions:
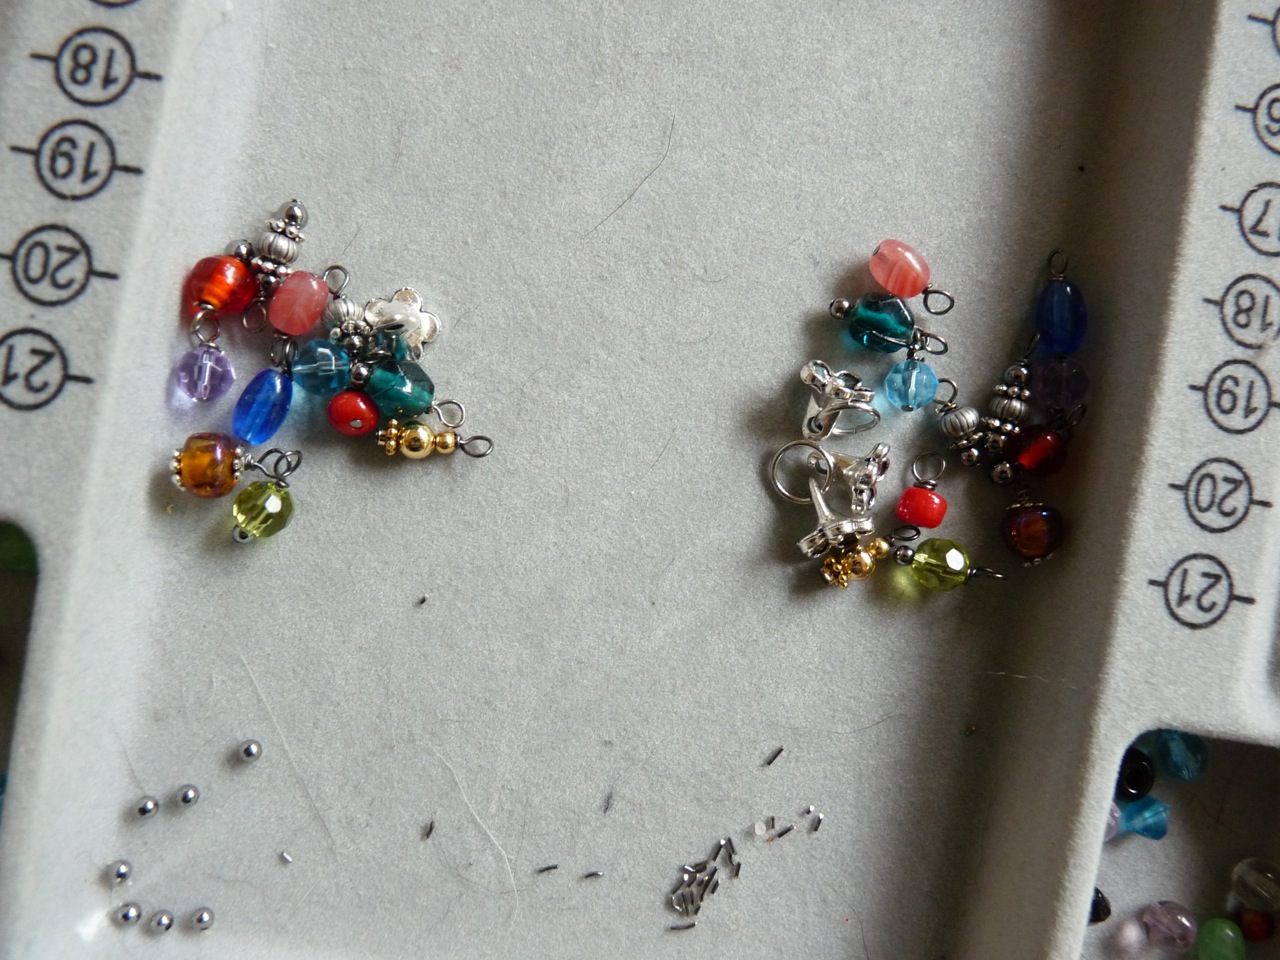
Make all your dangles first -
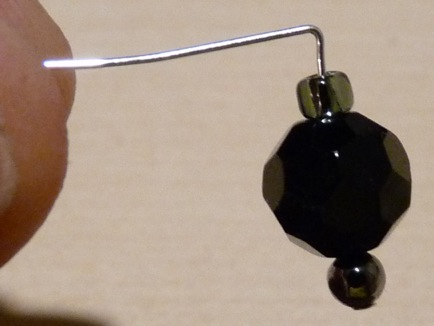
Step 1: String a bead (with optional seed beads) onto a headpin. Leave at least a 1/2″ un-beaded “tail”.
Step 2: Bend the tail of the headpin at a right angle, 2 - 4mm above the top of the beads(s) with flat nose pliers.
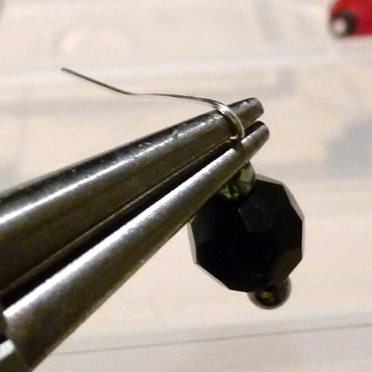
Step 3: With round nose pliers, hold the wire tail at the bend and loop the wire tail over the pliers and into a circle with your fingers.

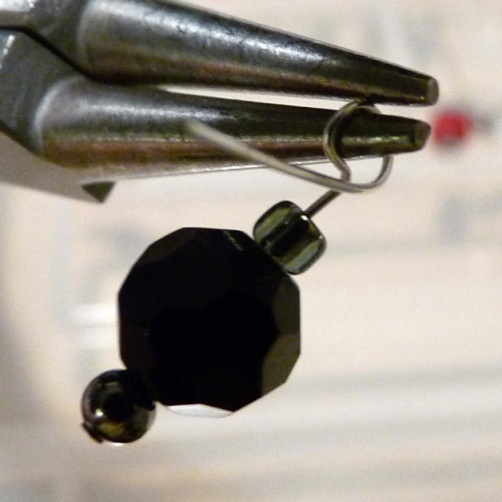
Step 4: Then wrap the remaining wire tail around the headpin in the space left above the beads. Make at least 1 full wrap. You can wrap as many times as you want after that, if the wire is long enough. Use pliers to add stability.

Step 5: Cut excess wire close to the wraps.

Keep Making Dangles -
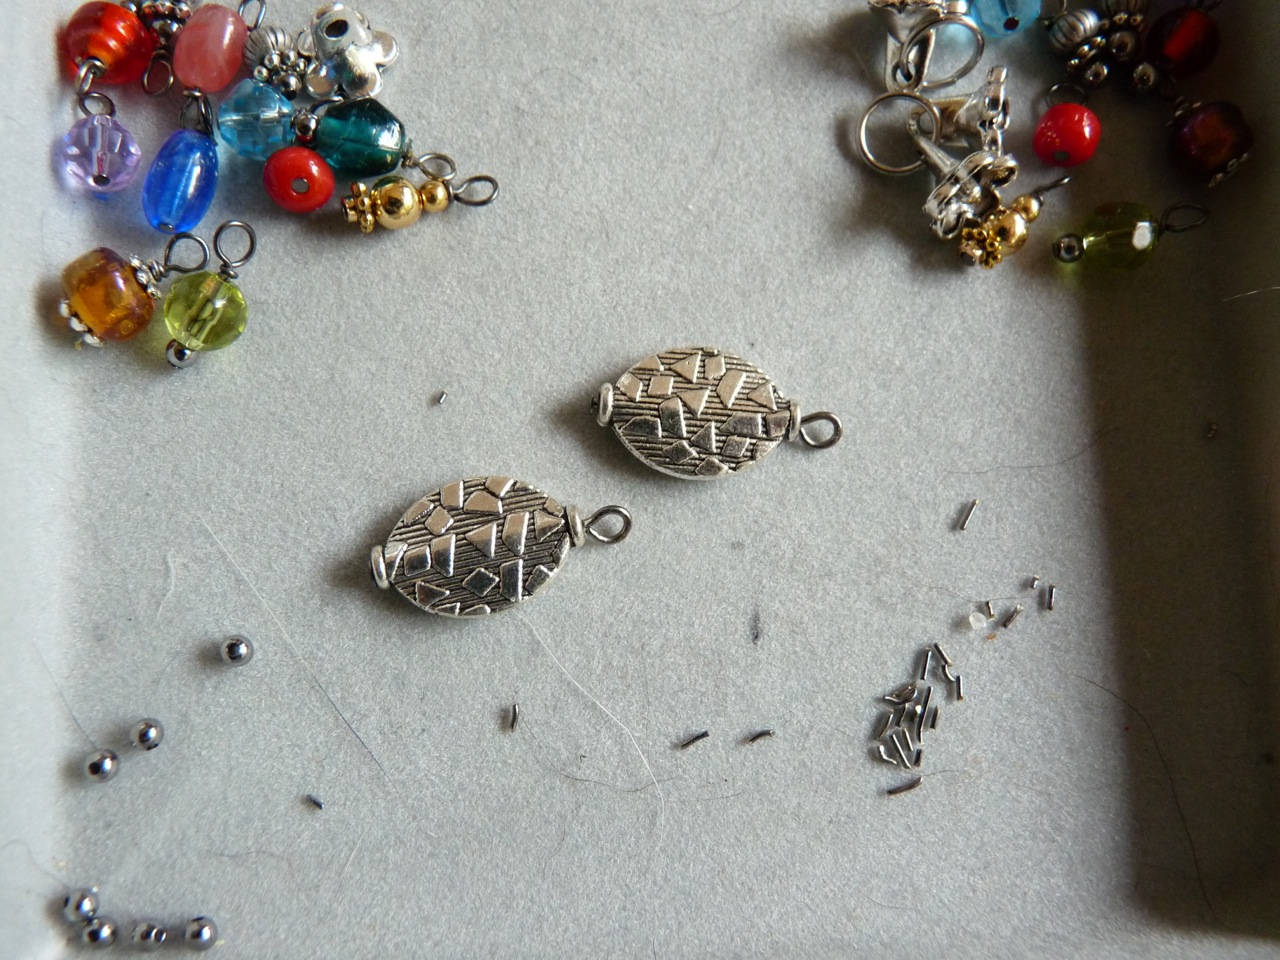
Step 1: Repeat. Repeat. Repeat. Keep making dangles with the small beads until you have two (matched) sets of at least 5 - 10 beads each. I used 12 dangles for each earring for a total of 24 small bead dangles.

Large Beads -
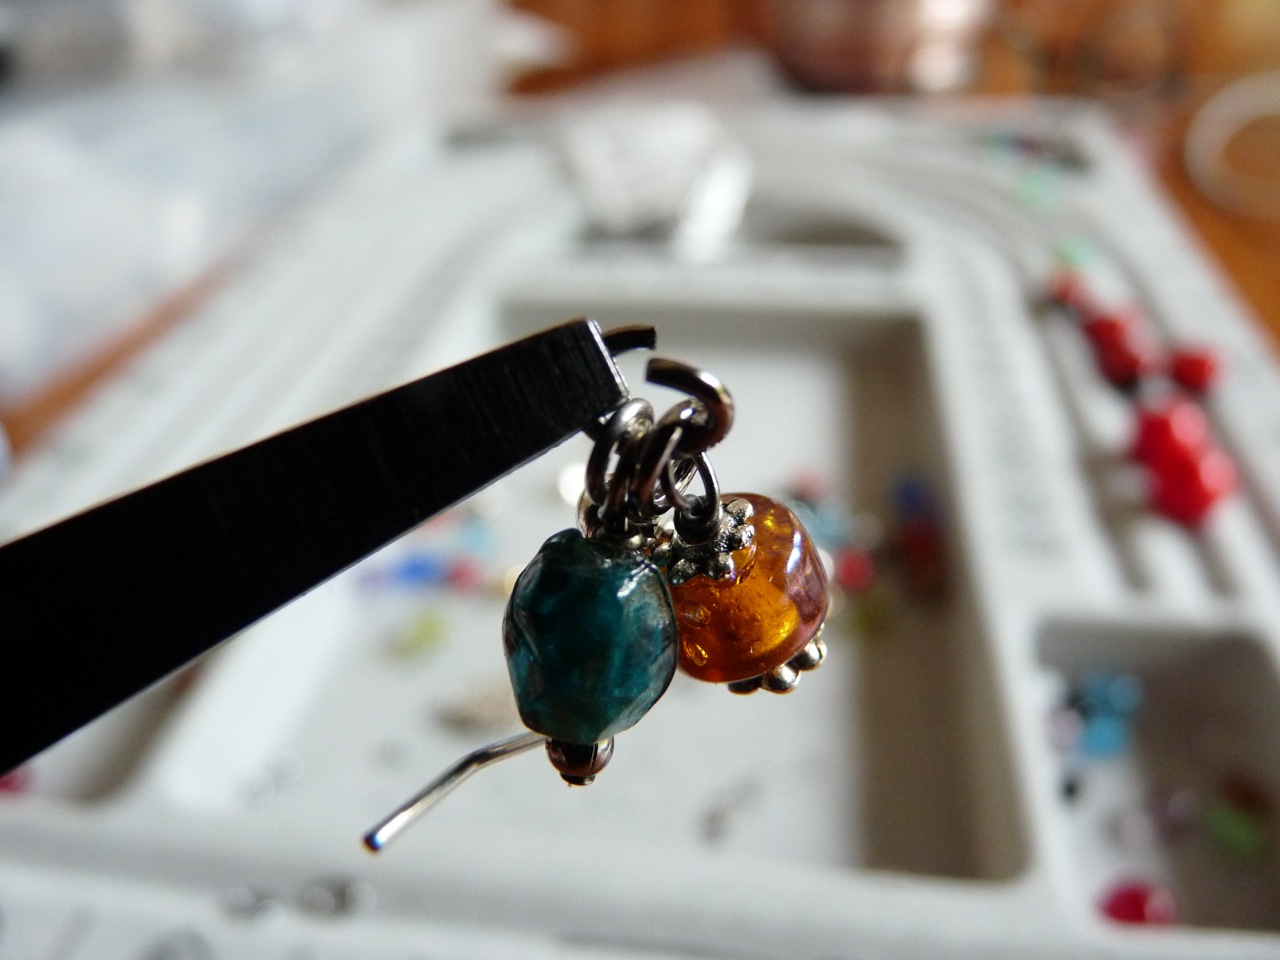
Step 1: Make dangles with your large beads. You'll only need two. These will hang at the bottom of your earrings.
Begin Assembly -
Step 1: Open 1 jump ring with pliers.

Step 2: Slide the jump ring on one ear wire.
Step 3: Add 1 dangle to each side of the ear wire and close the jump ring.
Step 4: Set the grouping down in this configuration and repeat with the other ear wire.
Note: I find the easiest way to open jump rings is to hold each side of the cut with a pair of flat surfaced pliers and twist slightly in opposite directions. Never pull the opening apart. Always twist.
Second Level-
Step 1: Open a second jump ring.
Step 2: Add it to the first ring, making sure you keep the configuration from the previous step.
Step 3: Add a dangle so they fall to each side of the open jump ring.
Step 4: Close the jump ring. You will build a chain of dangles in this way until you like the look and the length. Continue until you've attached all your dangles. Repeat with the other earring (in bead order if possible).
HINT: It helps to work upside down, but hold your earrings right-side-up once in a while to see how they look. Remember to make sure your dangles fall to each side of the jump ring when you pick up the cluster.
More Dangles -
The Last Dangle -
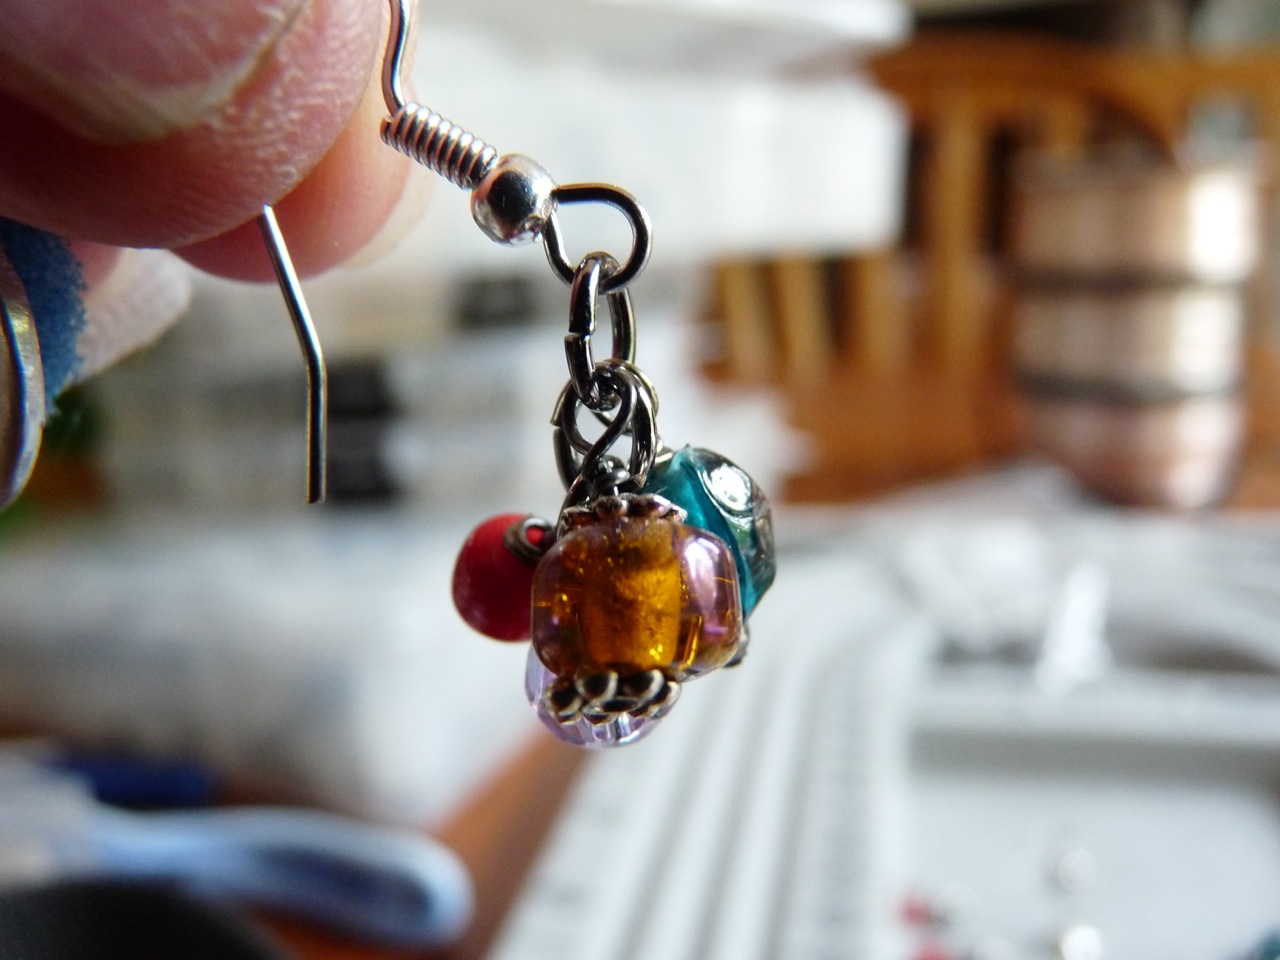
Step 1: Before you close the last jump ring on each earring, add the dangle with the large bead.
Step 2: Close the jump ring and hold your earring by the ear wire to see how it looks. Do the other one and you're done!
-
Congratulations! You've made your first set of Beaded Cluster Earrings!
 Free Wire Jewelry Patterns
Did you find this pattern through a link from a friend? This Free Wire Jewelry Pattern is just one of dozens of free wire jewelry patterns we send via email. Get patterns like this one straight to your inbox - click here!
![]()
The premier place for all your jewelry making needs. The best in wire, tools, cabochons, gemstone beads and more. As well as a superior resource for educational support to help build your jewelry making skills and techniques.
Connect With Us

® 2007 - 2026 Wirejewelry.com Powered by ClaimTheWeb Cart