


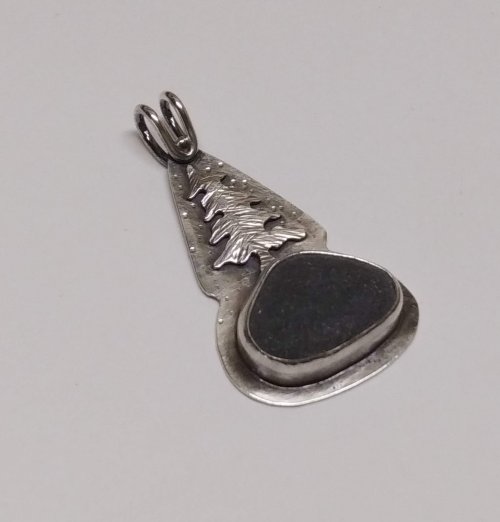


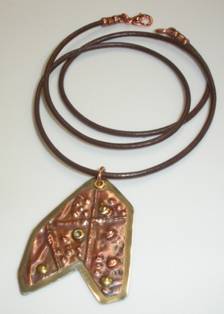
Freeform Pendant

Designed by Judy Larson © 2016
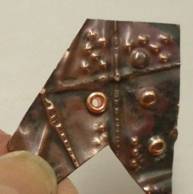
You can create unique pieces of jewelry using leftover pieces of sheet metal. In this instance, the leftover piece of 30 gauge fold formed copper sheet metal was trimmed to a desired shape and riveted to a slightly larger piece of 24 gauge nickel silver sheet. 3.5x3.5mm brass rivets and eyelets were used to attach the two pieces together and to add color interest.
Materials:
- Leftover foldformed piece 22 or 24 gauge sheet metal
- Variety of eyelets and rivets: 3.5mm x 3.5mm eyelets and 3mm x 3.5mm rivets were used here
Tools and Supplies:
- Tools for your preferred method of cutting out sheet metal shapes
- Tools and supplies for riveting
- Flat, round and chain nose pliers
- Rubber, plastic or rawhide mallet
- 1.5mm hole punch or Multi hole punch tool
- Bench block
- Hint: Use a rubber block or a sand bag under your bench block to help deaden the sound from your hammer blows.
- Variety of files to smooth and refine metal edges
- Tumbler and steel shot
- Ultra fine point Sharpie
Directions:
Read through all the directions before beginning the project.
Note: You may need to flatten each piece after cutting or working with it. You do not want to change the look or surface design of your foldformed piece, so use a rubber, plastic or rawhide mallet and bench block to do this.
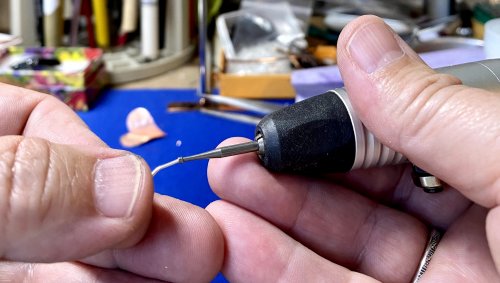
Step 1: In this particular leftover fold formed piece, there was a hole caused when dimpling pliers broke through the metal. A bead reamer was used to make the hole large enough to fit a small brass 3mm eyelet or domed head rivet with a tube style back.
Step 2: Set the rivet.
Step 3: Trim the fold formed piece to a desired shape.
Step 4: Use files to smooth and refine the edges of the fold formed piece.
Step 5: Use the smallest hole punch from the multi hole punch tool to make holes in the desired locations on
the fold formed piece.
Step 6: Cut a 24 gauge piece of sheet metal, nickel silver in this case, larger than your fold formed piece. Youwill trim it to fit later, so do not worry too much about size or shape.
Step 7: Using an ultra fine point Sharpie, mark ONE of the holes through the fold formed piece onto the nickel silver backing.

Step 8: Use the smallest hole punch from the multi hole punch tool to make a hole on the mark on the nickel silver.
Step 9: Place a brass domed head rivet or eyelet through both holes and connect the fold formed piece to the nickel silver piece. Rivet in place.
Step 10: Use the smallest hole punch from the multi hole punch tool to make a hole in the nickel silver backing through another fold formed hole.
Step 11: Place a brass domed head rivet or eyelet through both holes and connect the fold formed piece to the nickel silver piece. Rivet in place.
Step 12: Repeat the process until the fold formed piece is securely attached to the nickel silver backing.
Step 13: Decide where the top of the pendant will be. Punch a hole there and add a brass eyelet. Add a jump ring to the hole.
Step 14: Trim the nickel silver backing the desired distance away from the fold formed piece.
Step 15: Use files to smooth and refine the edges of the nickel silver backing.
Step 16: You may wish to tumble the piece at this point to polish.
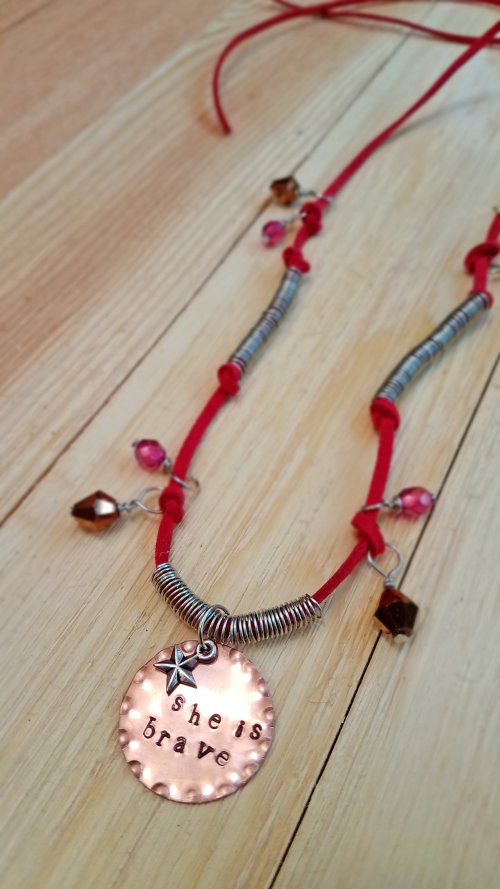
Step 17: Slide the pendant on a chain or leather cord.
Congratulations! You've made your first Freeform Pendant!
 Free Wire Jewelry Patterns
Did you find this pattern through a link from a friend? This Free Wire Jewelry Pattern is just one of dozens of free wire jewelry patterns we send via email. Get patterns like this one straight to your inbox - click here!
![]()
The premier place for all your jewelry making needs. The best in wire, tools, cabochons, gemstone beads and more. As well as a superior resource for educational support to help build your jewelry making skills and techniques.
Connect With Us

® 2007 - 2025 Wirejewelry.com Powered by ClaimTheWeb Cart