Writing Awesome Tutorials
If you love reading tutorials, why not write one of your own?
Instructions
Of course, tutorials are not just for jewelry making, they apply to pretty much every craft. Think of a tutorial as a recipe.
Ingredients [materials],
Mixing spoons, bowls, baking pans [tools and supplies] and
Detailed instructions to make that soufflé [pendant] come out perfectly.
I love to bake rustic bread, and I have been doing to so long that I no longer need the recipe, but if I were to make a soufflé, I would need the recipe for step by step instructions.
Start by choosing a technique/piece that you are proficient at and have made more than one time.
Make a list of ingredients [materials] and tools and supplies, make sure they are common and easy to find.
To begin to write the recipe [tutorial instructions], put your mind in basic mode. By basic mode, you need to write to make sure that a person who has never made something like your project or technique understands. They may not necessarily be a beginner, they may have not tried this type of project or used the tools and materials you use. Consider yourself a beginner, and ask yourself questions that your readers may ask. Keep the instructions as detailed as possible, without being overly wordy. Refrain from using 'your' when you refer to a tool or material. Substitute 'the' in place of 'your'. For instance:
1. Using your {use 'the' instead}, round nose pliers, make a loop in the end of the wire....
If you are taking process photos, use good lighting. Make sure they are clear and in focus. Try to avoid your hands in the shots unless it is necessary to the step. And keep your backgrounds plain.
If you are sending your tutorial to an editor, make sure your process photos are properly labeled and match with the steps in your tutorial.
Using the above as a basic guide, you are now ready to write!
Materials

20 Gauge Round Dead Soft .925 Sterling Silver Wire
H8-20D
- Lesson Quantity: 5.00 feet
- Purchase Quantity: 1.00 5FT
- Price: $16.92
- Gold Club Price: $12.69
Tools

WireJewelry - Ultimate Wire-Pliers Jewelry Pliers with Case, Set of 5
G15-20
- G15-20
- Lesson Quantity: 1.00 pieces
- Purchase Quantity: 1.00 each
- Price: $170.72
- Gold Club Price: $128.04
- Category: General Education
- Technique(s): Teaching






 The Indispensable Paper Pattern
 Sawing Symmetrical Shapes
 A Safer Pickle Pot
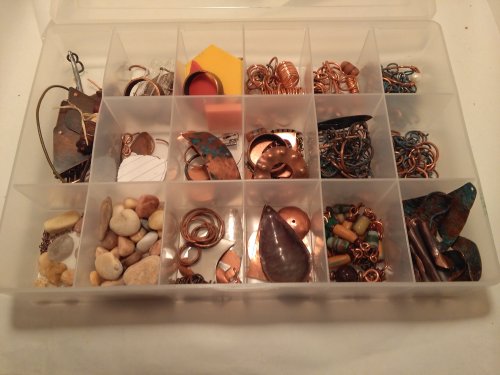 Don't Toss that Jump Ring.
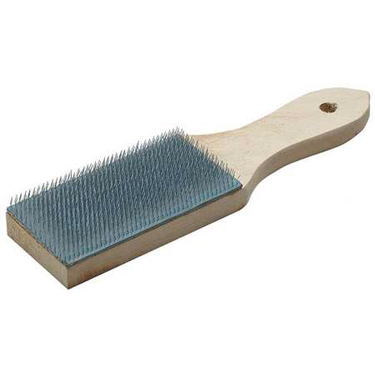 Keep Your Files in Tip Top Shape
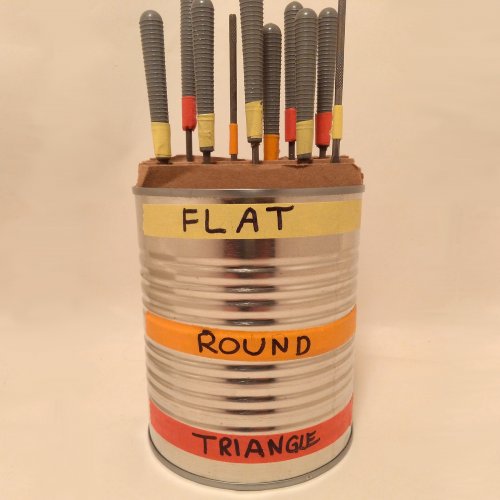 Storage Tip for Your Metal Files
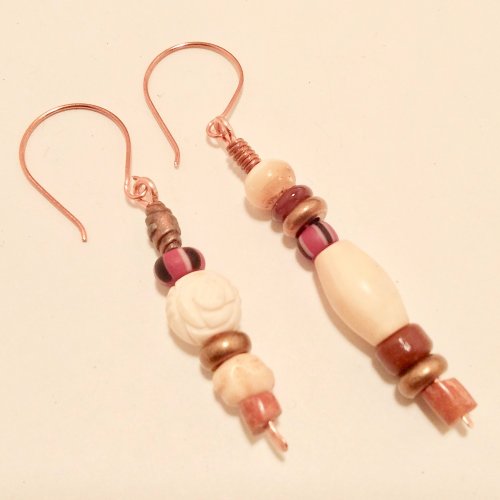 Working with Asymmetry
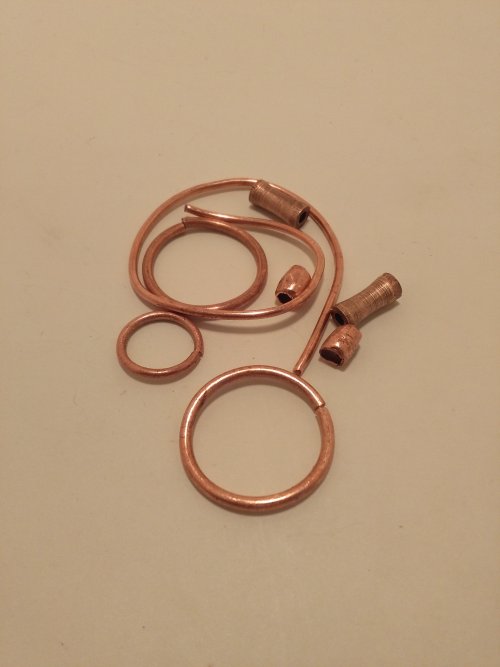 Condiment Copper Cleaning
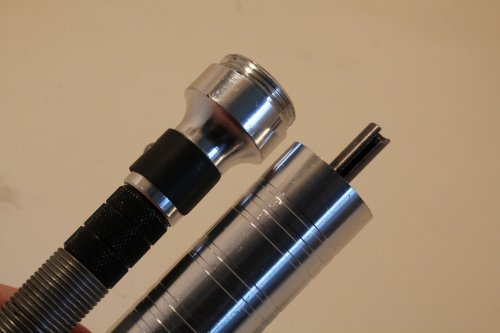 Flex Shaft Care
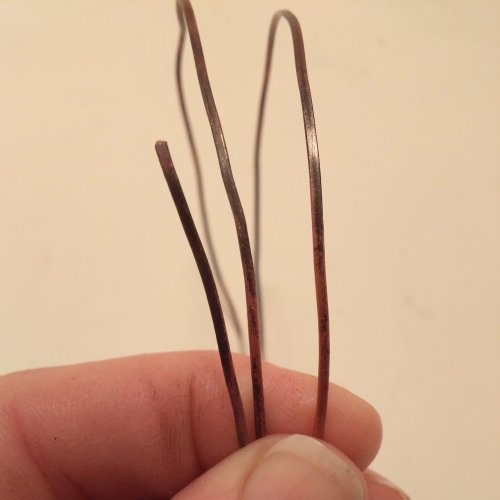 Making Ribbon Wire
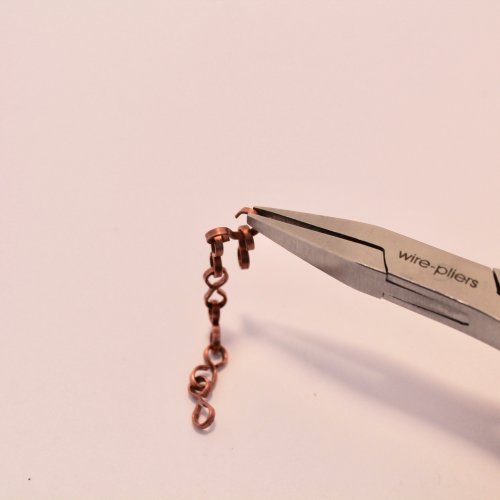 Quick Ribbon Wire Figure-8 Links
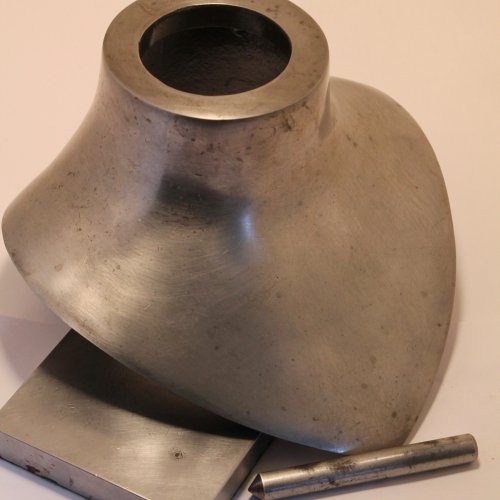 Cleaning Corrosion from Your Tools
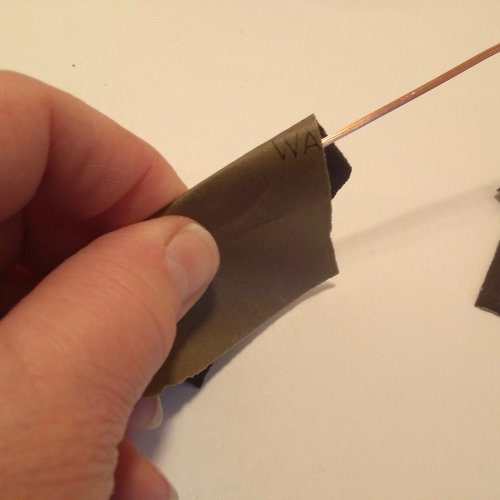 Should I Clean My Copper
 Mandrels on Hand
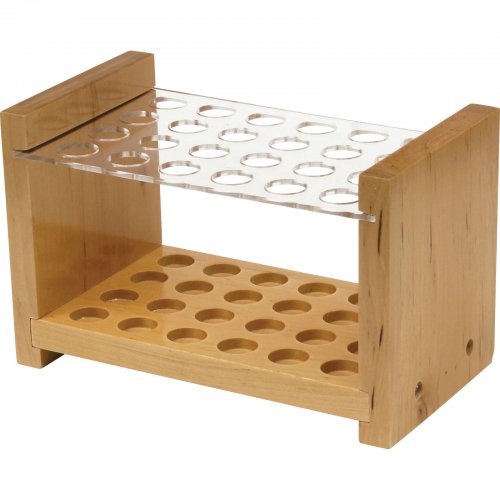 Creative Tool Storage
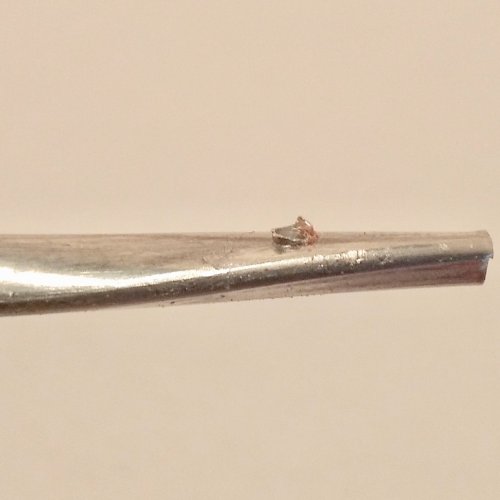 Dealing with Metal Burrs
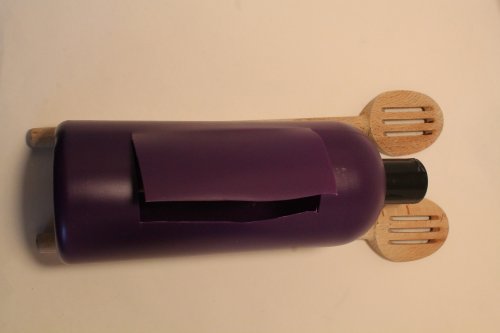 Make Yourself a Quick Etching Container
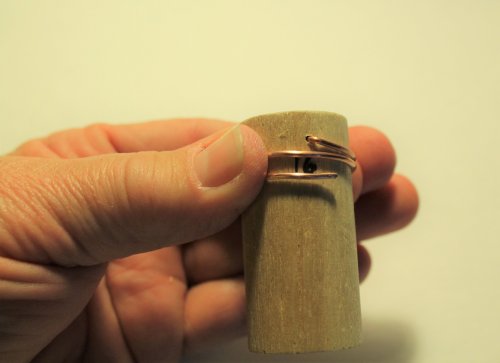 Simple Mandrels for Making Jump Rings
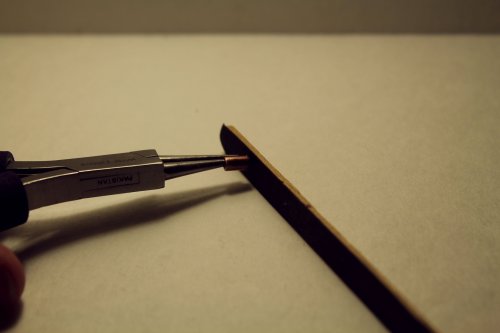 Quick Spacer Beads
 Embellishing Twisted Wire Hoop Earrings
 Circle Earrings Take 2
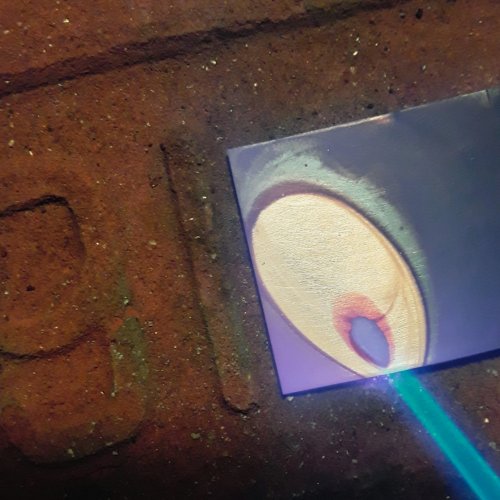 Annealing 101
 Flaring an Eyelet Using a Dap
  Wubber Pliers Identification Tip
 Think Ahead Wire Measuring
 Make a Filing Fixture
