No Rolling Mill- No Problem
You don't need fancy equipment to create eye-catching textures on metal. If you've got a hammer and a bench block, you're already in business! With a little creativity, everyday items around your house can stand in for a rolling mill-no expensive tools required.
Try pressing unexpected textures into sheet metal using things like burlap ribbon for an all-over pattern, or even a facial waxing strip (yes, really!) for a soft, subtle finish. Practice on copper or other base metals in different gauges to see what kind of results you can get.
After a recent hand surgery, I brought home everything from my paper gown to the foam strips used in the prep process-each one a new texture experiment waiting to happen. Don't be afraid to get a little weird with it-some of the most unique designs come from the most surprising materials!
Instructions
The sheet metal, which should be slightly larger than the item used to impart texture.
Even though sheet metal purchased for jewelry making is usually dead soft, for the texturing methods described here, annealing the metal is a MUST to obtaining a deep, crisp texture design.
After annealing, pickle the piece to remove the fire scale and dry the piece before continuing.
Even though sheet metal purchased for jewelry making is usually dead soft, for the texturing methods described here, annealing the metal is a MUST to obtaining a deep, crisp texture design.
After annealing, pickle the piece to remove the fire scale and dry the piece before continuing.

Cut a laser-cut cupcake wrapper slightly larger than the piece being textured, first photo.
Or, use a punch to cut a design from card stock, such as the dragonfly in the second photo.
Consider using a Cricut to cut other designs and shapes, or letters for monograms.
Or, use a punch to cut a design from card stock, such as the dragonfly in the second photo.
Consider using a Cricut to cut other designs and shapes, or letters for monograms.


Following the glue stick directions, coat one side of the chosen design with a craft glue.
Immediately adhere the design to the sheet metal piece.
Immediately adhere the design to the sheet metal piece.


Place the metal on a bench block, paper design facing up.
Since hammering can dislodge the paper design, use wide clear packing tape to hold the metal and glued paper in place on the bench block.
Packing tape has the added advantage of protecting the piece a bit from minor dings on the hammer face being transferred to the metal.
Since hammering can dislodge the paper design, use wide clear packing tape to hold the metal and glued paper in place on the bench block.
Packing tape has the added advantage of protecting the piece a bit from minor dings on the hammer face being transferred to the metal.


Use a hammer with a large, smooth flat face to hammer the design into the metal surface.
Use firm flat strokes.
The cupcake wrapper was not taped in place and parts came off during hammering which is why taping the unit in place is recommended.
Use firm flat strokes.
The cupcake wrapper was not taped in place and parts came off during hammering which is why taping the unit in place is recommended.


The paper design should easily pull back from the metal when finished.
If not, it will come off with water and a bit of rubbing.
Rinse and dry the piece.
If not, it will come off with water and a bit of rubbing.
Rinse and dry the piece.


Cut a piece of 40 grit sandpaper slightly smaller than the piece of metal being textured. Use double stick tape to hold the metal piece in place in the center of the bench block.
Place the sandpaper texture side down on an annealed metal sheet.
Tape everything in place.
Hammer the sandpaper into the metal for an interesting texture.
The sand grit will go flying if the tape is not larger than the unit being textured.
Place the sandpaper texture side down on an annealed metal sheet.
Tape everything in place.
Hammer the sandpaper into the metal for an interesting texture.
The sand grit will go flying if the tape is not larger than the unit being textured.

A zig zag wire (probably from a large street sweeper brush) found on a walk was hammered into an already shaped brass embellishment and on a brass scrap piece for an interesting effect.


Because fine details on many coins are difficult to capture, hammer an annealed metal disc onto a deeply textured coin.
Use double stick tape to hold the coin in place in the center of a bench block, desired texture side facing up.
Center a piece of metal to be textured (larger than the coin) over the coin.
Use double stick tape to hold the coin in place in the center of a bench block, desired texture side facing up.
Center a piece of metal to be textured (larger than the coin) over the coin.


Use clear wide packing tape to hold the metal piece in place.
Remember, the image obtained will be the reverse of the coin.
Remember, the image obtained will be the reverse of the coin.

Heavily hammer the piece.
Remove the tape.
Remove the tape.


If the coin is not easily removed from the bench block, push a razor blade scraper under the tape and coin to loosen the it.

Cut out and separate the butterflies from two cupcake wrappers.
Other designs will work, as well.
The general rule of thumb is that the design should be at least as thick as scrapbook craft paper.
Other designs will work, as well.
The general rule of thumb is that the design should be at least as thick as scrapbook craft paper.

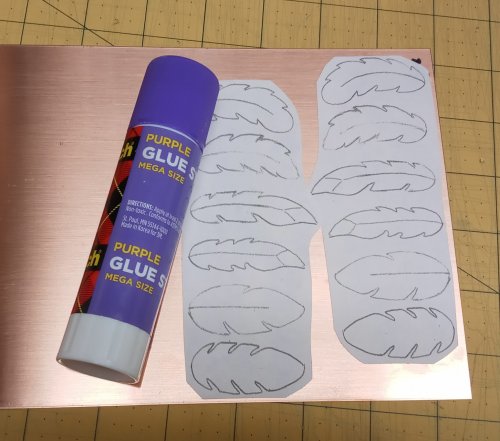
Since stick glue usually dries pretty fast, spread the glue over only a small area of typing paper at a time-first photo.
Align the craft paper designs and press them into place-second photo.
Align the craft paper designs and press them into place-second photo.


Use a Scoth purple glue stick.
It is easy to tell when it is dry because it turns clear-third photo.
Cut the newly made texture sheets apart-second photo.
It is easy to tell when it is dry because it turns clear-third photo.
Cut the newly made texture sheets apart-second photo.


Place the texture sheet face down on the sheet metal.
Press the tape in place on the metal around the edge of the texture sheet.
Press the tape in place on the metal around the edge of the texture sheet.

Place the assembly on a bench block, texture sheet side facing down.
Use packing tape to adhere it to the bench block so it will not move.
If more tape is added to hold the assembly in place, be cognizant of where to place the tape pieces as tape overlap lines will be transferred to the back side of the metal.
Use packing tape to adhere it to the bench block so it will not move.
If more tape is added to hold the assembly in place, be cognizant of where to place the tape pieces as tape overlap lines will be transferred to the back side of the metal.


Use a flat faced hammer, with the face held level with the surface of the bench block, to hammer the metal into the texture sheet.
When a ghost image appears on the back of the metal, the impression has been made.
24 gauge sheet was used here.
The image will be much lighter if the sheet metal used is thicker.
When a ghost image appears on the back of the metal, the impression has been made.
24 gauge sheet was used here.
The image will be much lighter if the sheet metal used is thicker.


The area around the butterflies on the front of the piece took on the texture of the surface of the bench block.
Areas on the back side took on the texture of the hammer face.
Notice the line where the tape did not quite meet on the sheet metal back.
Because the back was not going to be seen in the project these were made for, I was not concerned about any hammer marks on the backs of the butterflies.
To disguise those marks, before removing the texture sheet from the front of the metal, lightly texture the back using a Mini TruStrike Designer/Texture Hammer.


After cutting the designs out and refining the edges, they are ready to be used as embellishments.
What will you create with yours?
What will you create with yours?

Added texture does not always have to be visible.
A fun designer touch is to add texture to the unseen surfaces of jewelry pieces.
A fun designer touch is to add texture to the unseen surfaces of jewelry pieces.

Materials

Selection of sheet in variety of gauges and metals

Variety of Metal Blanks

WET/DRY PAPER 9 X 11 ASST- 20PC- 2EA GRIT 180-3000
ABR-500.90
- Lesson Quantity: 1.00 pieces
- Purchase Quantity: 1.00 each
- Price: $24.95
- Gold Club Price: $18.71
Tools

Butane Canister 8 Ounces
GAS-1-1PK
- GAS-1-1PK
- Lesson Quantity: 1.00 pieces
- Purchase Quantity: 1.00 each
- Price: $9.95
- Gold Club Price: $7.46

Handy Flame Butane Torch
SOL-315.00
- SOL-315.00
- Lesson Quantity: 1.00 pieces
- Purchase Quantity: 1.00 each
- Price: $29.95
- Gold Club Price: $22.46

Sparex Number 2 Pickling Compound
SOL-802.10
- SOL-802.10
- Lesson Quantity: 1.00 pieces
- Purchase Quantity: 1.00 each
- Price: $7.95
- Gold Club Price: $5.96

Pickle Pot, 16 Ounces
CLN-584.00
- CLN-584.00
- Lesson Quantity: 1.00 pieces
- Purchase Quantity: 1.00 each
- Price: $31.95
- Gold Club Price: $23.96

Copper Pickling Tweezers, Curved, Reinforced, 8-1/2 Inches
TWZ-959.00
- TWZ-959.00
- Lesson Quantity: 1.00 pieces
- Purchase Quantity: 1.00 each
- Price: $9.95
- Gold Club Price: $7.46

Flat Face Chasing Hammer with Wood Handle - Economy
G3-14
- G3-14
- Lesson Quantity: 1.00 pieces
- Purchase Quantity: 1.00 each
- Price: $11.57
- Gold Club Price: $8.68

Bench Blocks - 130 X 130 X 20
DUR-1187
- DUR-1187
- Lesson Quantity: 1.00 pieces
- Purchase Quantity: 1.00 each
- Price: $66.67
- Gold Club Price: $50.00

12x12 Inch Rubber Mat
MAT-500.00
- MAT-500.00
- Lesson Quantity: 1.00 pieces
- Purchase Quantity: 1.00 each
- Price: $24.95
- Gold Club Price: $18.71

Fire Brick
SOL-485.00
- SOL-485.00
- Lesson Quantity: 1.00 pieces
- Purchase Quantity: 1.00 each
- Price: $15.95
- Gold Club Price: $11.96
- Category: Metalwork
- Technique(s): Stamping, Design




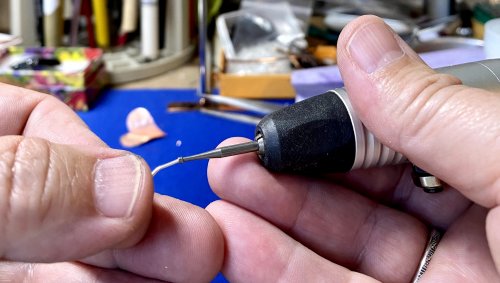



 Cleaning Your Jewelry
 Build A Tool Rack
 Clamps for Jewelry Making
 Finishing Wire Ends
 Handmade Closures
 Removing Tarnish From Your Jewelry
 Homemade Pickle
 Wire Wrapped Loops
 How to Make Balled Head Pins
 Lessen the Noise - Save Your Eardrums
 Make a Rivet and Eyelet Tile
 Two Tips for Making Pendant Bails with Craft Wire
 Petal Forming on a Wood Block
 Save Your Fingers while Texturing
 Soldering on Copper
 Sticker Templates
 Using 6 Step Barrel Pliers
 Using a Center Finder
 Using a Tile to Cut Rivets
 Using Household Super Glue on Minor Cuts, Nicks and Scrapes
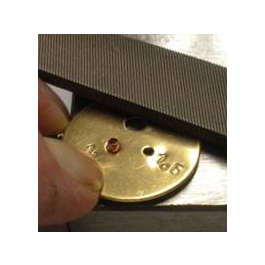 Using Tiles on Tube Rivets and Eyelets
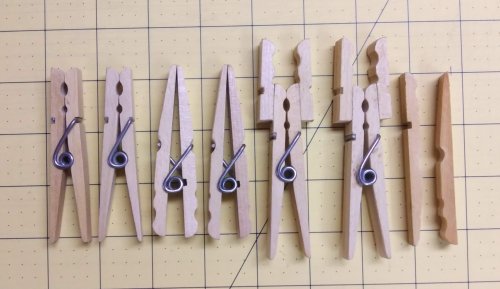 Clothespin Tools
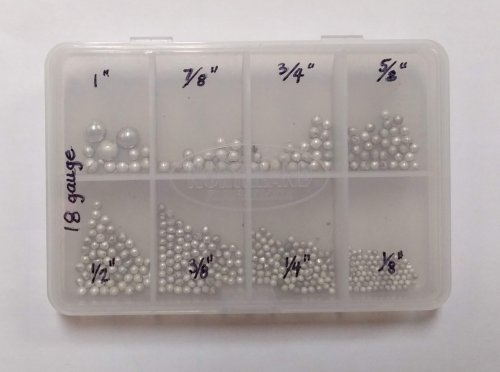 Making Decorative Granulation Beads
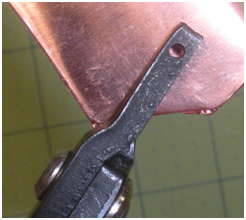 Using Your Hole Punch Pliers
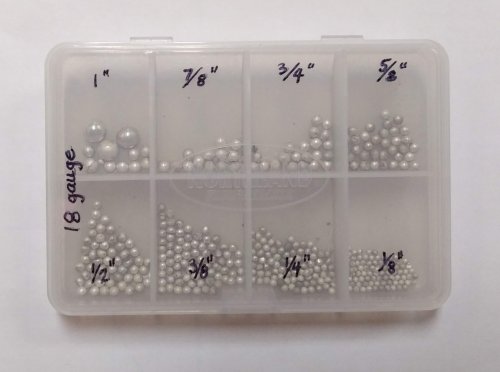 Decorative Granulation and Beads
 How to Find and Mark the Center of a Disc.
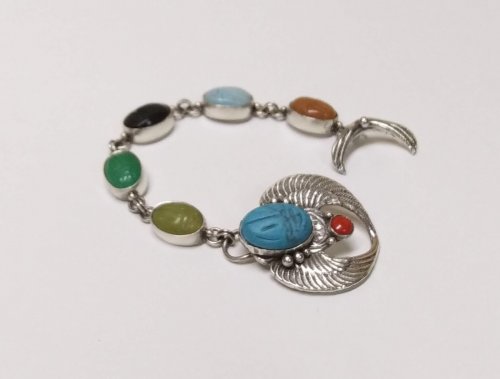 Choosing the Right Clasp
 Chunky Chain Inspiration
 Tool Tip - Steampunk or Industrial Rivets
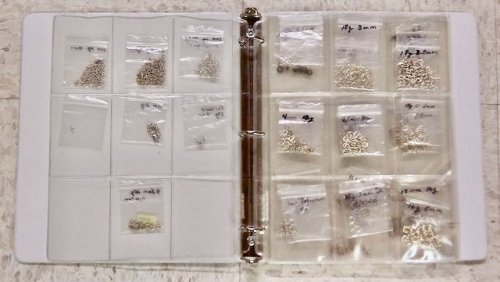 Storing Jump Rings
 Wear Your Brooches on a Neckwire
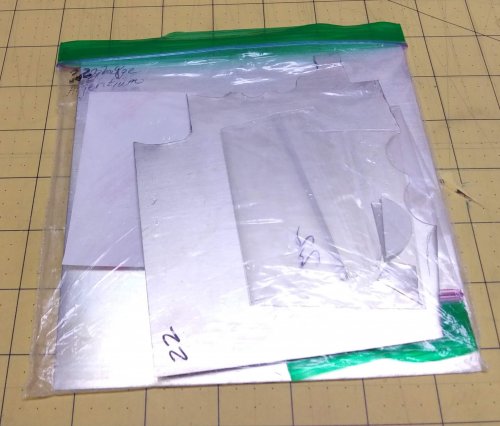 Storing Your Metal
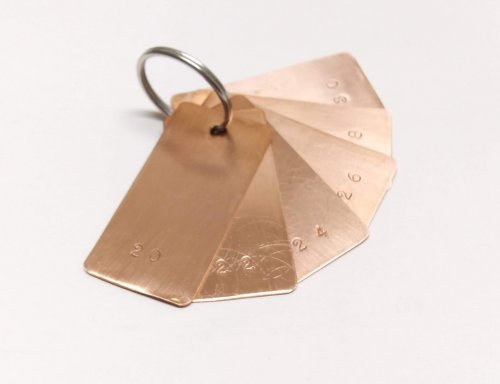 Using Disc Cutter Shims
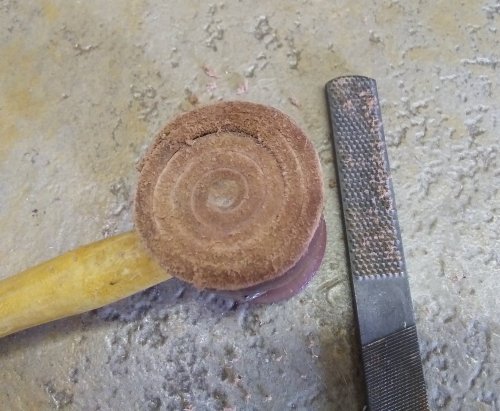 Conditioning a Rawhide Mallet
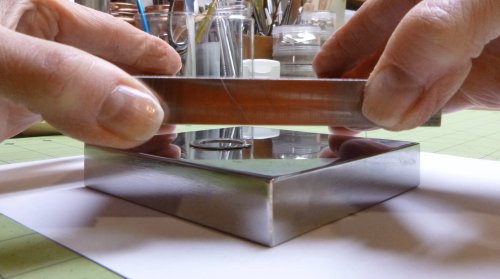 Flattening Metal Pieces
 Quenching
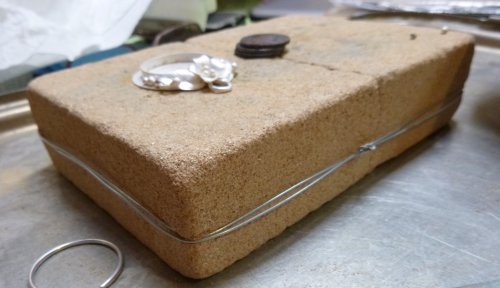 Saving a Broken Solder Brick
 Why I Use Solder Paste
 Designing a Toggle Clasp That Works
 Round Mandrels
 Get the Look of Eyelets
 Earring Pairs Template
 Storing and Caring for Files
 Open or Closed Jump RIngs on Bracelets and Necklaces
 Versatile Permanent Markers
 You Used What
 Rescuing a Very Used Magnesia Soldering Block
 Using Hole Punch Pliers
 Metal Shears Care
 Paperclip Earrings
 Think Outside the Box - Alternative Metal Texturing
 Make Stamping Metal a Bit Easier
 Stone Bezel Setting Tips
 Viking Knit Tips
 Using Glue Under Cabochons
 Tool Tip - Digital Pocket Scale
 Repeat Performance
 Another Way to Condition a Rawhide Mallet
 Carry a Sketch Pad
 Why You Should Take a Class
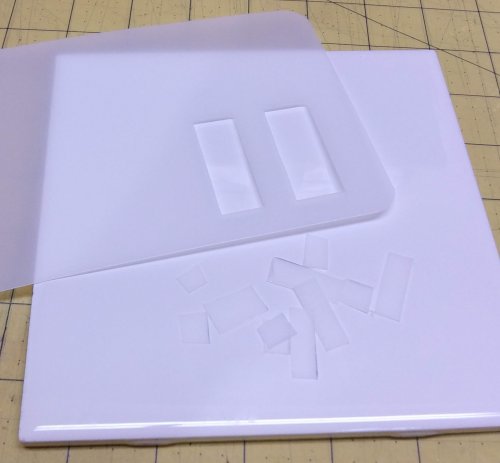 Jewelry Making Templates
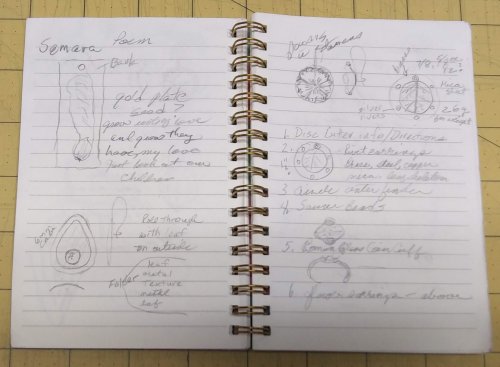 Carry a Sketch Pad
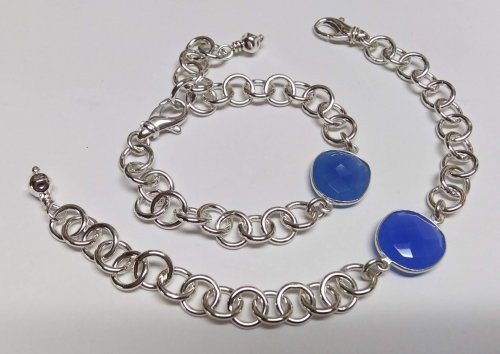 Keeping Your Bracelet Focals in Place
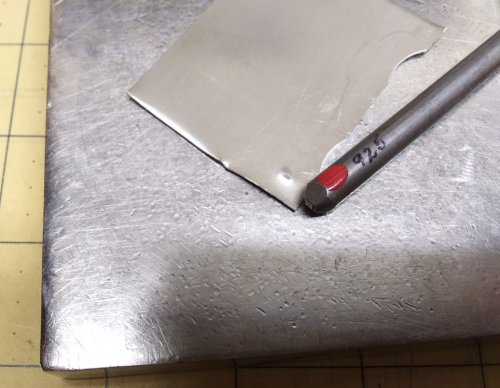 Metal Content Stamping
 Using Sanding Sponges and Papers
 Adding Depth to Carved Beads and Cabochons
 Closing Rings Tightly for Soldering
 Squaring Wire Ends
 Ring Mandrels
 Tool Tip - Bench Brushes
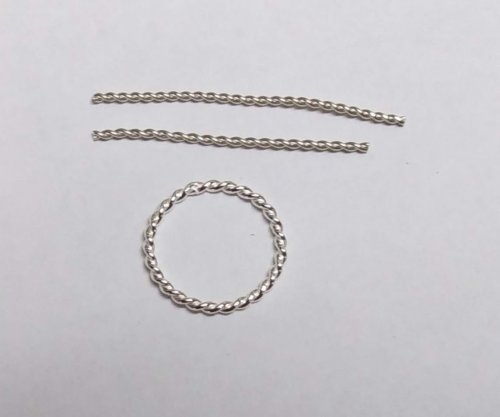 Scrap Wire Twisted Rings
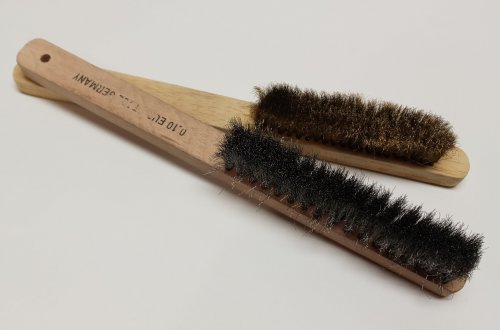 Tool Tip - Soft Bristle Metal Brushes
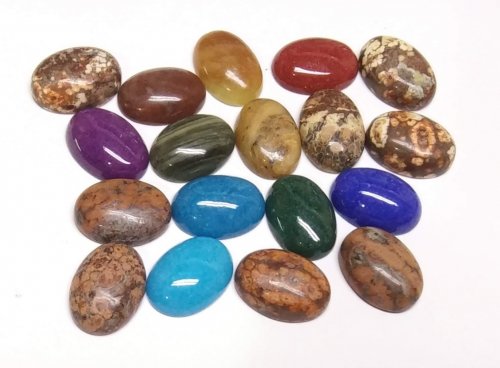 Project Multiples - Calibrated Cabochons
 Mobius Pearl Drop Earrings
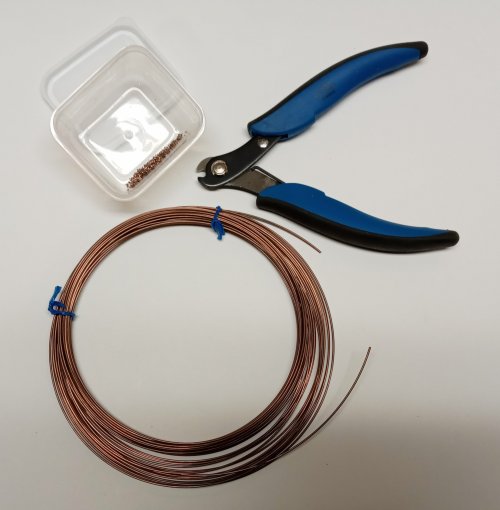 Copper Wire Solder
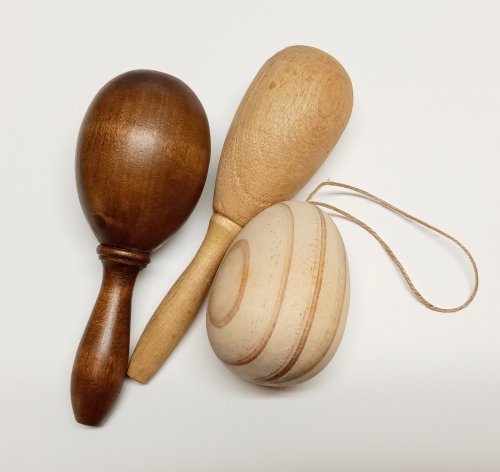 Large Dapping Punches and Alternatives
 Project Multiples - Glass Pebble Cabs
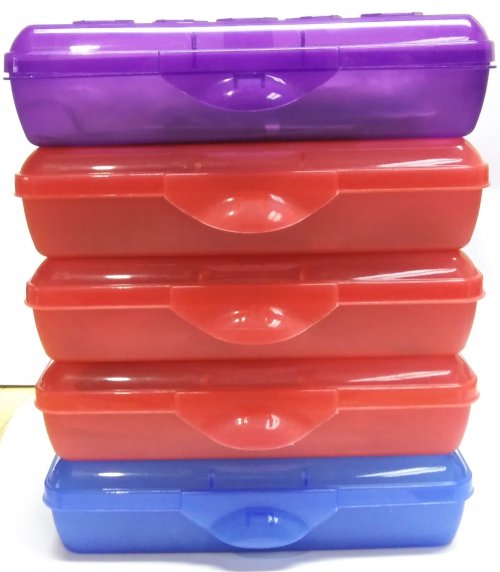 Project Storage
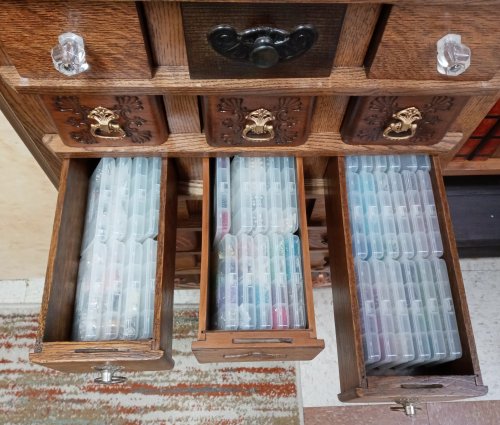 Tiny Bead and Findings Storage
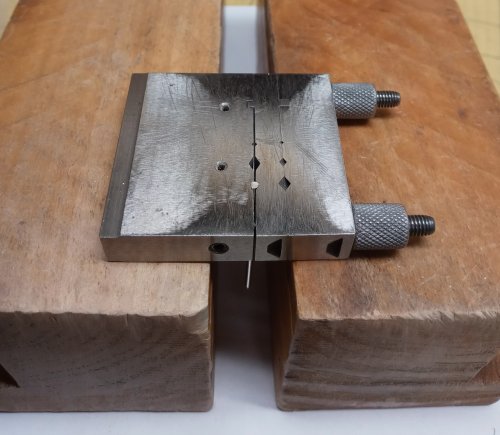 Working Smart
 Display Trays as Storage
 Making TIny Leaves
 Adapting a Tutorial
 Build Better Bead Storage
 Using Magical Crimping Pliers
 Add a Touch of Gold
 Make a Lacy Argentium Scrap Metal Sheet
 Birch Bark Texture
 Versatile Snap-on Bails
 Bead Cap Primer
 Using Glue Sticks with Printed Templates
 Choosing a Lake or Riverstone
 Do a Facebook Collaboration
 Shielding a Jewelry Piece When Stone Setting
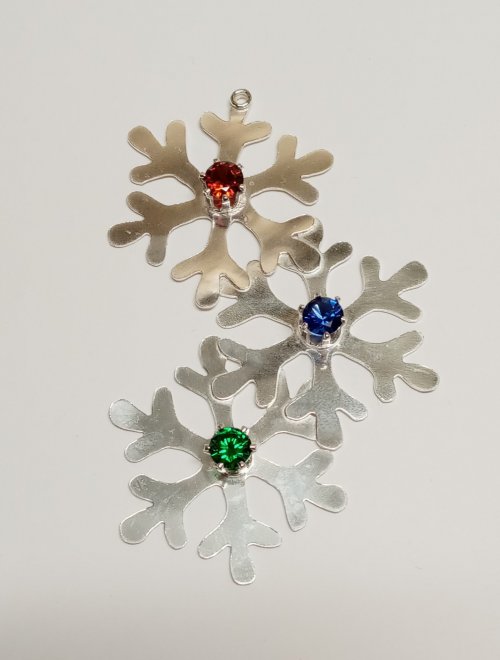 Some Ideas Are Right in Front of You
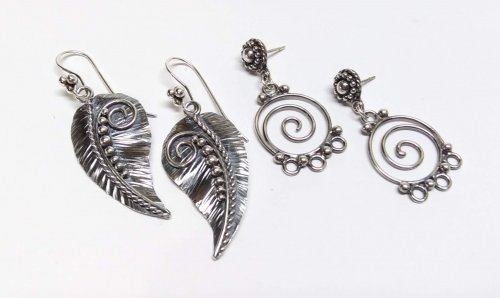 Curving and Scrolling Wire
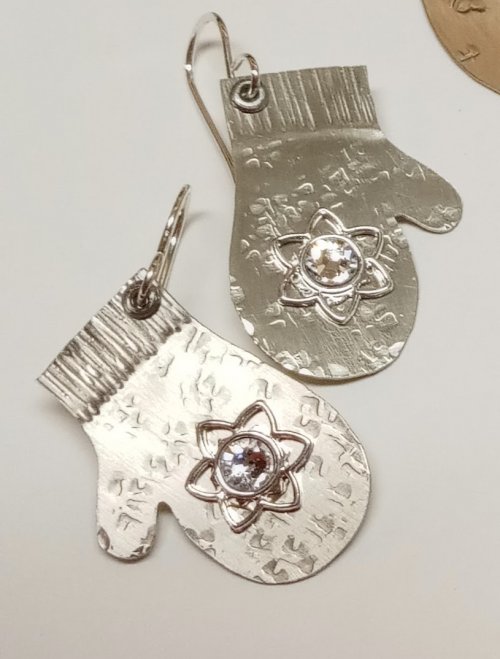 Using Snapsets to Add Sparkle to Your Work
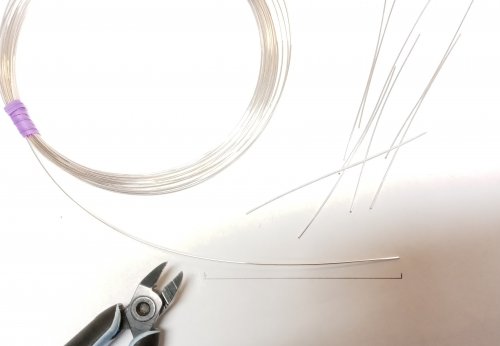 Cutting Wire Multiples of the Same Length
 Separating Distinct Textures on a Single Piece of Metal
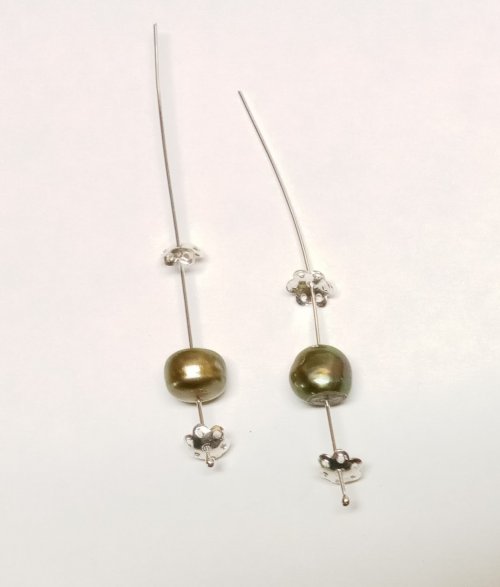 Changing the Size of a Pearl
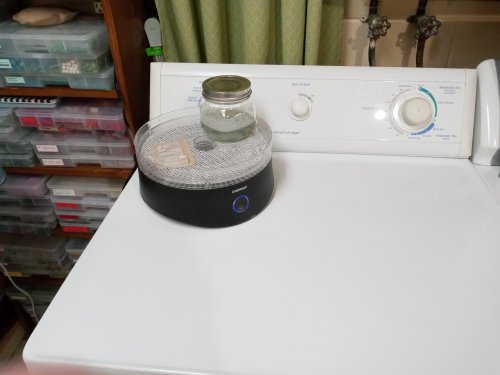 Easy Ring Cleaning
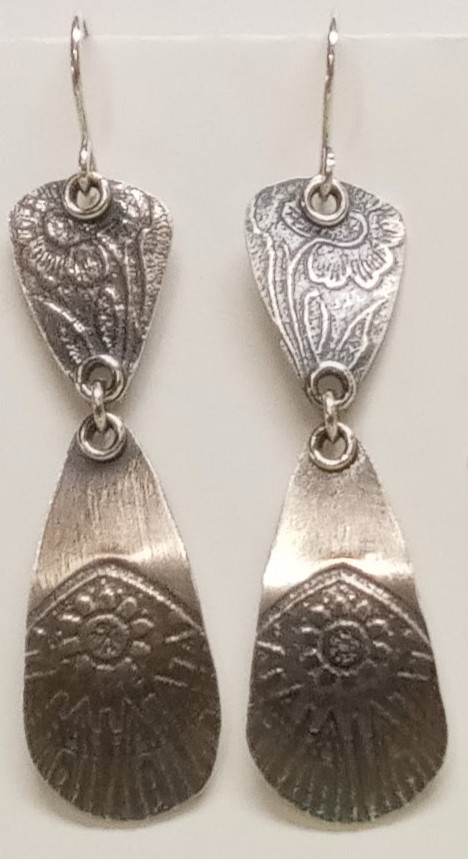 Add a Bit of Dimension
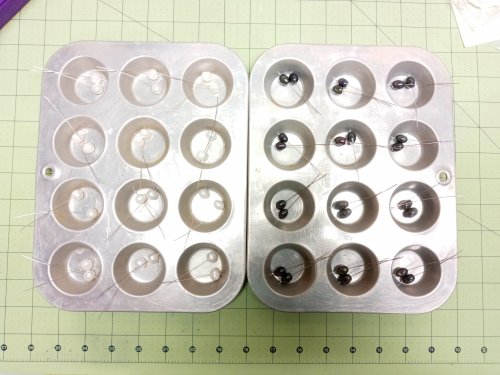 Keeping Projects Separate
 Tumbling and Polishing Metal Beads
 Unexpected Jewels
 Saws and Turning Radius
 Flattening Metal Pieces
 Mobius Ring Spacers
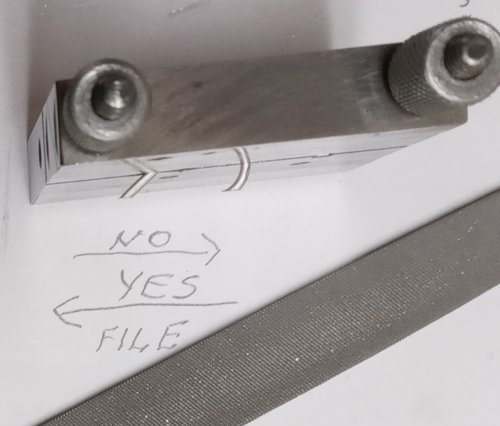 Filing Angled Wires in a Jig
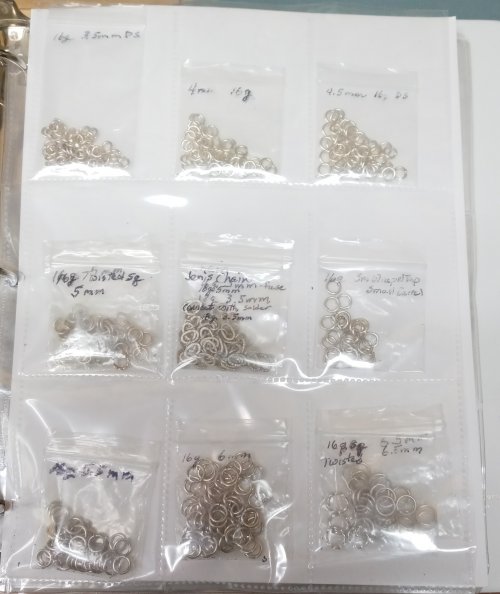 Storing Handmade Elements
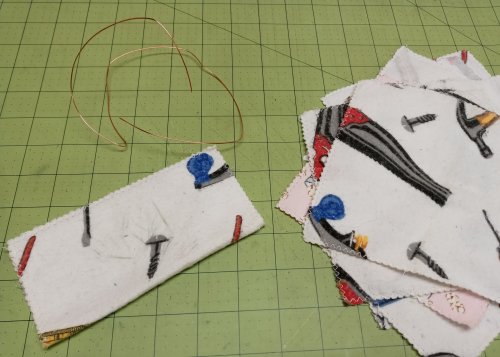 Simple Way to Straighten Wire
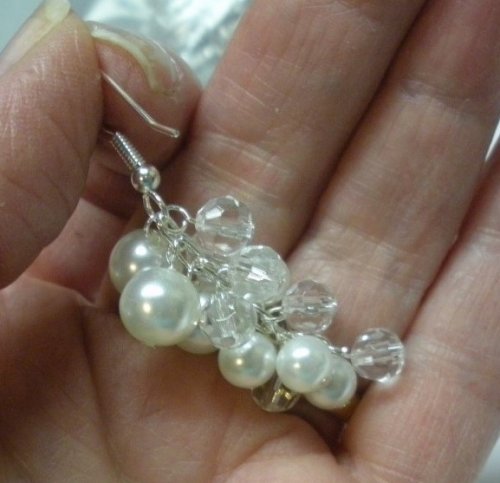 Two Ways to Make Simple Loops
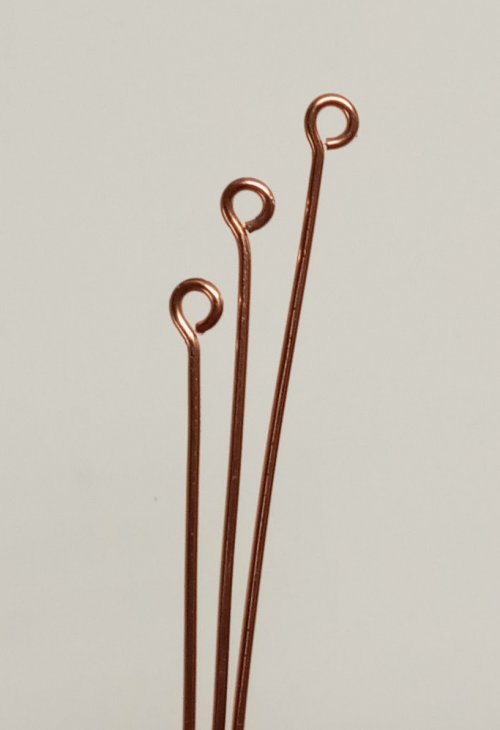 Making Simple Eyepins
 Using Fun Tak as a Resist
 Why Use a Binder to Store Embellishments
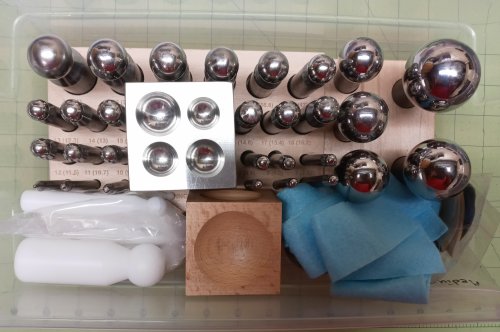 Storing Dapping Blocks and Punches
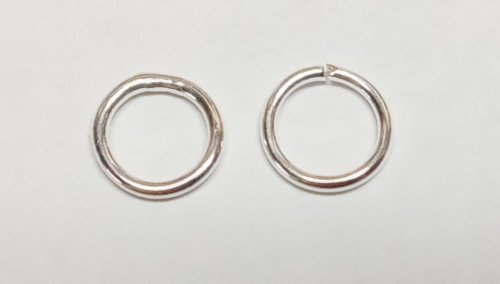 Wire Basics - Opening and Closing Jump Rings
 Enlarging a Bezel
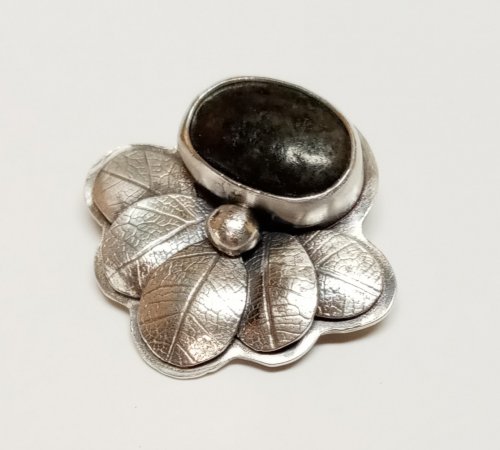 Leaf Inspirations
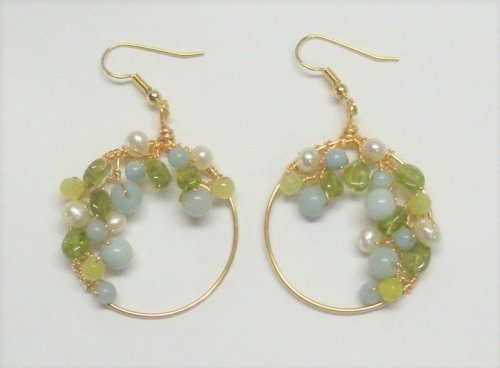 Earring Findings for Different Ages
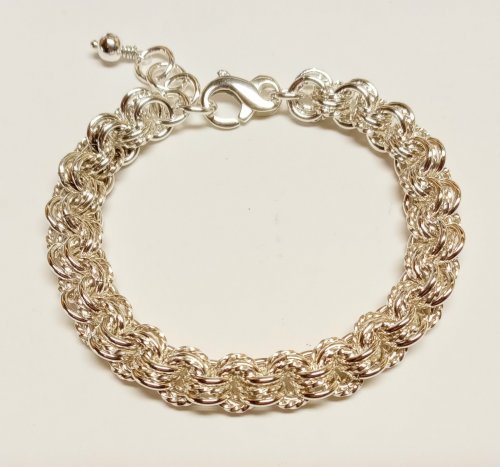 Accidentally Learning Something New
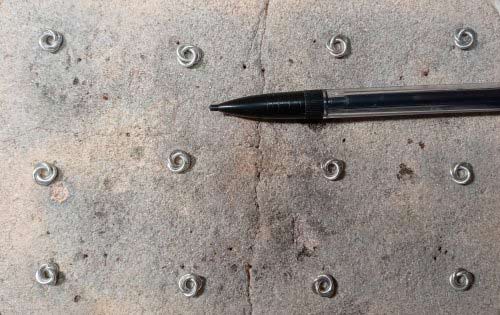 Fusing Jump Rings
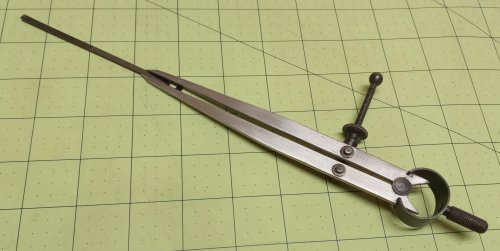 Tool Tip - Divided Caliper Scribe
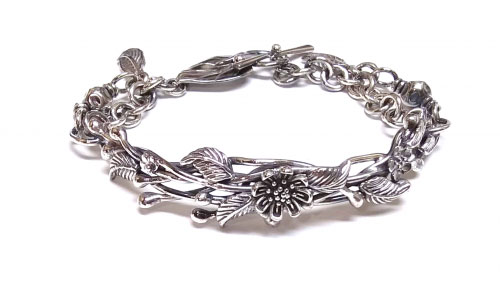 Out of the Mouths of Babes or Fixing a Spinning Bracelet
 Rethinking a Design
 When Bead Holes are Too Large
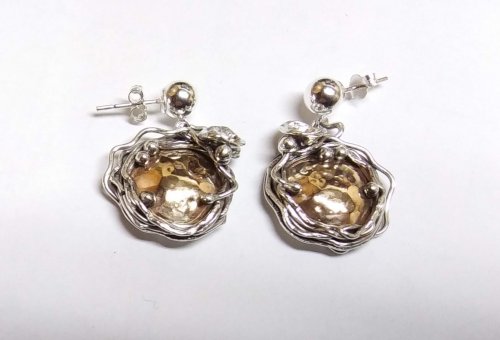 Soldering a Dome to a Backplate
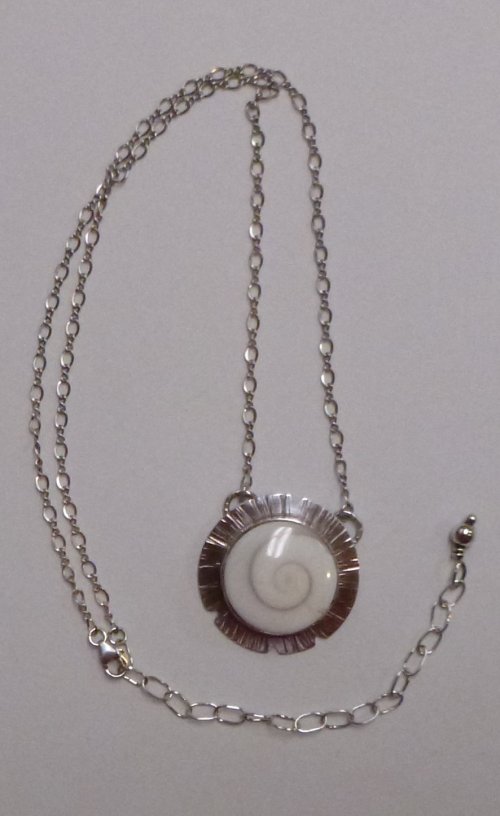 Eye of Shiva AKA Pacific Cat's Eye
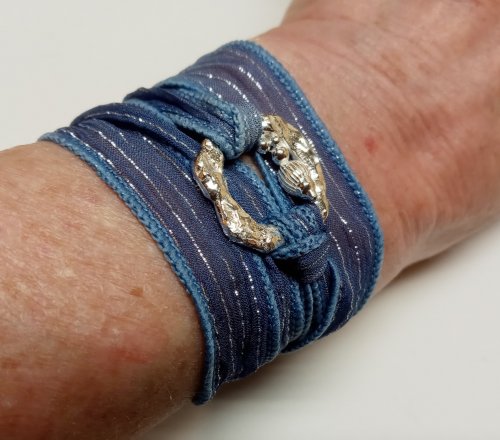 Ribbon Wrapped Bracelet tips
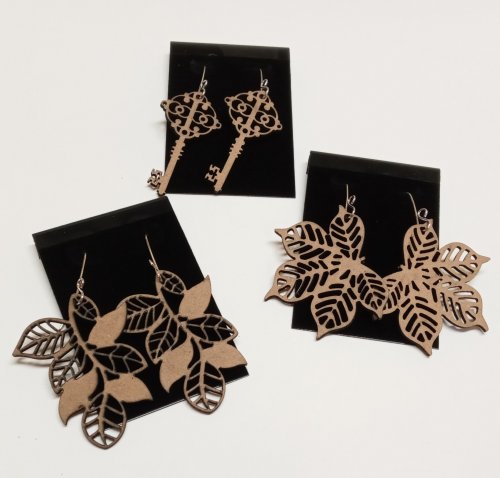 Making Lightweight Earrings with Unexpected Finds
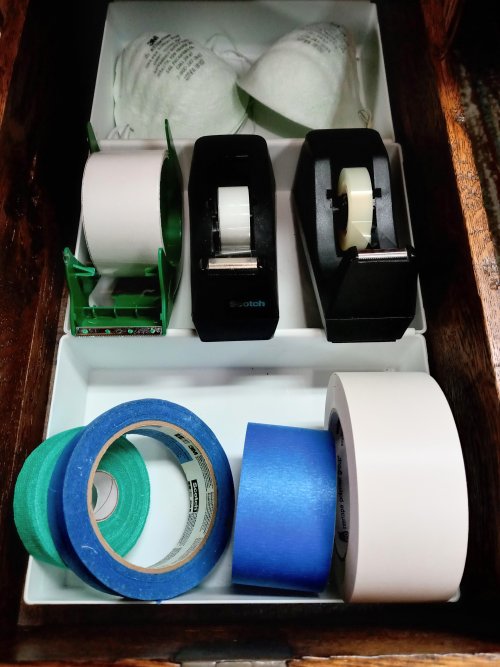 Tool Tip - Indispensable Tapes
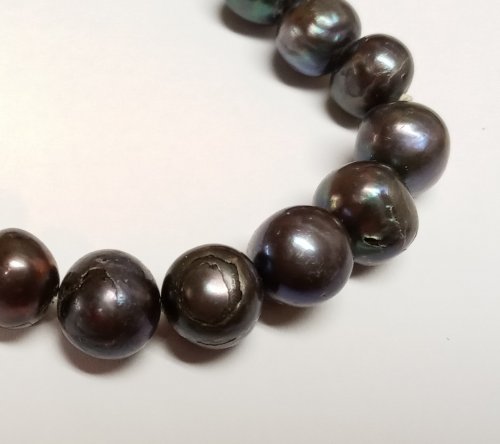 What Happens To Pearls Not Worn, Cleaned, and Stored Properly
 Aha Lightbulb Moment
 Adding Loops for Dangles on a Classic Wire Bezel Wrap
 After the Rain - Found Treasures
 Back to School
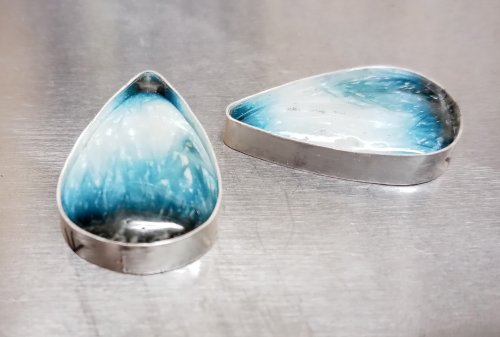 Bezel Solution for Corners and Points
 Filling Holes in Stones
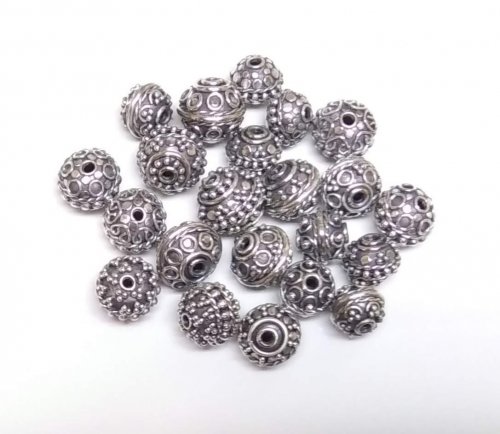 Dots to the Rescue
 Raising Stones in Bezel Settings
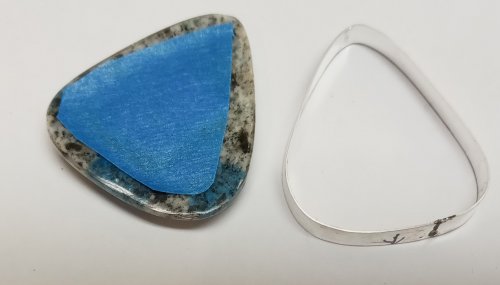 Leveling the Bottom of a Large Bezel
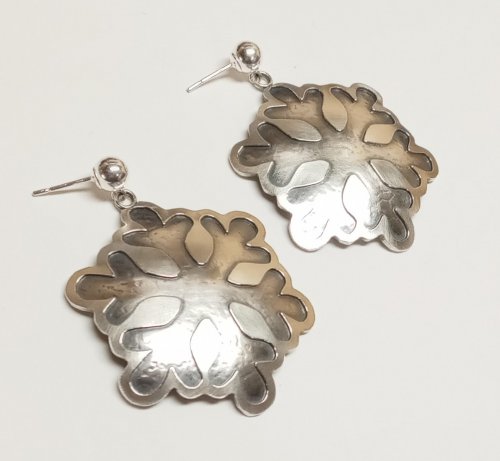 Using Leftovers
 Make-do Sawing Solutions
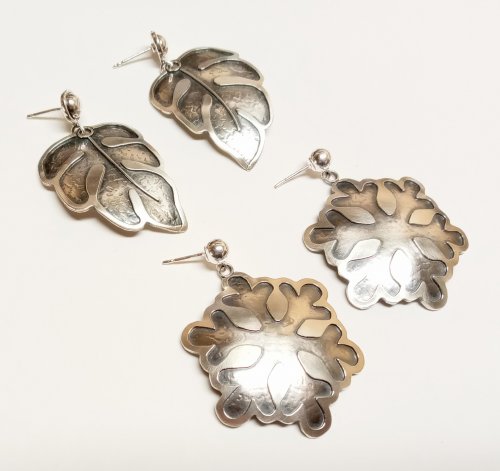 Combining Tutorials
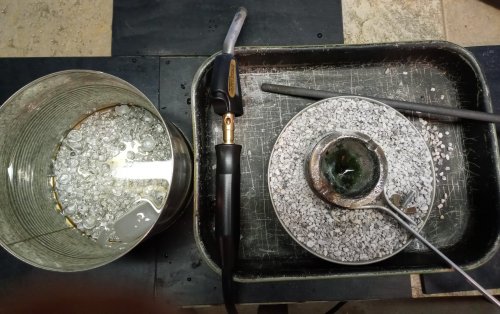 Scrap Melt
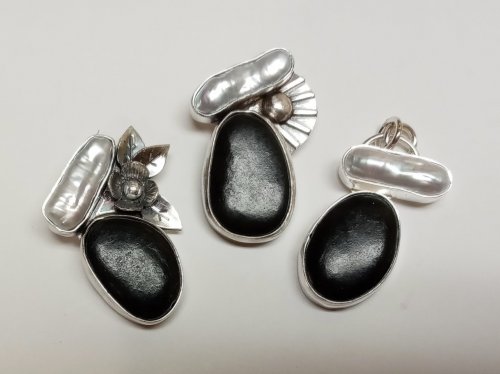 What's Your Jewelry Style
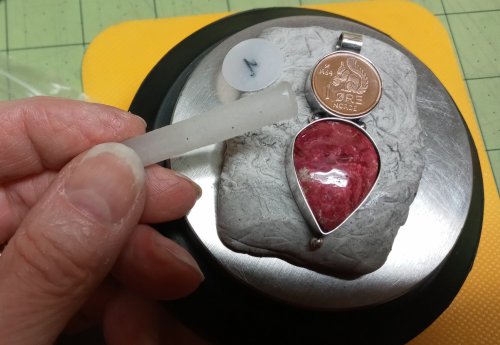 Using Wax from Braces
 Sometimes Simple Really is Better
 Bead Soup and Small Changes
 Repurposing Sterling Cord End Findings
 Wire Wrapped Bail Finishing Options
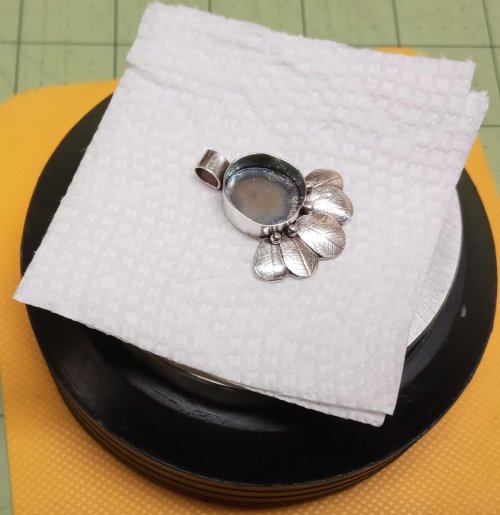 Protecting The Back of a Piece When Setting Stones
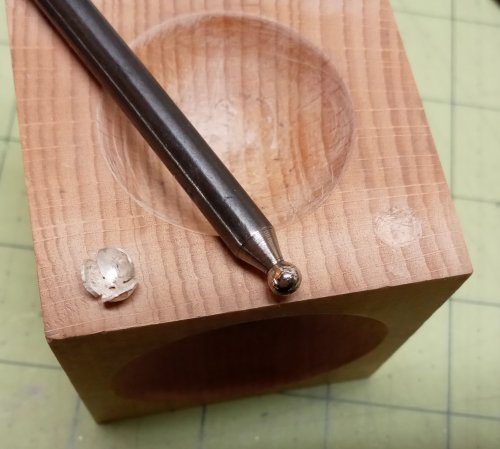 Altering Your Dapping Block
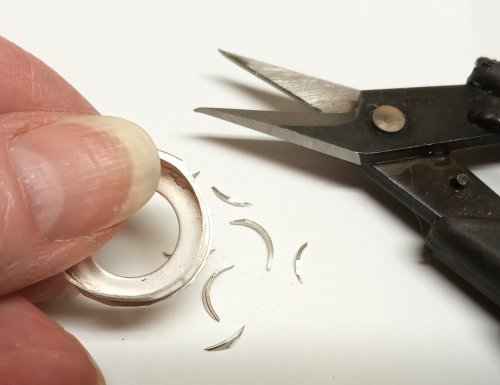 Trimming Around a Bezel
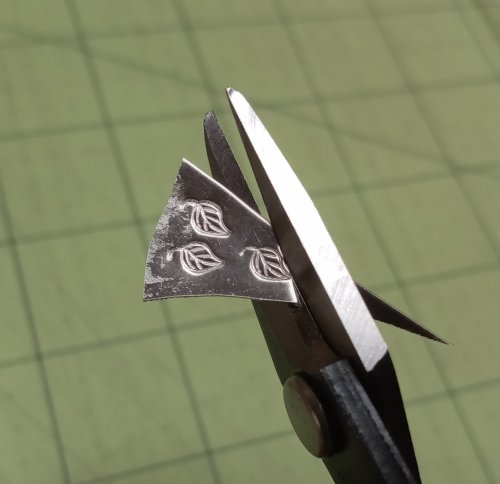 Making Tiny Dapped Metal Leaves
 Labeling Cabs When Working with Them
 Basic Round Well Wood Dapping Blocks
 Get Inspired by What's on Your Bench
 When Things Go Awry
 Putting On and Taking Off a Cuff Bracelet
 Adding Hearts to Your Designs
 Taking Care of Your Rolling Mill
 Power Up
 Hammer Basics
 Wire Temper and Jump Rings
 Embellish Bezels with Twisted Wire
 Embellish a Treasure Box
 Make a Polymer Clay Cabochon Mandrel
 Jewelry Packaging for Small Items - Pillow Boxes
 Make-do Sawing Solutions
 Ball Chain Embellishments
 Pickling and Super Pickle
 A Better T-bar
 A Better Way to Change a Saw Blade
 Making Consistent Hanging Loops
 Targeted Patina
 Coin Focal Inspiration
 Bracelet and Paperclip Trick
 What Wire is Best for Earring Findings
 Storing Your Metal Stamps
 Save Those Old Buttons
 Adjusting Purchased Ear Wires
 Twisted Wire Tips
 Stash Inspiration and Notes
 Short Quotes for Stamped Jewelry
 My Favorite Tweezers
 Coiling Wire for Jump Rings
 Cutting Coils Into Jump Rings
 Closed Jump Rings Soldering vs Fusing
 Recycling Scrap Into Sheet Metal

