


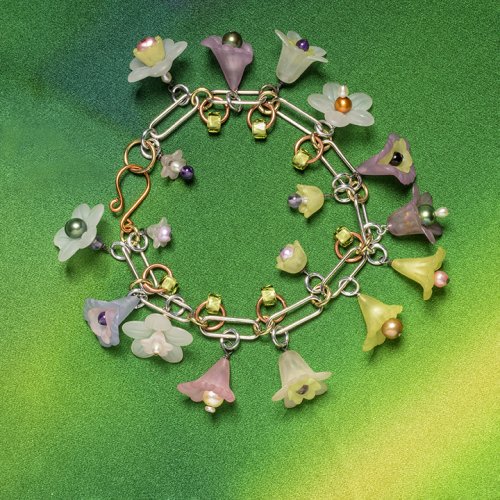
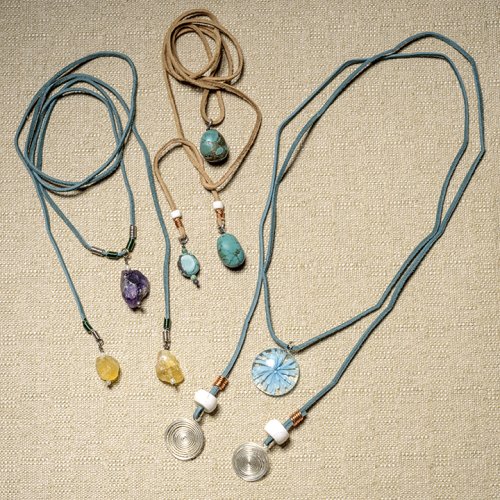
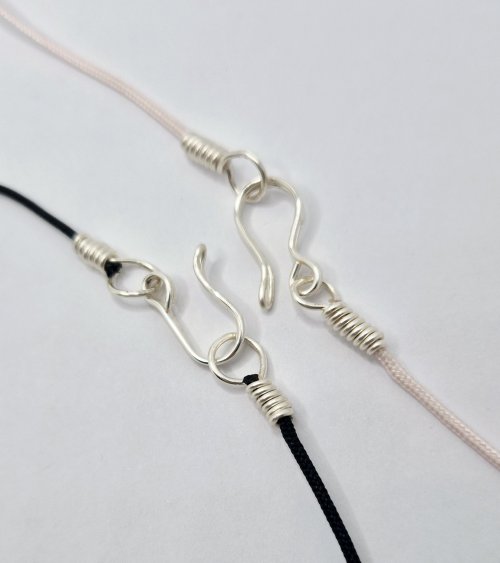


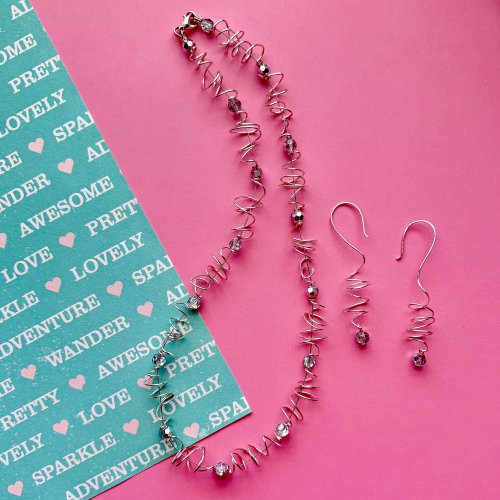


Coating Base Metal Wires to Preserve Shine
Some time ago, Casey Willson left a comment on a tip of the day, mentioning she had a great method for preserving copper wire's shine, using a generic of Mop N Glo, called Mop N Shine. It wasn't long before we were flooded with requests for Casey's secret method!
Casey was gracious enough to share her method with us. While I personally haven't tried it yet, Casey's spent the last 9 years developing and perfecting this method. I hope it helps you find a good method of protecting your base metal wire jewelry, too!
Please test this method on scrap wire and spare beads before using this method on your finished jewelry. We cannot guarantee the results will be the same for everyone.
Instructions
Protective Coating for Wire and Base Metal Findings
by P. Casey Willson
Set up items needed:
Product: Mop N Shine (generic form of Mop N Glow floor polish)
Newspaper
Viva paper towels (or other good quality)
Tray or flat cardboard (optional)
Long tweezers, crochet hook or old (clean) pliers
Air tight container
Water and disposable rag for clean up
Cotton swabs for cleaning off gems while product is wet.
Ammonia for cleaning up dried spots on work area.
by P. Casey Willson
Set up items needed:

Advisory:
1. DO NOT get this product on good gemstones or cabochons as it will dry blotchy on polished stones. Treat wire or findings ahead of time or with small paint brush to touch up after finishing item or on high wear spots such as bails or pin backs.
2. Be sure wire is very clean with no tarnish (patina is just fine if you want to keep it!) or dirt at all. This coating is very hard and difficult to remove when cured.
3. Be aware you are working with a polymer and the feel of the wire will be a bit slick. Be sure to include the polymer in your item description. I think it's a plus, as it prevents tarnish and also reduces allergic reactions to everything except rare allergies to plastic.
4. DO NOT dip spring clasps; paint the outside instead. Dipping can lock up the spring mechanism.
Procedure
Pour at least 1″ of dip into your air tight container. I prefer a 6″ to 8″ by 3″ oblong container or 3′ to 6″ large round one that will hold at least 2″ of dip with a 2″ clearance above the liquid level for safety. With these sizes you can dip a coil of wire without any bends being created.
Place wires or findings in dip without splashing. It can be removed immediately with fingers if you prefer but better with long tweezers, a crochet hook or old pliers. The dip WILL freeze the joint of the pliers if you allow it to dry in the joint so hold them nose down and dry them nose down.
Let excess drip off then lightly drop on newspaper and paper towel lined tray. Stretch your wire coil (or separate multiple findings) so the dip does not dry on two connected items. You want to avoid rough spots this may create. We're after a smooth, thin coating. Curing time is short. Generic brands cure faster. Allow at least ten minutes for hard curing.
If item being dipped (such as a base metal cab setting) has "holes" or filigree, be sure to lightly blow through the holes to prevent a film from forming.
If dipping a finished base metal piece or chain hang from a pin or hook above your absorbent pad to let any excess drip off. Chains will be a little bit stiff but just run them through your fingers when dry and they will be fine. We work with wire so any of us can make a stand from which to hang these pieces from stiff wire (coil the base, then make an arched rise with a hook on the end).
Touch up (with small paint brush) any places where pliers may have broken through dip coating while you were working with it.
Notes and Cautions
I will also dip inexpensive porous cabochons that I use in practice pieces. It works as a hardener for soft stones such as chalk turquoise and as a color fixer for dyed stone. DO NOT use on highly- polished hard stones or beads!
DO NOT use on any thread if you use thread in your work. It will make the thread brittle so it breaks. DO NOT use on leather. DO use as a sealer on acrylic painted items.
Double-dipping high wear items is a good thing. Be sure coating is cured between dippings.
Always test materials other than wire before using dip.
Product cleans up easily with water when wet. Tools like paint brushes or crochet hooks should be kept in water between uses, then dried when you finish. Avoid shaking wet items excessively as droplets may get on work surfaces and any nearby carpet or even on your clothing, then be missed.
Please practice methods before using on important pieces!!!!
I've developed this method over about 9 years of jewelry making in various styles and it has worked for me quite well. I love the fact that with this dip I can wear base metal ear wires! When I make copper or brass earrings I want the findings to match!
I kept this as my "secret process" for almost six years. Now I'm sharing it freely with hopes that you all benefit.
Credits: In "The Art of Painting on Rocks" by Lin Wellford this material was suggested as a paint protective coating. I took the idea further. My thanks to Lin.
P. Casey Willson
WireJewelry does not guarantee any results from this method, and is not liable for any damage caused by this method.
Please be sure to test this method and become familiar with it before transferring it to any finished jewelry pieces.
Please be sure to test this method and become familiar with it before transferring it to any finished jewelry pieces.
Materials

Copper wire
Tools
No tools listed
Supply Detail
loading...
Change Metal:
This Tip requires:
Purchase quantity:
Price: $
Gold Club Price: $
Purchase quantity:
Price: $
Gold Club Price: $
- Category: General Education
- Technique(s): General Education
Other Tips by Judy Ellis
 You Will Never Use a Flex Shaft Again
 Wire Working Basics
 How to Use Liver of Sulfur
 Beading Wire
 Stone Setting and Burnishers Wire Jewelry Tool Tip
 Handmade Venetian Glass Beads
 Basic Wire Wrapping Formulas
 Featured Tool - Small Benchtop Drill Press
 Colored Craft Wire Creations
 Creating with Handmade Venetian Glass Beads
 Crystal Skulls Mysterious and Beautiful
 Crystal Skulls are Skyrocketing
 What are Abalone and Paua Shells
 Finding Draw Plate Gauge
 Button Wire Jewelry Ideas
 Copyright and Wire Jewelry Designs
 Designing Bold Summer Bracelets
 Dual Size Round Nose Pliers
 EnCapture Artisan Concrete and Open Back Bezels
 Featured Tool - AccuLoop Precision Pliers
 Featured Tool - Heetrix Soldering Platform
 Featured Tool- Miland Pliers
 Featured Tool - C.H.P Milano Italian Flush Cutters
 Featured tool - Wire Cutters for every work bench
 Featured Tool - Wax Casting Supplies
 Helping your Silver Jewelry Survive the Summer
 Inspired Wire Creations by Patti Bullard
 Jewelry Making Design Tips
 Featured Tool - Sheet Metal Disc Cutter
 Double Wrapped Loop
 Magnifying Tools
 Make Your Own Jewelry to Match Whatever
 Featured Tool - Mandrels
 Featured Tool - Jumbo Tapered Round Wubbers
 Planting Trees
 Pointers To Get The Attention At The Craft Show
 Quick Holiday Gifts
 Spring Cleaning... Ring Cleaning
 Texturing with everyday objects
 The Birth of 200 Thousand Jump Rings
 Tips for Wire Wrapping a Cameo
 What is a Bead Reamer
 What is a Rotary Tool
 What type of Wire Should I Use
 6 InsPIrations for Pi Day
 Try, Try Again
 How Many Beads in a Strand
 Jump Ring Measurements
 What is a Jig
 Birthstones and Gemstone Chart
 How to Make Square Spirals
 111111 Restock Faster with My Account Feature - needs updating
 How to change the belt on your Tumbler
 Test Gavin
 Top 5 Weaves for Chain Mail Beginners
 What Does 14-20 Gold Filled Mean
 Why is my Sterling Silver Magnetic
 Brazed Armature Pendant
 Make Perfect Loops Settings For Your Projects with Skewers
![]()
The premier place for all your jewelry making needs. The best in wire, tools, cabochons, gemstone beads and more. As well as a superior resource for educational support to help build your jewelry making skills and techniques.
Connect With Us

® 2007 - 2026 Wirejewelry.com Powered by ClaimTheWeb Cart