
Wire Beaded Bangle
- Category: Contemporary
- Technique(s): Lashing, Wrapping
- Skill Level: Beginner
Materials

- Lesson Quantity: 18.00 inches
- Purchase Quantity: 1.00 5FT
- Price: $44.93
- Gold Club Price: $33.70

- Lesson Quantity: 60.00 inches
- Purchase Quantity: 1.00 5FT
- Price: $7.02
- Gold Club Price: $5.27

- Lesson Quantity: 2.00 pieces
- Purchase Quantity: 1.00 each
- Price: $4.42
- Gold Club Price: $3.32

- Lesson Quantity: 1.00 pieces
- Purchase Quantity: 1.00 each
- Price: $9.52
- Gold Club Price: $7.14

- Lesson Quantity: 29.00 pieces
- Purchase Quantity: 1.00 each
- Price: $13.65
- Gold Club Price: $10.24

Tools

- G2-507
- Lesson Quantity: 1.00 pieces
- Purchase Quantity: 1.00 each
- Price: $32.95
- Gold Club Price: $24.71

- G2-508
- Lesson Quantity: 1.00 pieces
- Purchase Quantity: 1.00 each
- Price: $32.95
- Gold Club Price: $24.71

- PLR-487.00
- Lesson Quantity: 1.00 pieces
- Purchase Quantity: 1.00 each
- Price: $16.97
- Gold Club Price: $12.73

- G2-1
- Lesson Quantity: 1.00 pieces
- Purchase Quantity: 1.00 each
- Price: $9.97
- Gold Club Price: $7.48

- MAT-620.00
- Lesson Quantity: 1.00 pieces
- Purchase Quantity: 1.00 each
- Price: $14.95
- Gold Club Price: $11.21

- Lesson Quantity: 1.00 pieces
- Purchase Quantity: 1.00 each
- Price: $170.72
- Gold Club Price: $128.04
Using nylon-jaw pliers, straighten two 9" lengths of 1mm/18-gauge wire.

Bend each wire to 90 degrees approximately 1cm from the end, to start forming a simple loop.

Using round-nose pliers make a simple loop by turning the horizontal part of the base wire all the way in on itself.

Do so on each of the base wires (a wrapped looped rather than a simple loop can be made instead if preferred.)

Turn one of the base wires so the loop faces upwards and wrap the weaving wire about 5 times around, right next to the loop.

Trim the starting tail end and tuck it in to ensure that there are no sharp ends.

Add the first bead onto the weaving wire, so that it sits on top of the base wire.

Add the other base wire on top so that the loop from the top base wire is in line with the loop on the bottom base wire.

Wrap the weaving wire around the second base wire twice to secure the bead in between the base wires.

Bring the third wrap around the top base wire and back through the bead traveling behind the bottom base wire.

Wrap the weaving wire around the bottom base wire five times.

Add the next bead, ensuring the weaving wire is taught to keep the distance between the base wires the size of the bead.

When adding each bead, continue the same amount of wraps onto the base wires: three around the top wire, coming back through the bead and five wraps along the bottom base wire.

Each time a new bead is added, ensure that they are positioned close together.

Repeat this process along the base wires to add beads into the center, keeping the base wires straight and parallel to each other.

Bringing the weaving wire back through the center of the bead and behind the base wire will enable you to position the beads evenly across the center.

Gently applying pressure to the bead will allow room for the weaving wire to travel back through the bead from the top base wire to the bottom.

Ensure the loops at the end of the base wires are parallel to each other, adjusting if necessary.

Use pliers to compress the wraps of the weaving wire to keep it neat and consistent.

Attach enough beads in between the wires, until you have the amount needed to make the bangle size you require.

Leave approximately 2cm of the base wire without beads.
Trim any excess base wires if required.
There should be enough base wire to have the same distance (1cm) from the wrap to the ending loop so that it matches the opposite side of the bangle.

Bend the base wire 1cm away from the last bead to begin a simple loop.
Make sure the loops are on the same plane as the other end of the bracelet.

Use round-nose pliers (or bail-making pliers) to form a loop (of the same size) to the horizontal ends of the base wires.

Each end of the base wires should have the same size simple loop.

Gently shape into a curve starting from the middle of the bracelet.

Bring the loops towards each other on each end of the bangle.

Attach a jump ring through the loops on each side and add a clasp to close.






 French Hook Ear Wires
 Adjustable Wire Wrapped Ring with Gemstone Bead
 Top Drilled Stone Pendant
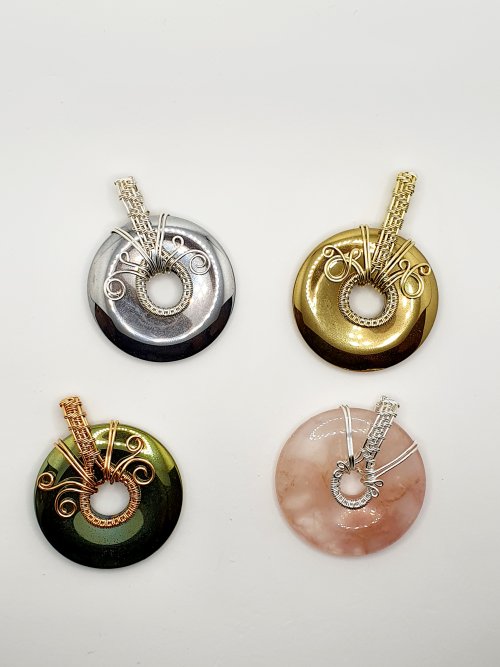 Wire Wrapped Donut Pendant
 Coiled Wrap Bead Earrings
 Gemstone Chip and Wire Cuff Bracelet
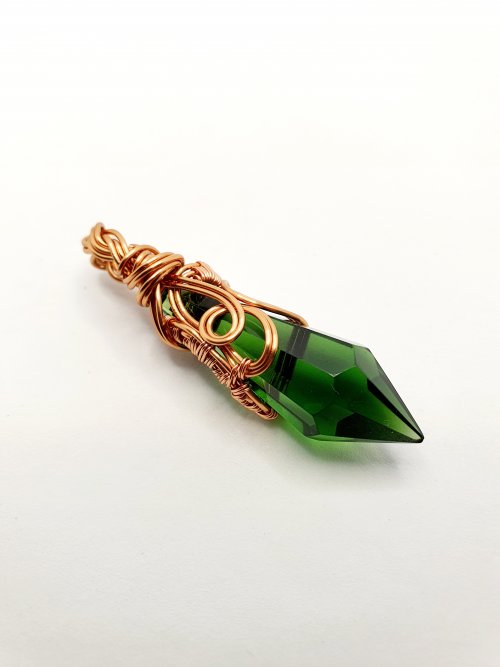 Wire Wrap a Chandelier Crystal
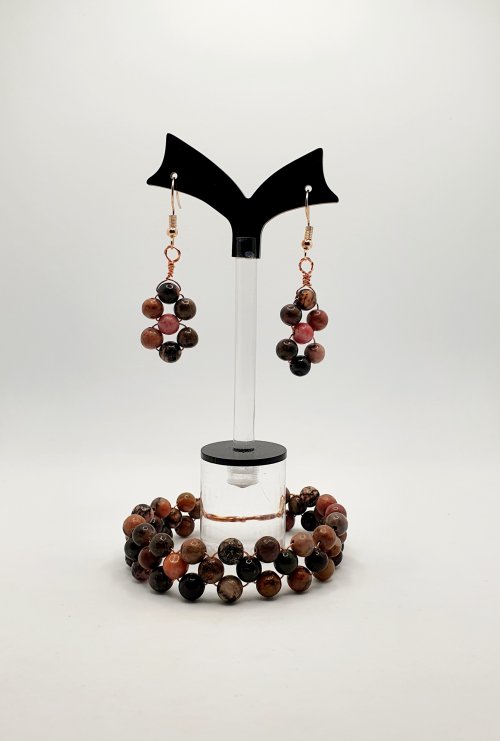 Beaded Wire Jewelry Set
 Braided Wire Cuff
 Classic Wrap Pumpkin Pendant
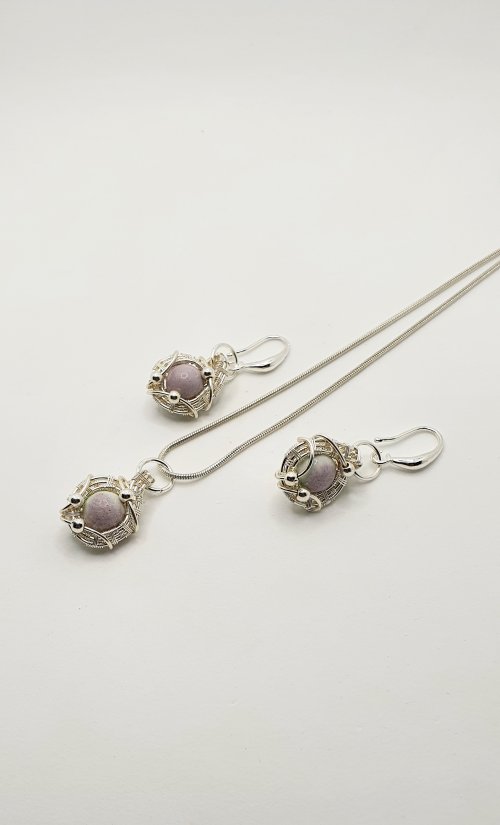 Woven Wire Pendant and Earrings Set
 Beaded Wire Christmas Tree Ornament
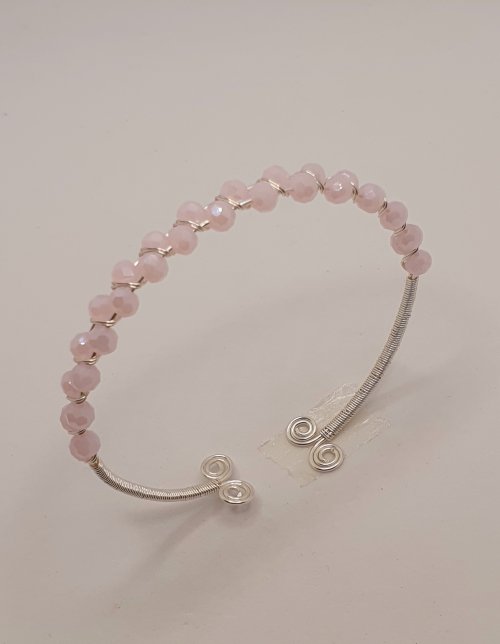 Adjustable Beaded Wire Bracelet
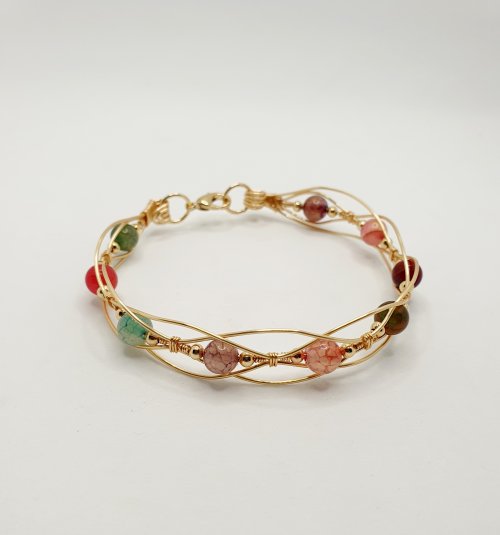 Beaded Wire Bracelet
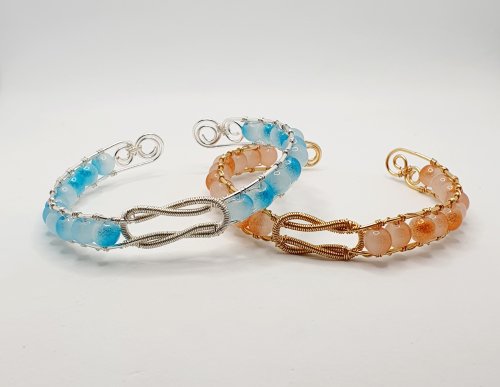 Interlocking Coil Bangle
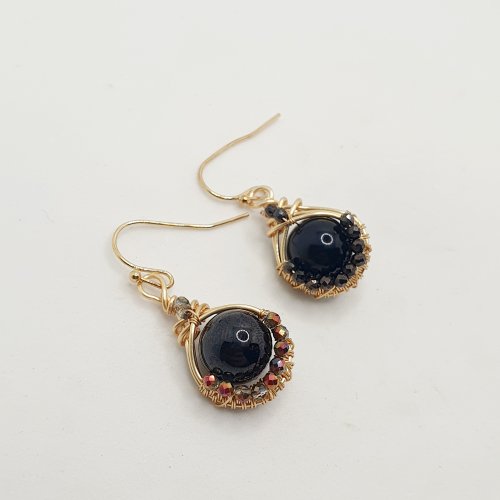 Bead and Micro-Crystal Wire Earrings
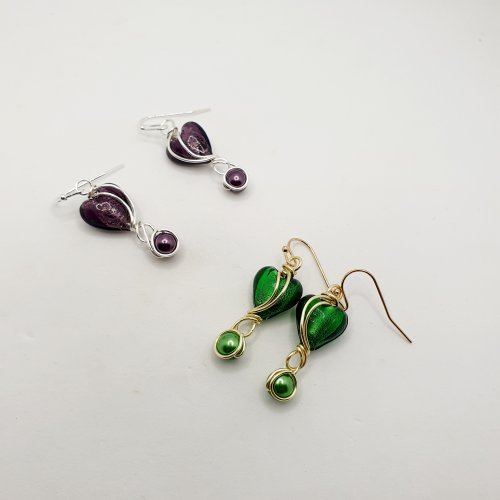 Valentine Heart Wire Earrings
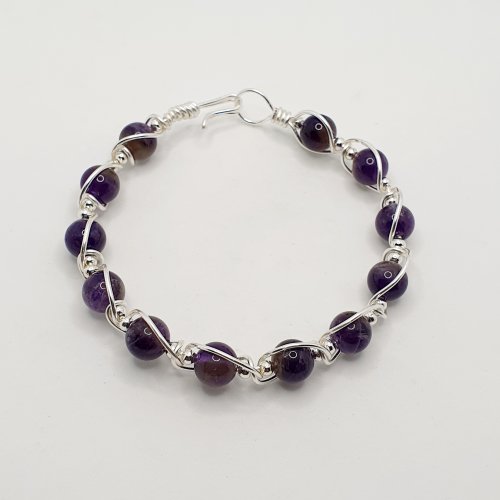 Gemstone and Spacer Bead Bangle
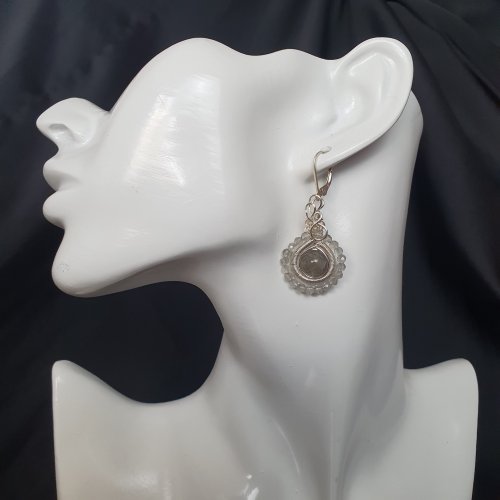 Coiled Wire Earrings
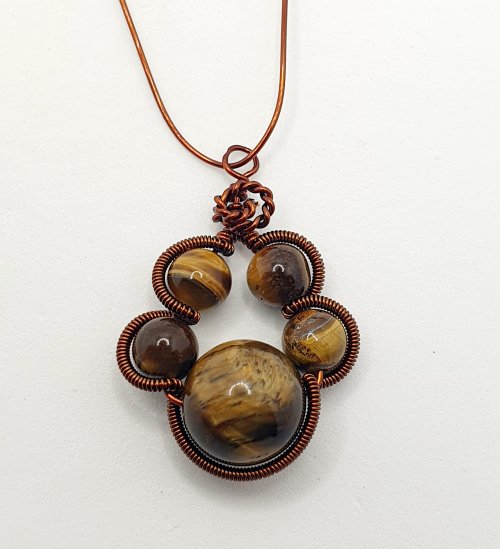 Pawprint Pendant and Earrings
 Right Angle Weave Wire Earrings
 Wire-filled Heart Earrings
 Wire Flower Component
 Woven Wire Wrapped Cabochon Ring
 Adjustable Wire Wrapped Cocktail Ring
 Beaded Coiled Wire Beads
 Beaded Wire Bracelet
 Beaded Flowery Wire Bracelet
 Beaded Wire Cross
 Wire Caged Beads
 Delicate Wire and Chain Bracelet
 Bead and Wire Bracelet with Attached Clasp
 Spiral Chain Maille
 Graduated Bead Component
 Beaded Flower Connector
 Bead and Wire Circular Component
 Simple Beaded Bangle Bracelet
 Channel-set Beaded Cuff Bracelet
 Birds Nest Pendant
 Byzantine Chainmaille Earrings
 Lotus Pendant
 Romanov Chainmaille Pendant
 Planet Jewellery
 Herringbone Weave Connectors
 Shoot For the Stars Earrings
 Chain Tassel Earrings
 Byzantine Diamond Chainmaille
 Herringbone Memory Wrap Wire Bangle

