
Wire Basics - Wrapped Loops and Links
- Category: General Education
- Technique(s): Making Loops, Wrapping
- Skill Level: Beginner
Wrapped loops are one of the most basic wire techniques. They create secure attachments that will not open, and can be used to make beaded links to create beaded chain.
Materials

Silver Filled Headpins 22GA 2 inch - Pack of 10
S8-14
- Lesson Quantity: 1.00 pieces
- Purchase Quantity: 1.00 each
- Price: $2.76
- Gold Club Price: $2.07

20 Gauge Round Full Hard Argentium .940 Silver Wire
H19-20FH
- Lesson Quantity: 1.00 pieces
- Purchase Quantity: 1.00 5FT
- Price: $18.68
- Gold Club Price: $14.01
Tools

WireJewelry - Ultimate Wire-Pliers Jewelry Pliers with Case, Set of 5
G15-20
- G15-20
- Lesson Quantity: 1.00 pieces
- Purchase Quantity: 1.00 each
- Price: $170.72
- Gold Club Price: $128.04

Original Bead Crimper
PLR-585.00
- PLR-585.00
- Lesson Quantity: 1.00 pieces
- Purchase Quantity: 1.00 each
- Price: $12.97
- Gold Club Price: $9.73
Instructions
Step 1:
Single Wrapped Loop
Directions: Read through the entire tutorial before starting the project. Follow all safety precautions pertaining to the tools and supplies being used and the space you are working in.
Slide a bead on a headpin. Grasp the wire with the tips of a chain nose pliers as close to the bead as possible.
Slide a bead on a headpin. Grasp the wire with the tips of a chain nose pliers as close to the bead as possible.

Step 2
Using a fingertip or thumb, push the wire at a 90 degree angle away from you across the top of the plier tips. This creates the "neck" of the loop.

Step 3
Switch to round nose pliers. Place the tips of the pliers on the wire as shown in the photo. The lower tip should fit snugly in the bend and up against the wire "neck".
Pro Tip: To repeat the same size loops, use an ultra fine point retractable Sharpie to mark where the loop in the next few steps will be made.

Step 4
Keeping the pliers tightly closed but not so tightly as to dent the wire, push the wire with your fingers up over the back of the top plier jaw and then over the top toward the front of the jaw.


Step 5
Still keeping the pliers tightly closed, push the wire down over the front of the top jaw of the pliers.


Step 6
Loosen the grip on the wire but do not let the loop go. Shift the lower jaw of the pliers to become the upper jaw. Continue the wrap by pulling the wire back and slightly upward to make the first part of the loop.


Step 7
Switch to chain or flat nose pliers to grip the loop. Firmly grasp as much of the loop as possible without interfering with the wrap wire or denting the wire.


Step 8
Grasp the end of the wire with a bent or chain nose pliers. The wire lays across the front of the "neck". Pull the wire towards the back side of the neck. It can be helpful to start a neat wrap if the wire is pulled in a slightly upwards direction. Pull the wire across the back of the neck, and then up and over the front of the neck.
Continue to wind the wire around the neck. Aim for three neat wraps. If the wraps are not close together, there may only be two wraps. If the wraps are tight, as they should be, but the neck was made longer, four wraps may be made. Consistency in all the wraps is the key, not the number of wraps made.
You will notice in the tutorial photos that the wire at the end of the headpin is gnarled up.
This is not the way to make a wire wrapped loop to conserve wire, but it is easier for the beginner. With practice, that extra wire length will no longer be needed.


Step 9
Pull the wire to what will be the back of the bead. With the flat side of the flush cutters toward the wire wrap, trim away the excess wire.


Step 10
Use the tips of a chain nose pliers to tuck the short wire tail in. A bead crimping pliers is a great tool to use to accomplish this. The front round section of the pliers keeps the wraps round while also pushing the tail in. Crimp the sides first, and crimp the area with the tail, working around the wire wrap.


Step 11:
Wrapped Loop Beaded Link
Straighten and cut a piece of wire that is 4" longer than the diameter or length of the bead. Center the bead on the wire.

Step 12
With the tip of the chain nose pliers, grasp the wire as close to the bead as possible. Use your fingers to push the wire at a 90 degree angle away from you across the top of the plier tips as in Step 2 above. This creates the "neck" of the loop. Remove the bead.
Step 13
Follow Steps 3-8 in Single Wrapped Loop. Do not cut off the wire tail.


Step 14
Slide the bead on the other end of the wire, pushing it tightly against the wire wrapped loop. With the tip of a chain nose pliers, grasp the wire as close to the bead as possible. Use your fingers to push the wire at a 90 degree angle away from you across the top of the plier tips. Follow Steps 3-8 to make the wire wrapped loop on this side of the bead. Do not cut off the wire tail. If the wire wraps are uneven or the bead is too loose, use the wire tails to make more wraps to even and tighten things up. When happy with the results, trim the wires tails. Finish the wrapped ends in the same manner as Step 10.


Step 15:
Connecting Wire Wrapped Loops
The larger the wire wrapped loops, the more likely jewelry pieces created in this manner will lay flat and the loops will not get caught up in each other.
Follow Steps 12-13 above on the first wire wrapped end. Slide a bead on the other end of the wire, pushing it tightly against the wire wrapped loop. With the tip of the chain nose pliers, grasp the wire as close to the bead as possible. Use your fingers to bend the wire at a 90 degree angle away from you across the top of the plier tips. Make the loop but DO NOT wrap the neck. Slide the end of the wire through the eye of another wire wrapped bead.


Step 16
Using the tips of a chain nose pliers, tightly grasp the loop of the wire on the end that needs to be wrapped. Wrap the neck. Do NOT cut off the wire tail. If the wire wraps are uneven or the bead is too loose, use the wire tails to make more wraps to even and tighten things up. When happy with the results, trim off the wires tails. Use the tips of a chain nose pliers to tuck the short wire tail in. A bead crimping pliers is a great tool to use to accomplish this. The front round section of the plier keeps the wraps round while also pushing the tail in. Crimp the sides first, and crimp the area with the tail, working around the wire wrap.






 Beaded Briolette Pendant
 Snail Trail Spiral Earrings
 Heart Link Bracelet and Earrings
 Crazy Hoop Earrings
 Double Delight Jade Bracelet
 Swagged Pearl Pendant
 Heart Earrings with Drops
 Scarab Bracelet
 Birthstone Heart Pendant
 Pearl of the Sea Woven Pendant
 Bead Charm
 Coiled Rosette Link
 Wire Jewelry Component and Swan Hook
 Leaf Bail
  Component Templates with Heart Earrings and Pendant
 Ring Pendant
 Calla Lily Earrings
 Birdhouse Pendant
 Clamshell Earrings and Pendant
 Bracelet Component
 Teardrop Earrings and Pendant
 Tab Style Pendant
 Coiled End Caps
 Freeform Pendant
 French Hook Ear Wires
 Necklace Component
 Triangle Shield Earrings, Pendant and Bail
 How to Make a Wire Coil and Bead
 Egyptian Coil Bracelet
 Focal Bead Egyptian Coiled Bracelet
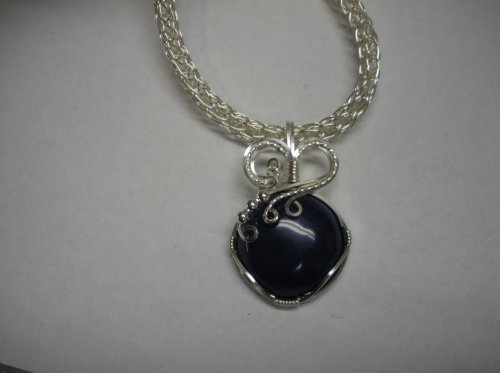 Sweetheart Round Cabochon Pendant
 Making Cobblestone Cabochons
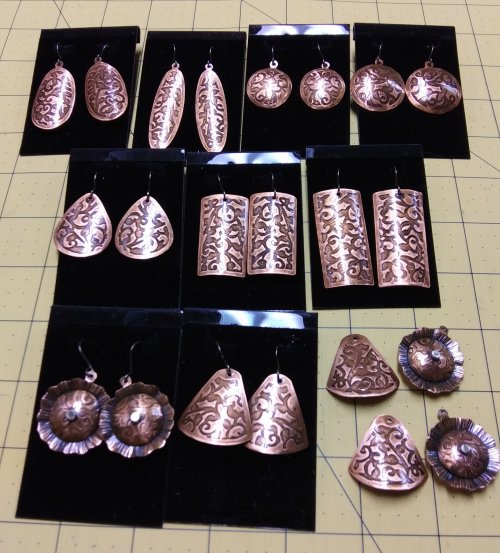 Cupcake Wrapper Earrings
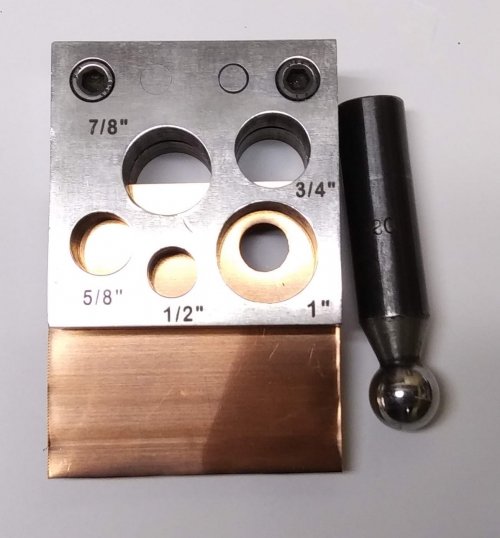 How to Make Metal Washers
 Baseball Skin Keychain
 Pat's Silver Domed Earrings
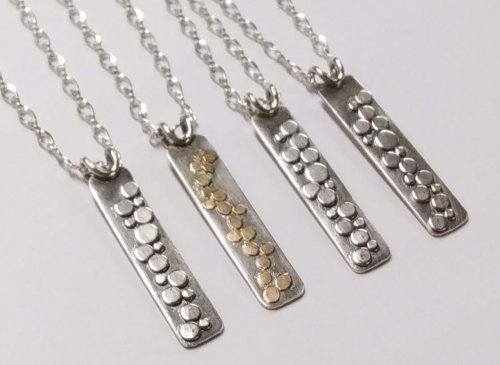 Blaze Your Own Path Pendant
 Semi Snap-on Bail
 Interlocking Faux Twist Wire Bracelet
 Fold Formed Cuff With Faux Roman Glass or Coin Cabochon
 Steampunk Style Leaf Earrings
 Stamped Saucer Beads
 Kat's Wire Hoop Earrings
 Simple Bail on a Coin Pendant
 Wire Bangles
 Rolling Mill - or not - Cuff Bracelet
 Jen's Chain
 Making Neckwires
 Silver Scrap Wire Focals to Embellish
 Splash Ring
 Cobblestone Cab Earrings
 Multi Gemstone Necklace
 Southwest Style Pendant
 Bezels Using Square Wire
 Mixed Metal Sampler Bracelet 1
 Mixed Metal Sampler Bracelet 2
 Mixed Metal Sampler Bracelet 3
 Mixed Metal Sampler Bracelet 4 - Words Matter
 Mixed Metal Sampler Bracelet 5 - River Walk
  Mixed Metal Sampler Bracelet 6 - A Little Bling
 Mixed Metal Sampler Bracelets Series PUTTING IT ALL TOGETHER
  Mixed Metal Sampler Bracelet 7 - Steampunk Space Oddity
 Mixed Metal Sampler Bracelet 8 - Fun Shapes
 Jump Ring Fringe Bracelet
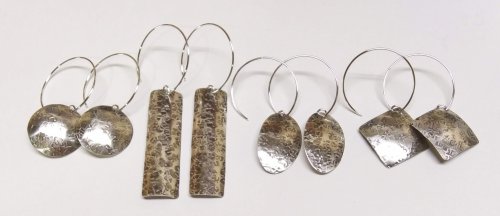 Easy Artisan Earrings
 Making Chain with Wubbers and Wire
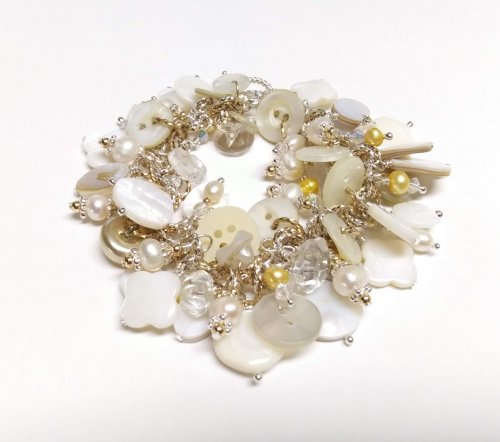 Heirloom Buttons and Beads Bracelet
  Tiny Silver Charms part 1
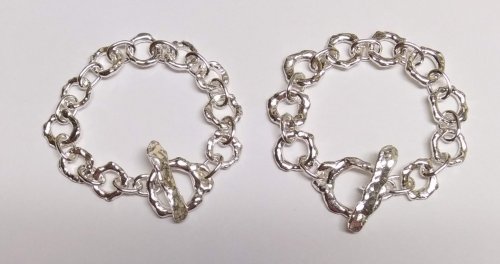 Argentium Silver Scrap Chain
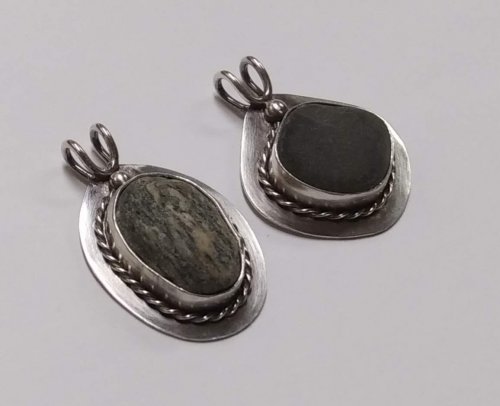 Sterling Lake Stone Pendant with Twisted Wire
 Smashing Drop Earrings
 Argentium Silver Scrap Nugget Cuff
 Finish Them Your Way Earrings
 Paddle Fringe Earrings
 Seed Bead Earrings
 Bracelet Links 1, 2,3
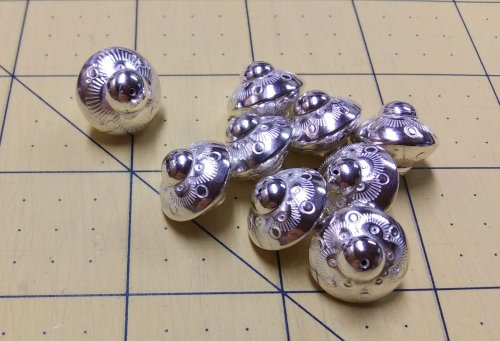 Stamped Saucer Beads
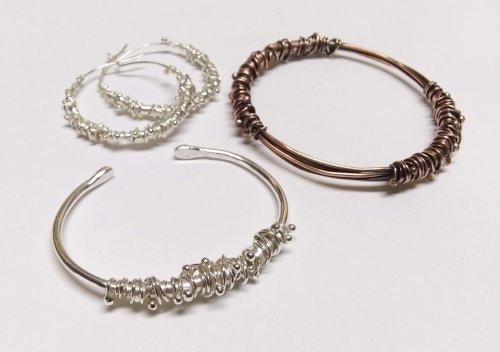 Chaos Scrap Wrap Jewelry
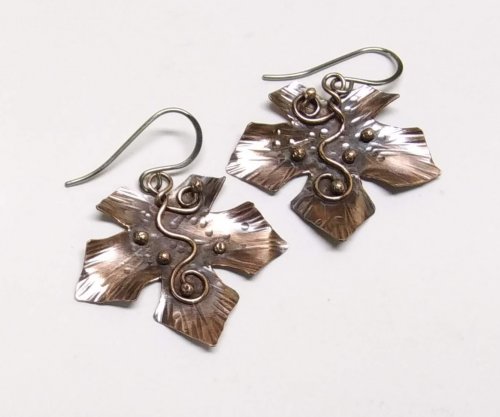 Maple Leaf Earrings
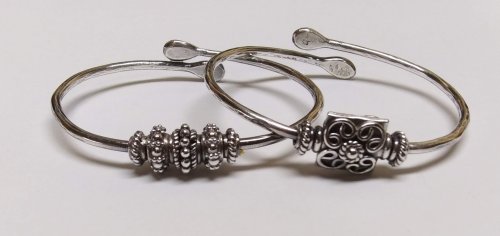 Child's Bracelet That Grows with Them
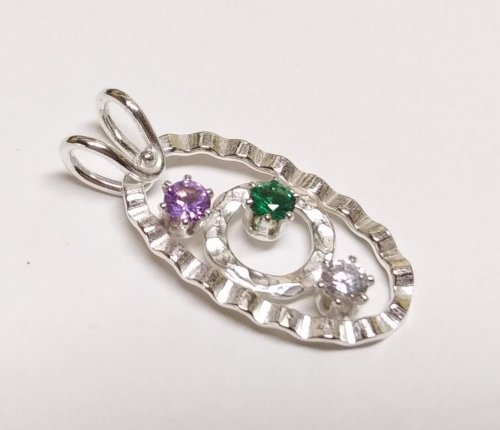 Mike's Surpirise Claire's Ripple Pendant
 Angel Ornament
 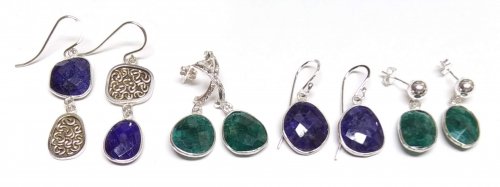 Diamonds, Emeralds, and Sapphires, Oh My.
  Treasure Bezel Cups
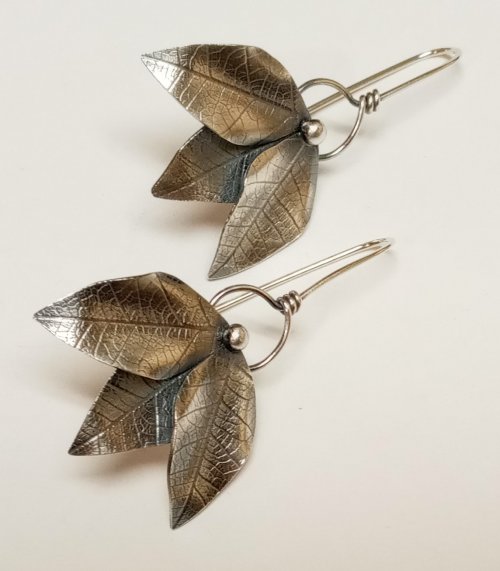 Three Leaves Earrings
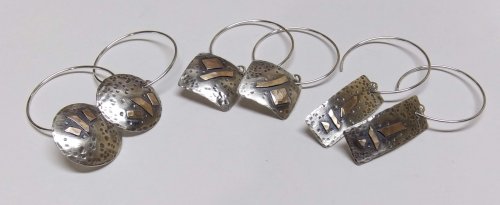 Silver and Gold Earrings
 Make a Hidden Bail
 Wire Links 4, 5, 6
 Wire Links 7, 8, 9, and 10
 Double Loop Ear Wires
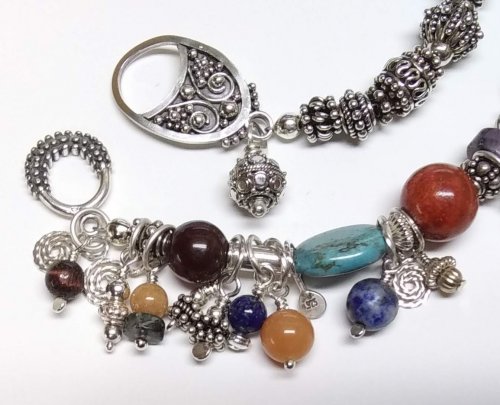 Balled and Paddled Head Pins
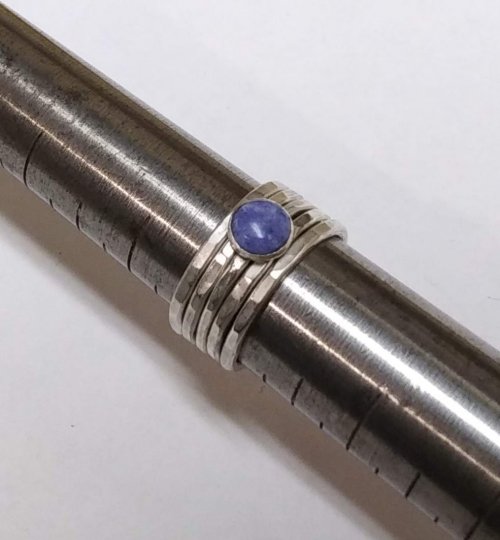 Textured Stacked Rings
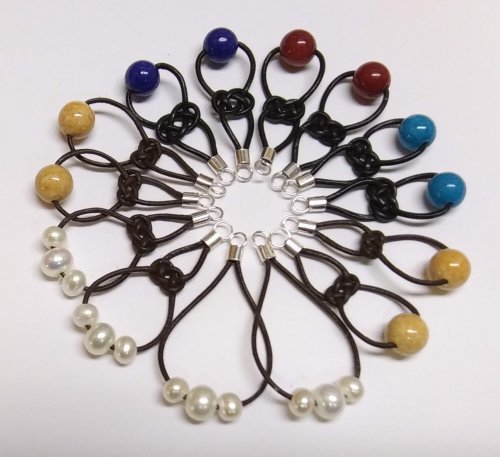 Cord and Bead Earrings
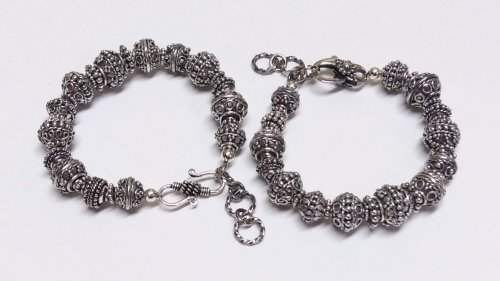 Bali Style Adjustable Closures
 Organic Fused Silver Dust Earrings
 Mobius Rings
 Dainty Bead and Wire Bangle with Hook Closure
 Seed Bead and Nugget Necklace
 Love Locks Heart Charm
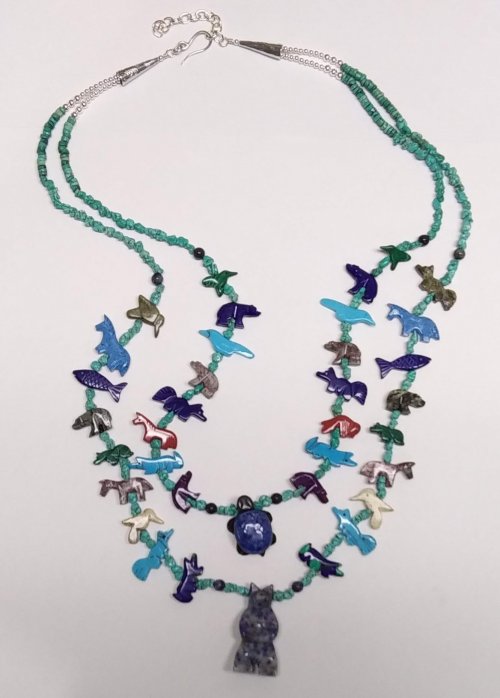 Traditional Southwest Style Hook Closures
 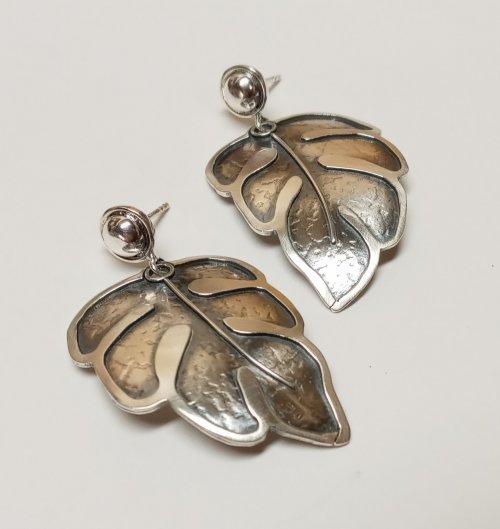 Negative Space Earrings
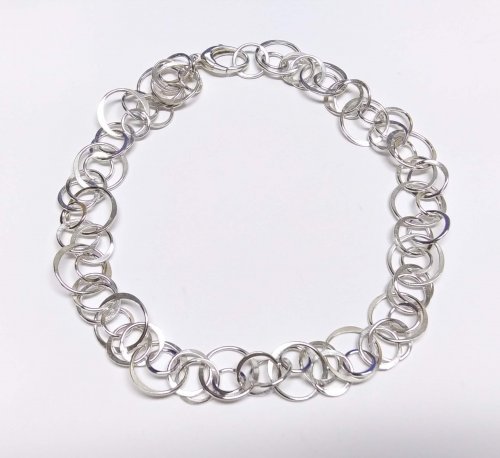 Jumbled Lacy Chain
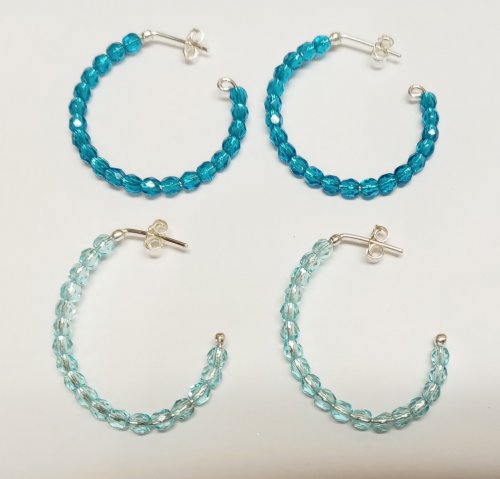 Easy Beaded Post Hoop Earrings
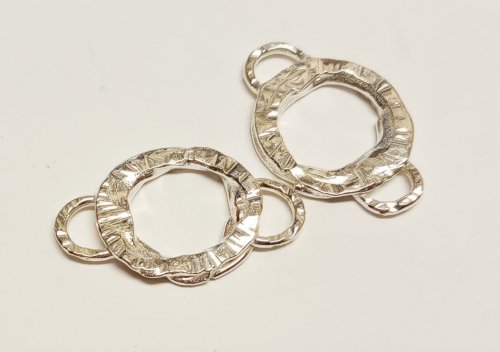 Rustic Silver Links
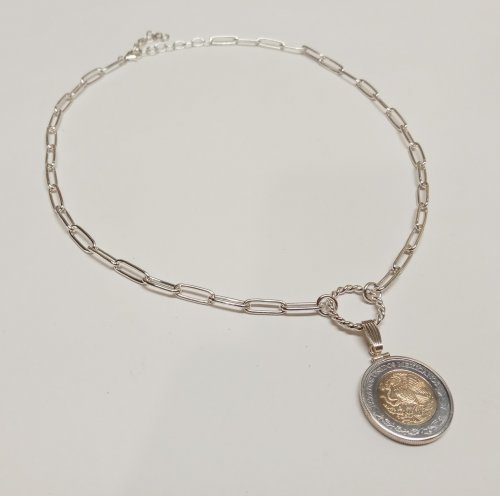 Make a Soldered Paperclip Chain
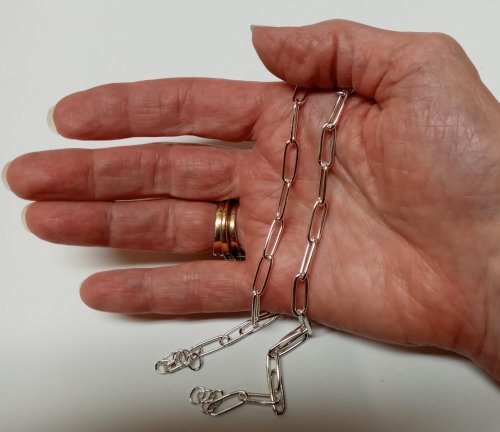 Make a Fused Paperclip Chain
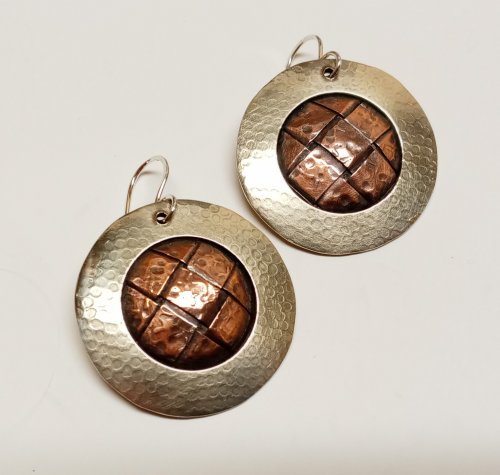 Make Woven Metal Strips to Use in Your Designs
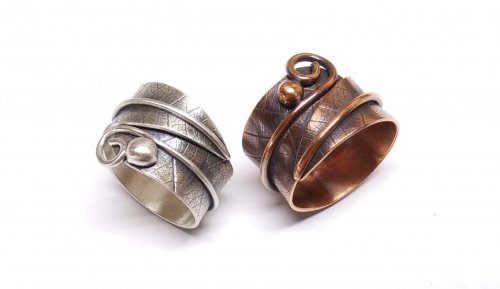 Leaf Wrap Metal Rings version 1
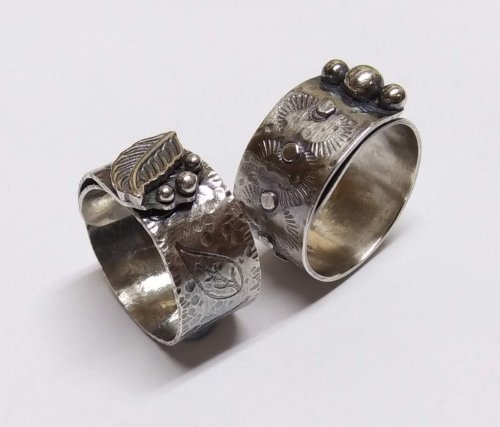 Leaf Wrap Metal Rings version 2
 Snowflake Ornaments
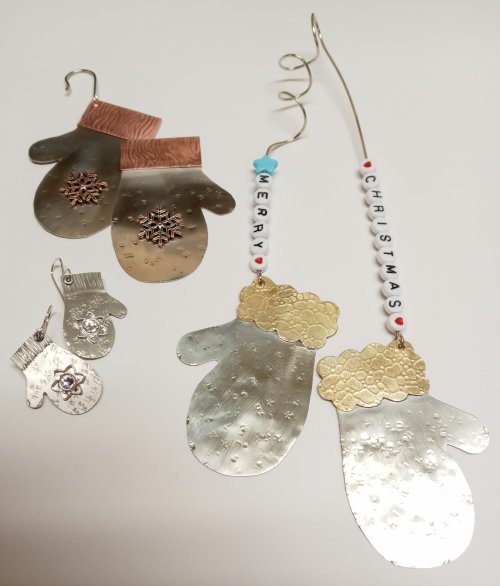 Mitten Ornament
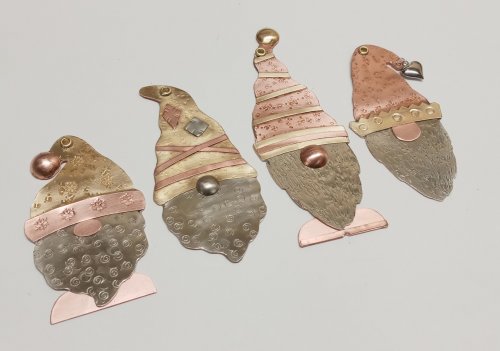 Gnome Ornaments
 A Partridge in a Pear Tree Earrings
 Two Turtle Doves Earrings
 Three French Hens Earrings
 Four Calling Birds Earrings
 Five Golden Rings Earrings
 Six Geese a Layin' Earrings
 Seven Swans a Swimming Earrings
 Eight Maids a Milking earrings
 Nine Ladies Dancing Earrings
 Ten Lords a Leaping Earrings
 Eleven Pipers Piping Earrings
 Twelve Drummers Drumming Earrings
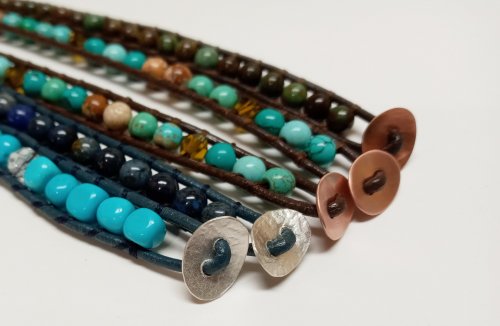 Make Your Own Bracelet Button Clasps
 Little Saucer Bells
 Doodads - Fun Findings
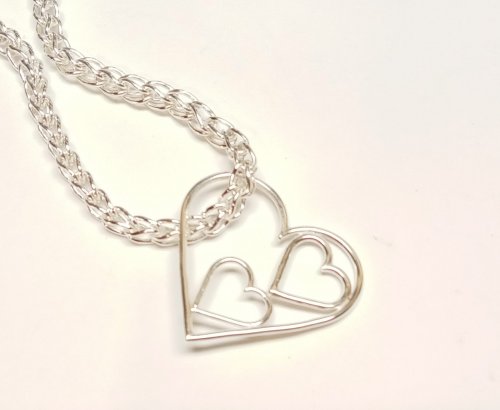 No Measure Hearts, Any Size, Any Gauge
 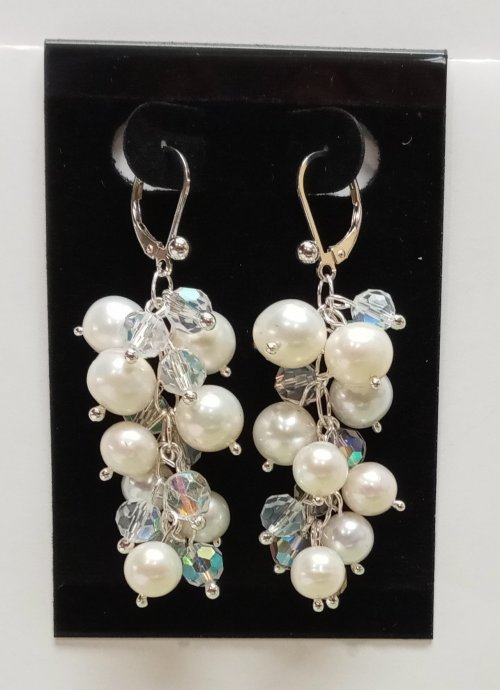 Cascading Drops Earrings
 WIre Basics - Spiral Charms
 Wire Basics - Simple Swan Hook
 Wire Crocheted Necklace
 Wire Basics - Wire Garage Door Spring Link
 Easy Post Hoop Earrings
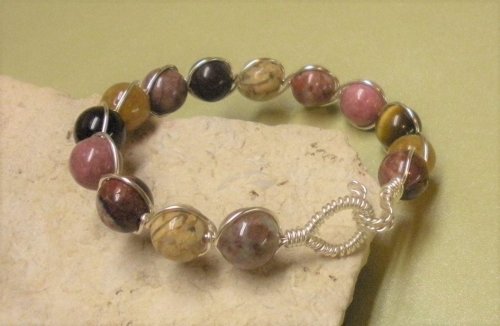 Double Wrap Wire Bangle Bracelet
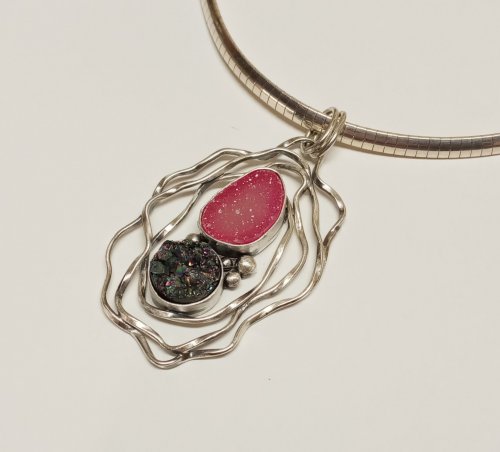 Organic Wire Pendant
 Coiled, Beaded Slide
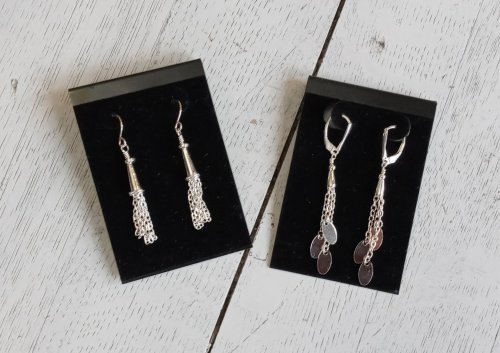 Cone and Chain Earrings
 Embellished Sterling Cones
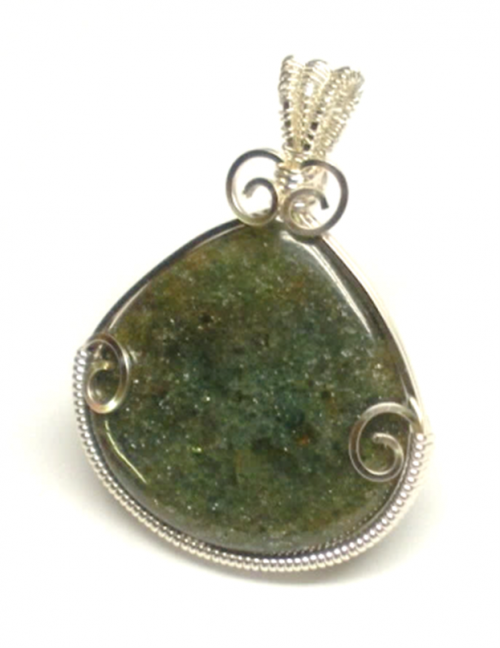 Classic Wire Wrap Bezelled Pendant
 Wire Wrap a Coin
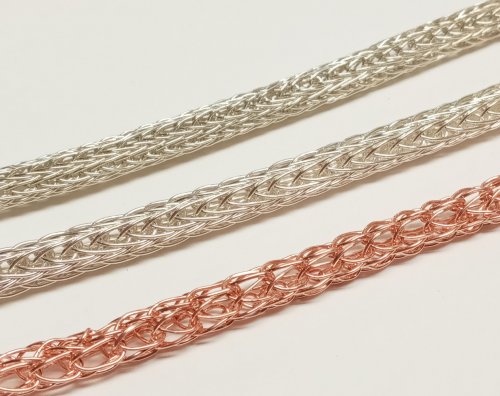 Viking Knit
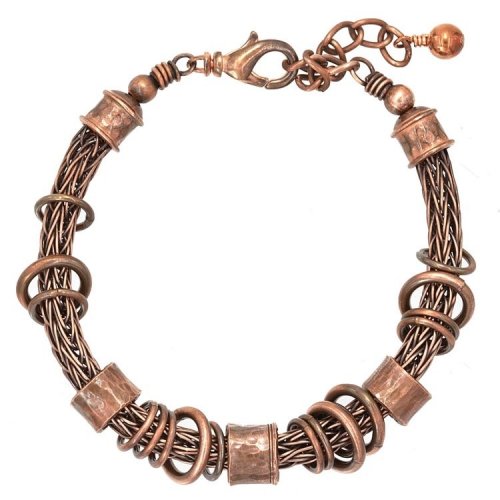 Viking Knit Bracelet
 Coiled Wire End Caps
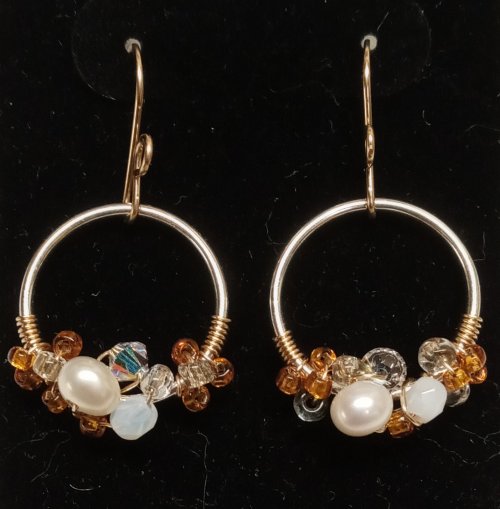 Bead-Wrapped Hoop Earrings
 Copper Feather Earrings
 Soldering a Dome to a Backplate
  Wire Heart Pendant with Gemstone Drop
 Make Basic Wire Shapes for Jewelry
 Make Simple Wire Slide Bails
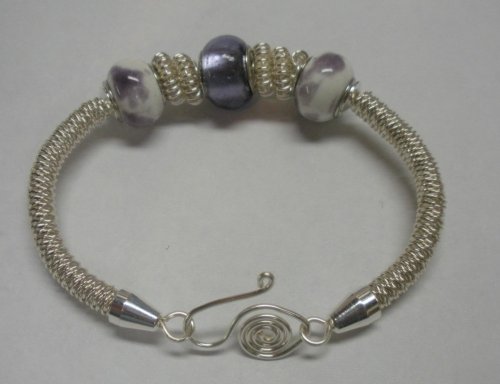 Coiled Bead and Twisted Wire Bracelet
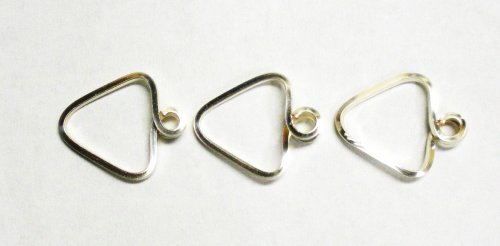 Wire Triangle Link
 Bali Style Focal Toggle
 Silver Nuggets
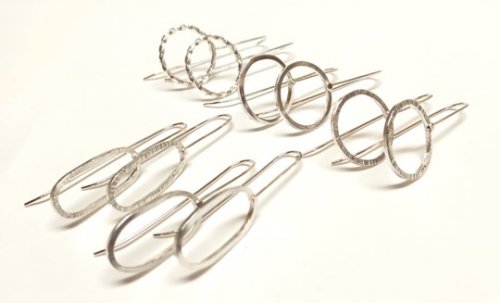 Fun Shapes Fish Hook Earrings
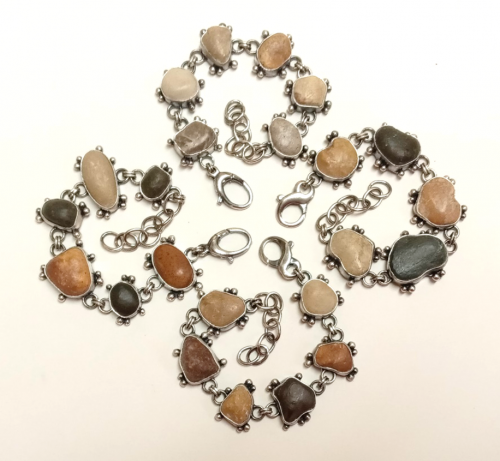 After the Rain Bracelets
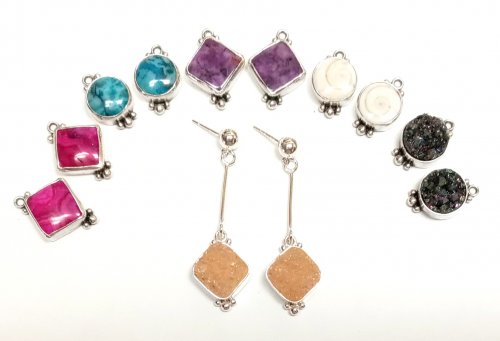 Dangling Drop Earrings
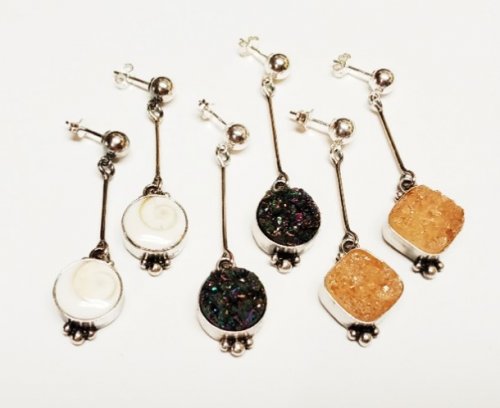 Dangling Chain Sticks
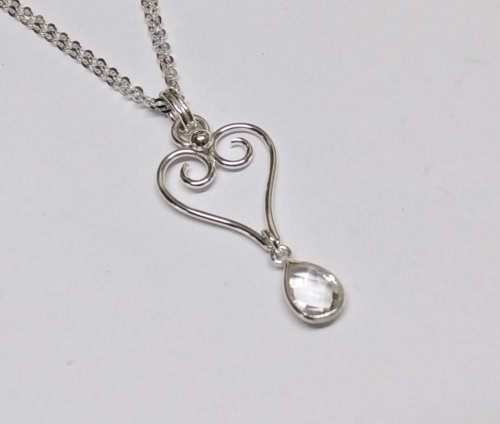 Wire Heart Pendant with Gemstone Drop
 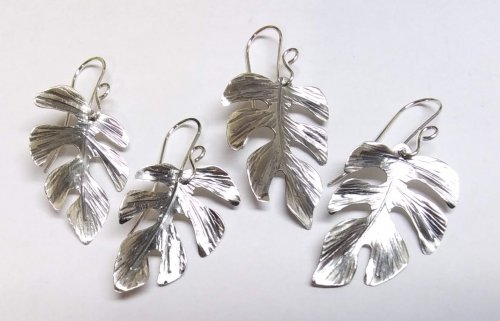 Tropical Leaf Earrings
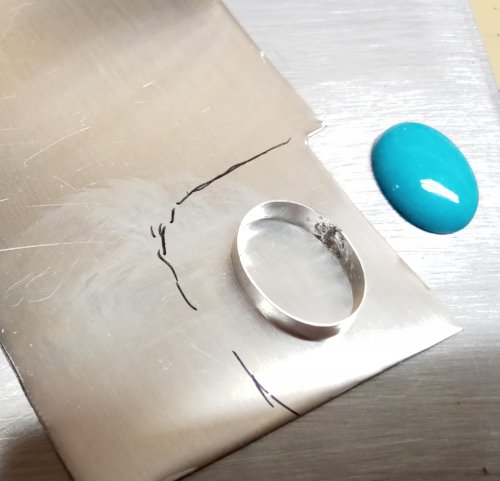 Basic Bezel Wire Tutorial
 Dog Tag Style Necklace
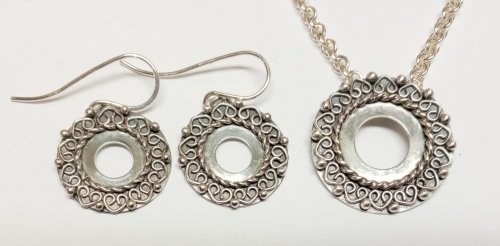 Lacy Washers
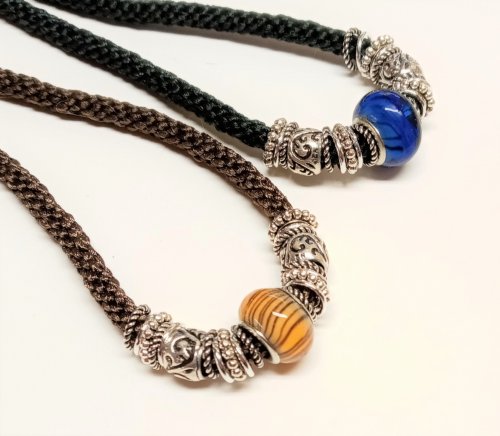 8-Strand Kumihimo
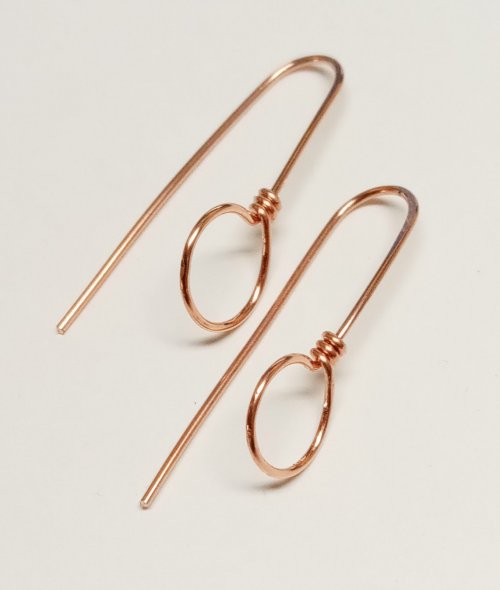 Closed Loop Ear Wires
 Simple Strip Bails from Scratch
 Anti-tarnish Silver Cloth Bags
 Cotter Pin Style Bail
 Holiday Woodland Fairy Ornament
 Happy Holly Days Wreath Ornament
 Happy Holly Days Leaves and Berries
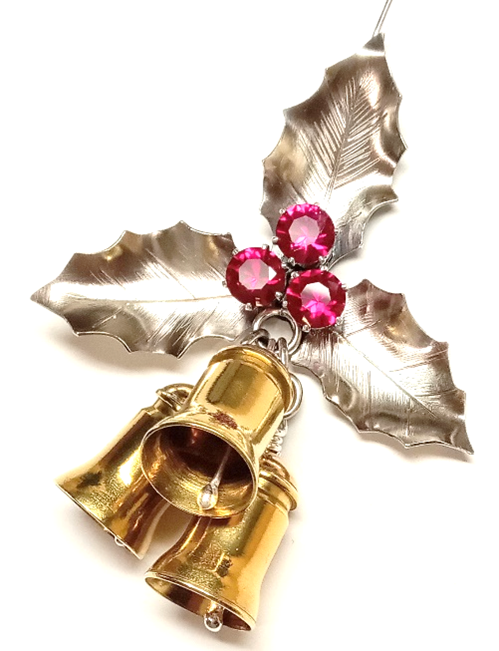 Happy Holly Days Bells Ornament
  Art Deco Wire Wrapped Pendant
 Twisted Wire Jump Rings
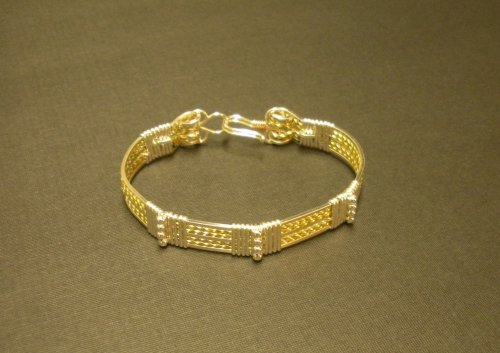 Two-tone Beaded Bangle
 Sweetheart Pendant
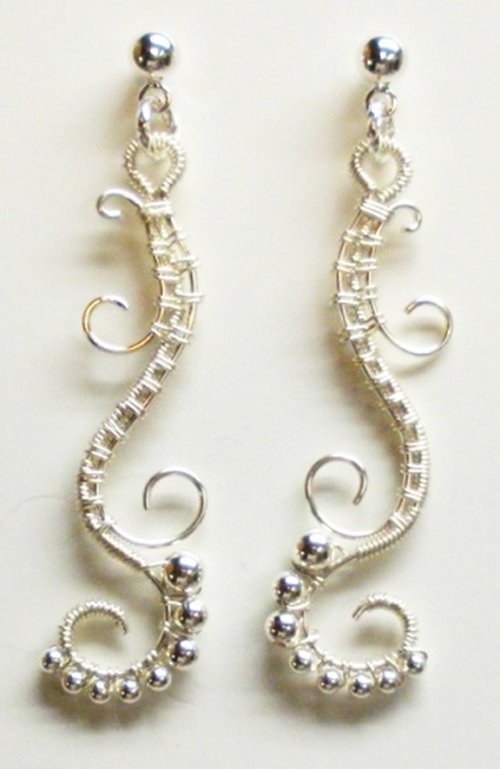 Waves on the Beach Earrings
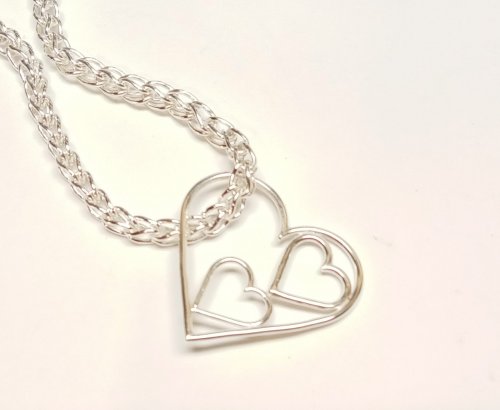 Any Size Wire Hearts - Any Size, Any Gauge
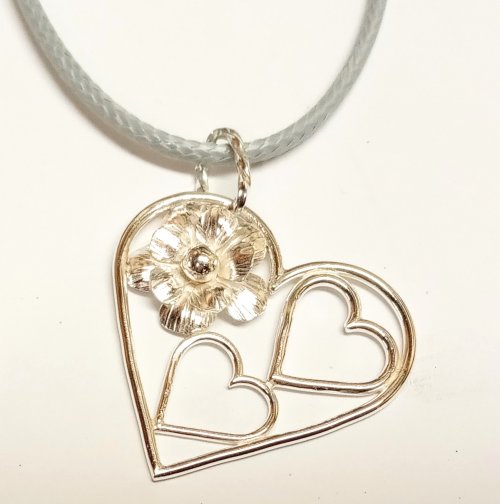 Just in Case Heart Pendant
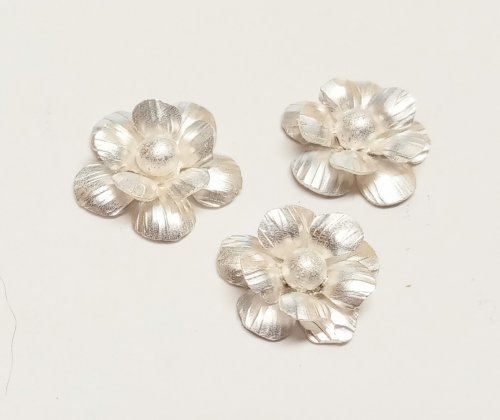 Small Flower Embellishment
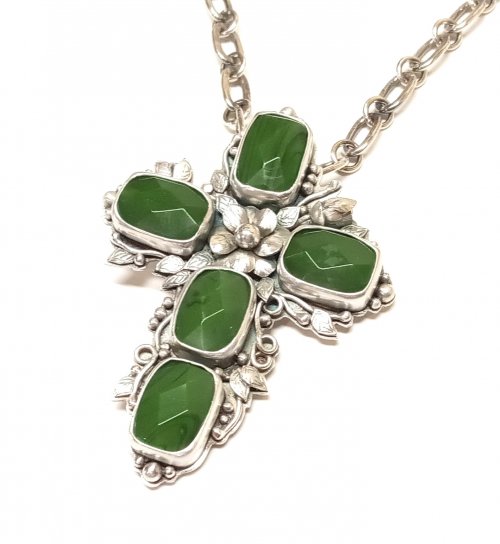 Making Tiny Dapped Metal Leaves
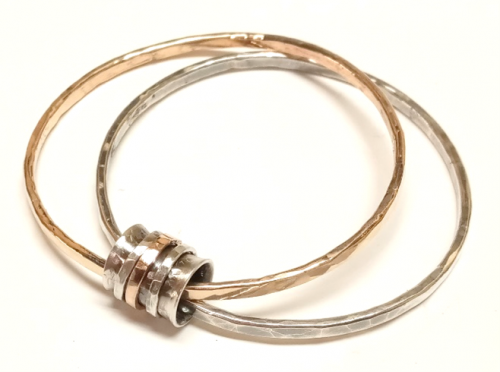 Spinner Fidget Bangles
 Small Flower Bud Embellishment
 Three Petal Bud and Layered Embellishment
 Creating a Flower Stem
 Stamped Tube Beads
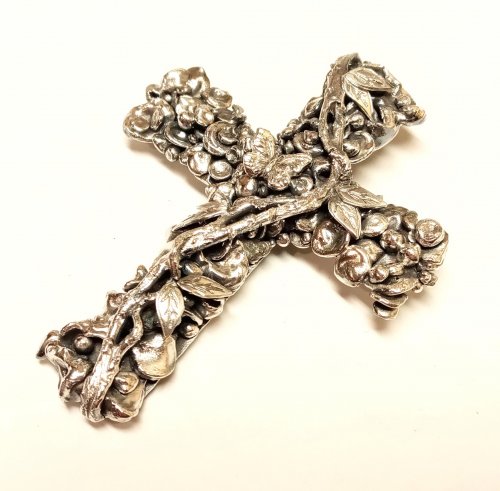 Water Cast Scrap Cross
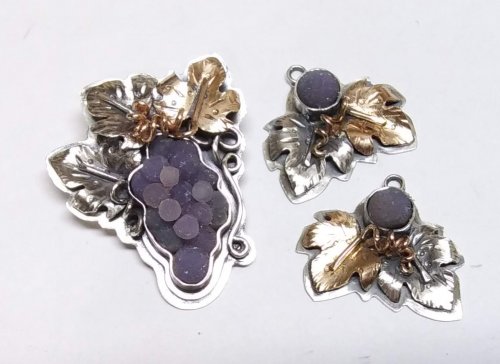 Sugared Grapes Pendant
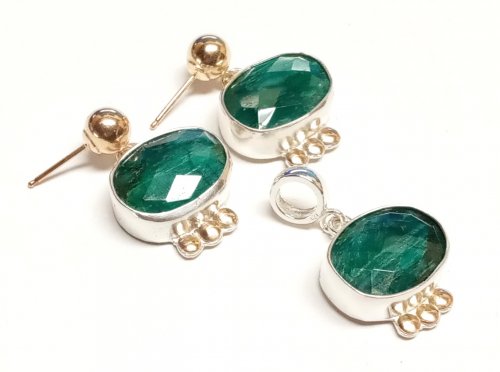 Gemstone Chains Reimagined
