
Tendril Arms Beadcaps
- Category: Findings
- Technique(s): Sawing
- Skill Level: Intermediate
Bead caps are great additions to a necklace to highlight your beads, add some decoration and unify different elements. They are quick to make and don't require any soldering.
Materials

24 Gauge 0.020 Dead Soft Copper Sheet Metal - 6x6 Inch
MET-705.24
- Lesson Quantity: 1.00 pieces
- Purchase Quantity: 1.00 each
- Price: $10.83
- Gold Club Price: $8.12

Selection of Beads- Variety of sizes and material
Tools

rubber cement
- Lesson Quantity: 1.00 pieces
- Purchase Quantity: 1.00 each

4/0 Relentless Sawblade - Sold by the Dozen
SAW-400.03D
- SAW-400.03D
- Lesson Quantity: 1.00 pieces
- Purchase Quantity: 1.00 each
- Price: $3.25
- Gold Club Price: $2.44

4 Saw Frame with Tension Screw
SAW-334.00
- SAW-334.00
- Lesson Quantity: 1.00 pieces
- Purchase Quantity: 1.00 each
- Price: $21.97
- Gold Club Price: $16.48

Deluxe V-Slot Bench Pin with Clamp
BPN-105.00
- BPN-105.00
- Lesson Quantity: 1.00 pieces
- Purchase Quantity: 1.00 each
- Price: $10.95
- Gold Club Price: $8.21

8 Punch Dapping Set
DAP-708.00
- DAP-708.00
- Lesson Quantity: 1.00 pieces
- Purchase Quantity: 1.00 each
- Price: $48.97
- Gold Club Price: $36.73

Economy Needle File Set, 6 Piece Set
FIL-993.00
- FIL-993.00
- Lesson Quantity: 1.00 pieces
- Purchase Quantity: 1.00 each
- Price: $7.95
- Gold Club Price: $5.96

WET/DRY PAPER 9 X 11 ASST- 20PC- 2EA GRIT 180-3000
ABR-500.90
- ABR-500.90
- Lesson Quantity: 1.00 pieces
- Purchase Quantity: 1.00 each
- Price: $24.95
- Gold Club Price: $18.71

Liver of Sulphur Gel, 2 Ounce Bottle
SOL-610.02
- SOL-610.02
- Lesson Quantity: 1.00 pieces
- Purchase Quantity: 1.00 each
- Price: $12.95
- Gold Club Price: $9.71

5/8 Inch Double Rubber/Nylon Head Hammer - Pack of 1
G3-26
- G3-26
- Lesson Quantity: 1.00 pieces
- Purchase Quantity: 1.00 each
- Price: $4.97
- Gold Club Price: $3.73
Instructions
Step 1
Draw your design on some plain paper.
I started with a petal flower shape and just left the rounded ends off to create a more dynamic bead cap.
It doesn't have to be perfect at this stage as you can refine the shape once it is cut out.
I drew a circle around the size I plan to make but I cut out a shape a bit bigger than planned so I can trim to the size I want.
My bead is 19 x 16mm and my bead cap will have a diameter of about 18mm when flat, it will become slightly shorter when it is dapped into a semicircle. Make a second copy of your design for the second bead cap.


Step 2
Stick your design to your metal.
I used plain PVA glue (or rubber cement) for this as it is non-toxic and it easily peels away once the design is finished, this gives you the option of using the same pattern again for the second bead cap.
This glue is not designed for metal and so you need to make sure that all the edges have glue to stop the pattern riding up with the saw blade.

Step 3
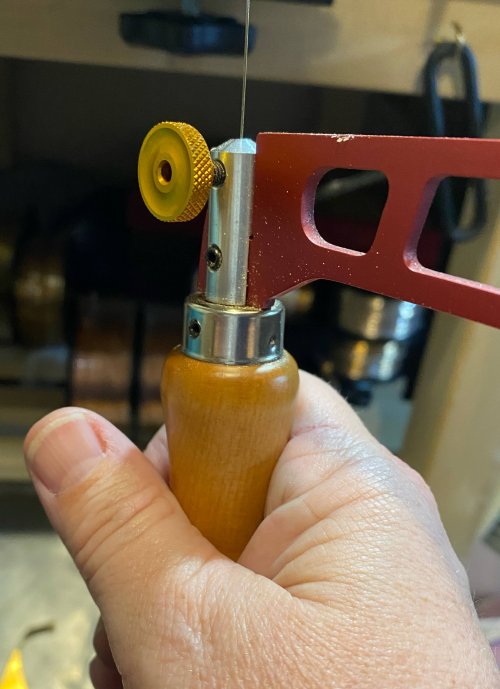
I used a 4/0 blade for this project.
I didn't lubricate my saw blade as I find it makes the metal dust stick to the blade and the pattern and this makes the lines harder to see.
Saw just outside of the lines.
I find slowing this step down and taking the time to closely follow the lines makes the sawing itself quicker and also the cleanup.
If you are new to sawing it can take a bit of time to build confidence with the tool and find your rhythm but it definitely gets easier the more you do it.


Step 4
After the shape is cut out, you can use your saw blade to refine any areas that were missed.
Peel the pattern away and check again to see if any parts need more refining.
Once the shape looks good you can add further shaping with files.
Firstly, get the shapes just as you want them and then smooth all of the sharp edges.
I used the rounded side of a half round needle file for the inside curves and the flat side for the outside curves.
I also used a barrette needle file in the tight spaces where the top of the file was in contact with the opposite side.
I then used sandpaper in 400, 600, 1200 grits to smooth the edges and the flat surfaces.
This is a delicate process, the metal is soft and the thin arms will break if moved back and forth too many times.


Step 5
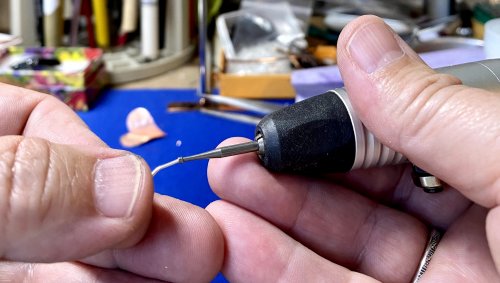
Mark the center of the bead cap with an awl or sharp point to give the drill bit a guide.
Drill a small hole, it can be enlarged later to fit the leather or wire you chose.
Drill a small hole, it can be enlarged later to fit the leather or wire you chose.


Step 6
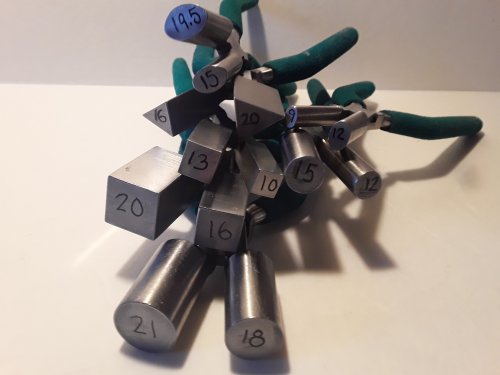
To create the shape I used a dapping block and punches.
I started with the largest depression in the block and moved through them until the bead cap was slightly smaller than the bead.
I make it slightly smaller so when you push the bead into the bead cap the arms sit right on the bead, this way they won't catch on clothing.
The first punch I used was 21mm and as the depressions became smaller I used smaller punches, the last punch I used was 15mm.
The exact numbers don't really matter it is just a process of incrementally turning the piece from flat shape to a half sphere, the reason I do it slowly is so the doming is even and smooth.
If you don't own a dapping set you can shape the bead cap directly over the bead and then shape it over a smaller bead so it will fit tight.


Step 7
Now the bead cap is a semicircle you can look to see if it needs to be trimmed and if the arms need any refining.
Drill the hole to the required size or use a file to enlarge it. Smooth the edges of the hole with sandpaper or a burnisher.
Drill the hole to the required size or use a file to enlarge it. Smooth the edges of the hole with sandpaper or a burnisher.


Step 8
I used liver of sulfur gel to patina the bead caps.
Make sure your metal is clean, if the metal has a bit of oil on the surface from your fingerprints the patina can flake off.
Cleaning the metal with soap or putting it in the pickle will give you a better finish.
Add a few drops of the gel to water and dip the bead caps in then dip them in water with a small amount of baking soda.
The baking soda neutralizes the patina.
Dry the piece and dip again as many times as needed to get the color you want.
Dipping and drying gives you more control of the color and may make the patina more durable.





 Crystal Burst Earrings
 Copper Braided Chain Maille Bracelet
 Inverted round maille temple earrings
 Inverted round maille temple earrings
 Sterling Silver Chain Maille Bridal Earrings
 Long crystal round maille earrings
 Venetian Glass Chain Maille Bracelet
 Leather and Chain Maille Bracelet
 Lapis and Brass Chain Maille Diamond Earrings
 Black Niobium and Sterling Chain Maille Bracelet
 Vibrant Wrapped Cotton Earrings
 Box Chain Crystal Drop Earrings
 Garnet 2-in-2 Chain Maille Necklace
 Round Maille and Leather Necklace
 No-solder Post Ear Wires
 Byzantine Chain Maille Long Beaded Necklace
 Silver Vine Wrapped Bracelet
 Orbital Chain Maille Earrings
 Stainless Steel Round Maille Leather Bracelet
 Chain Maille Czech Glass Spike Earrings.
 Stainless Steel 4-in-1 Bracelet
 Helm Chain Pendant
 Full Persian chain maille earrings with bright crystals.
 Swarovski Crystal Necklace with Half Persian 4 in 1 chain maille.
 Stainless Steel Beaded Chain Maille Keyring
 Stainless Steel 6 in 1 Chain Maille Bracelet.
 Gemstone Chain Maille Pendant
 Murano glass wire heart earrings.
 Niobium Zigzag Earrings
 Box Chain Watchband
 Amber Chain Earrings
 Garnet Chain Maille Earrings
 Square Wire Rings Round Maille Bracelet
 Beaded Rings Earrings
 Messy Wrap Briolette Earrings
 Byzantine Chain Maille Pendant
 Chain Maille Bail for a Stone Donut
 Byzantine Chain Maille Swarovski Crystal Earrings
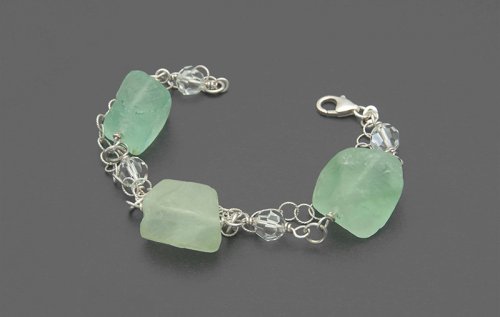 Chunky Fluorite Nugget Bracelet
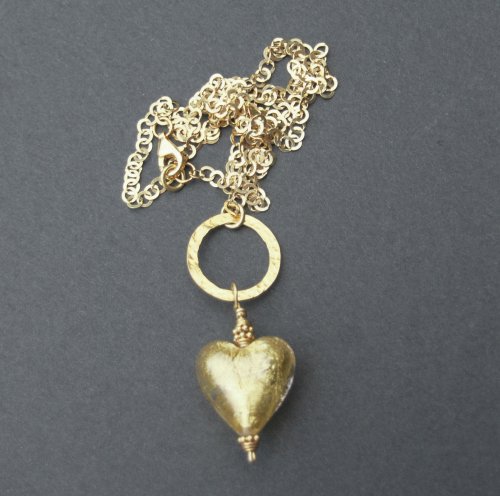 Gold Heart Necklace
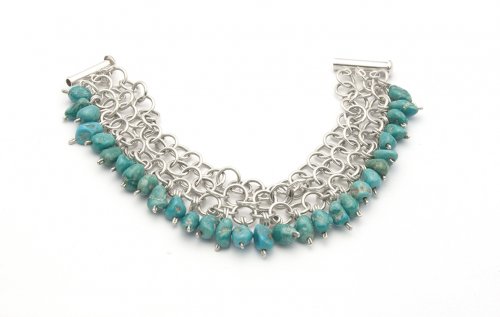 Turquoise Silver Chain Bracelet
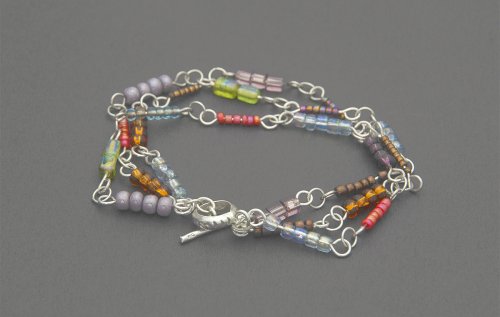 Sterling Silver Rainbow Bracelet
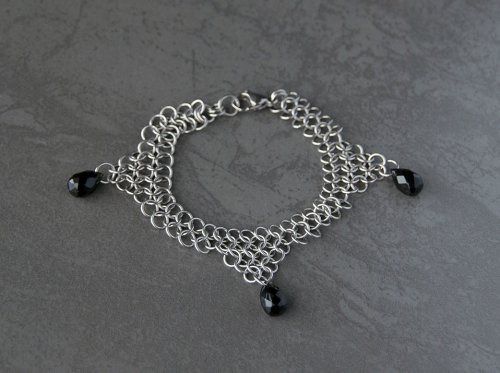 Black Drops Stainless Steel Chain Maille Bracelet
 Stainless Steel Chain Maille Circle Pendant
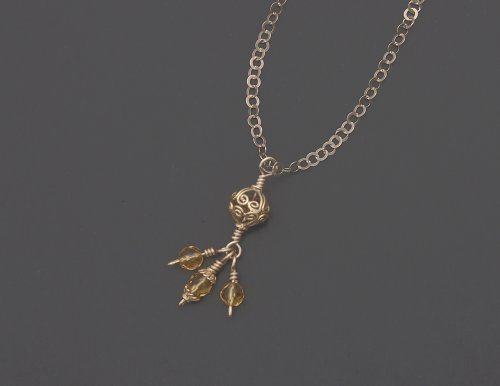 Gold Bead Pendant
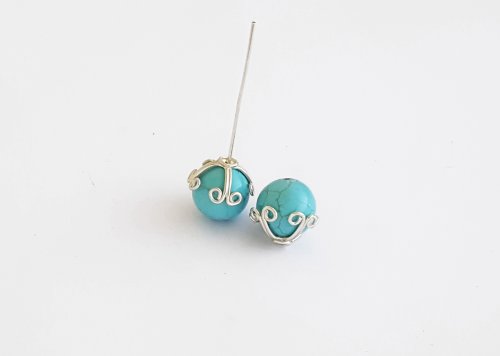 Soldered Wire Bead Caps
 Chain Maille Orbital Link Bracelet
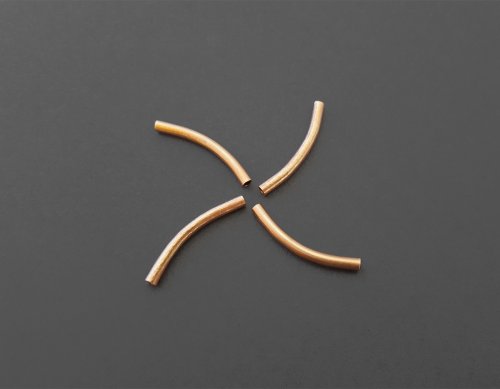 Make Your Own Curved Tube Beads
 Curved Tube Bead Earrings
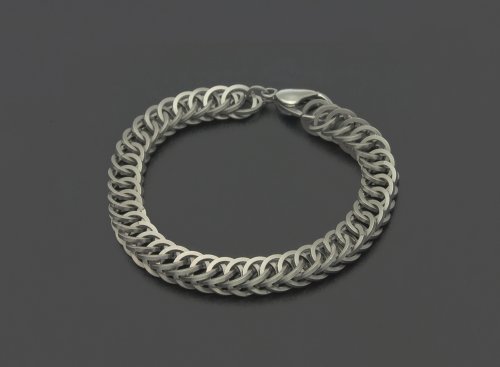 Stainless Steel Half Persian Bracelet
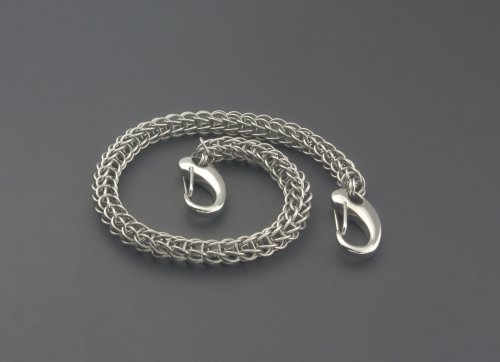 Chunky Chain Maille Keychain
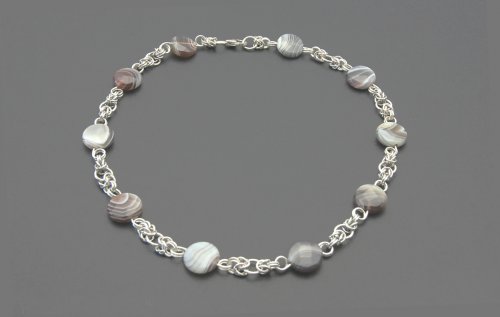 Botswana Agate Half Byzantine Chain Maille Necklace
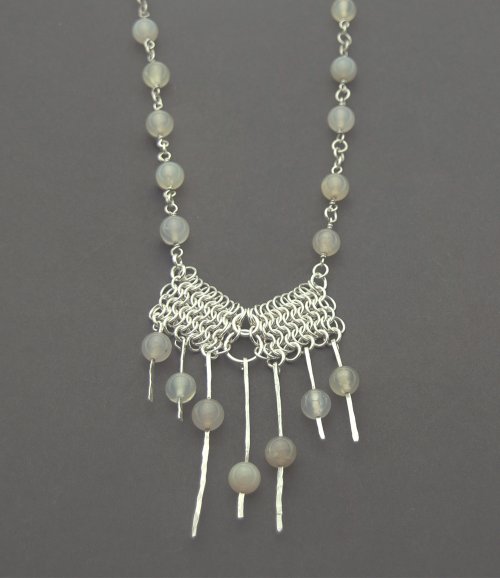 Chain Maille Pendant Necklace with Agate Beads
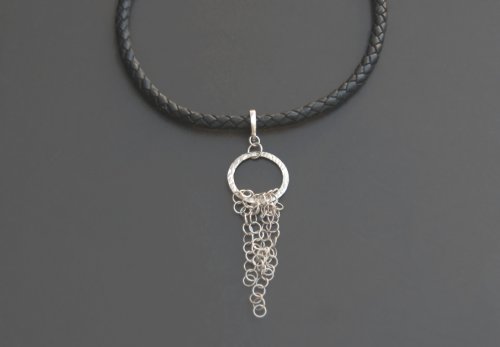 Flowing Chain Pendant
 Beaded RIng Pendant
 Elf Weave Chain Maille Earrings
 Party Girls Wire Spirals Necklace
 Beaded Elf Weave Chain Maille Earrings
 Beaded Ladder Earrings
 Colorful Beaded Chain Maille Earrings
 Beaded Helm Chain Maille Earrings
 Chain Maille Bail Pendant
 Viper Chain Maille Earrings

