
Handmade Clasp for a Ball Chain
- Category: Findings
- Technique(s): Making Loops
- Skill Level: Beginner
I made a lovely necklace, using a ball chain and ball chain connector as a clasp. I sold the necklace and the buyer said she needed a different clasp, as she couldn't manipulate that kind of "clasp".
Putting my thinking cap on and a quick online search, I found there are proper components to transition from chain to clasp. Did I have any of these components? Did I want to go to the craft store (or maybe 3) to attempt to find the right thing? No. No I did not.
Putting my thinking cap on and a quick online search, I found there are proper components to transition from chain to clasp. Did I have any of these components? Did I want to go to the craft store (or maybe 3) to attempt to find the right thing? No. No I did not.
Materials

18 Gauge Round Half Hard Copper Wire
H11-18H
- Lesson Quantity: 14.00 inches
- Purchase Quantity: 1.00 5FT
- Price: $3.38
- Gold Club Price: $2.53
Tools

Round Nose Wire Pliers
G2-507
- G2-507
- Lesson Quantity: 1.00 pieces
- Purchase Quantity: 1.00 each
- Price: $32.95
- Gold Club Price: $24.71

Chain Nose Wire Pliers
G2-508
- G2-508
- Lesson Quantity: 1.00 pieces
- Purchase Quantity: 1.00 each
- Price: $32.95
- Gold Club Price: $24.71

C.H.P Milano Italian Flush Cutter, 5 1/2 Inches
PLR-487.00
- PLR-487.00
- Lesson Quantity: 1.00 pieces
- Purchase Quantity: 1.00 each
- Price: $16.97
- Gold Club Price: $12.73

Wire Rounder Set, 3 pieces
G14-20
- G14-20
- Lesson Quantity: 1.00 pieces
- Purchase Quantity: 1.00 each
- Price: $13.95
- Gold Club Price: $10.46
Instructions
Step 1
My first attempt was soldering a loop to a cord connector. All that accomplished was contaminating my pickle and turning some sterling work pink.
Then I really started to look at the ball chain connector and realized that if I balled a piece of copper wire, it would fit through one end of the connector. After putting a ball chain connector on each end of the necklace, I got to work.
Then I really started to look at the ball chain connector and realized that if I balled a piece of copper wire, it would fit through one end of the connector. After putting a ball chain connector on each end of the necklace, I got to work.

Step 2
Take 2 pieces of 18g copper wire, roughly 4" long and ball up one end. Pickle, rinse and dry.
Insert the balled headpin through the middle of the connector, so the balled end sits on the inside of the connector.


Step 3
Make your wrapped loop as normal, using round nose pliers and chain nose pliers. Snip off excess wire and file down any rough edges.

Step 4
Make the hook end of the clasp with 6" of 18g wire. Connect the loop of the clasp to the wrapped loop on the chain before finishing the clasp.

Step 5
For the other side of the clasp, I made the second balled headpin loop larger, 6mm inside diameter. This eliminated the need for having anymore wrapped loops or links and finished the clasp very nicely.






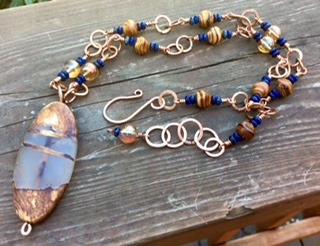 Barely Contained - Making Bead Link Chain
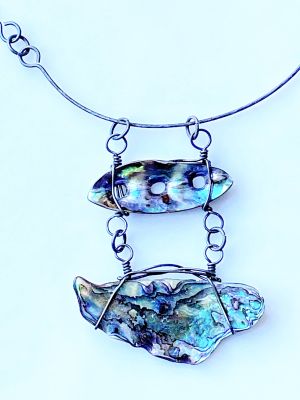 The Shell Game Necklace
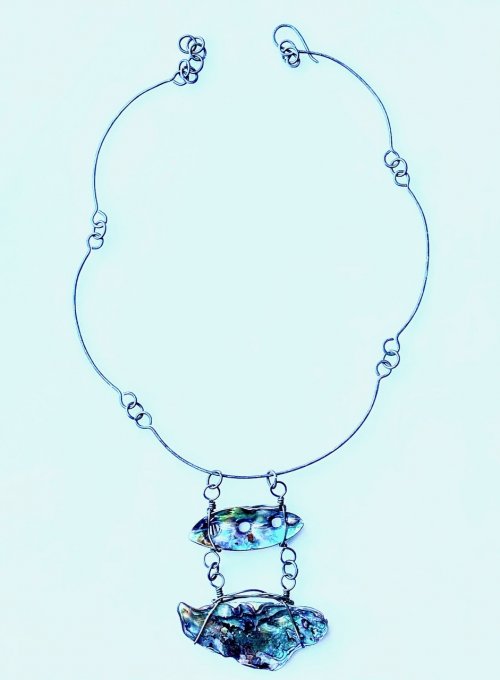 The Shell Game Necklace
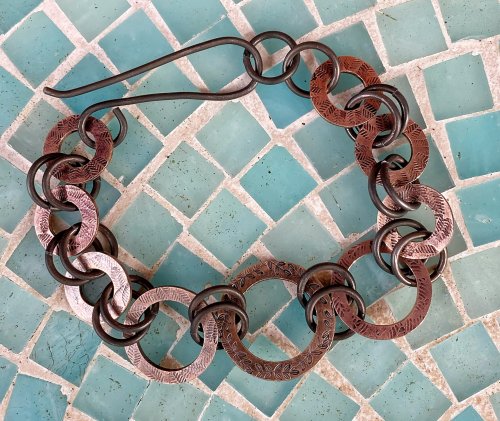 Beauty in Simplicity
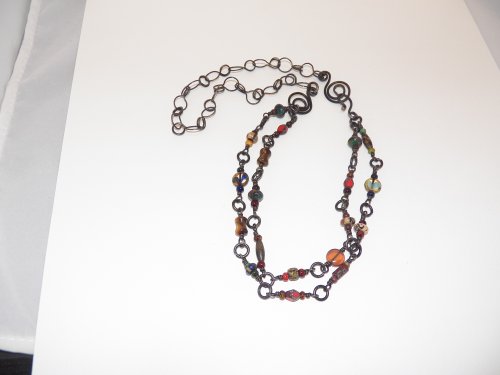 Challenge Necklace
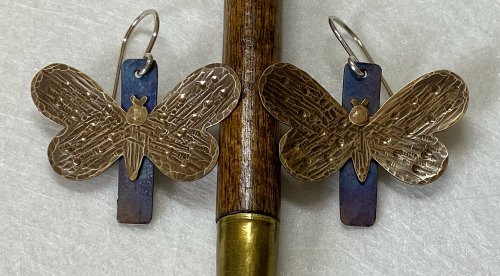 Butterfly Earrings
 I Remember You Memory Wire Bracelet
 Climbing Rose Earrings
 A New Headpin
 Classic Bangle Bracelet
 A New Twist on the Classic Ear Wire
