
Gnome Ornaments
- Category: Holiday Designs
- Technique(s): Cutting, Dapping, Filing / Finishing, Hole Punching, Texturing, Design
- Skill Level: Beginner
At any time of the year, I don't have to search for gnomes. I see gnomes and gnome ornaments EVERYWHERE. So it comes as no surprise that I will be making Gnome Ornaments for my Grandchildren.
While I prefer to solder metal parts together, the pieces to make the gnomes in this tutorial can be successfully glued together. Slight changes in the templates will make each ornament unique and totally your own.
The templates do not have to be used with metal. Fur, felt, fabric and Heat and Bond will work just as well.
Materials

28 Gauge 0.012 Dead Soft Copper Sheet Metal - 6x6 Inch
MET-705.28
- Lesson Quantity: 1.00 pieces
- Purchase Quantity: 1.00 each
- Price: $7.50
- Gold Club Price: $5.63

24 Gauge 0.020 Dead Soft Copper Sheet Metal - 6x12 Inch
MET-705.24M
- Lesson Quantity: 1.00 pieces
- Purchase Quantity: 1.00 each
- Price: $11.90
- Gold Club Price: $8.93

26 Gauge 0.016 Dead Soft Copper Sheet Metal - 6x6 Inch
MET-705.26
- Lesson Quantity: 1.00 pieces
- Purchase Quantity: 1.00 each
- Price: $7.83
- Gold Club Price: $5.87

26 Gauge 0.016 Dead Soft Red Brass Sheet Metal - 6x6 Inch
MET-704.26
- Lesson Quantity: 1.00 pieces
- Purchase Quantity: 1.00 each
- Price: $6.78
- Gold Club Price: $5.09

28 Gauge 0.012 Dead Soft Red Brass Sheet Metal - 6x6 Inch
MET-704.28
- Lesson Quantity: 1.00 pieces
- Purchase Quantity: 1.00 each
- Price: $9.23
- Gold Club Price: $6.92

24 Gauge 0.020 Dead Soft Nickel Silver Sheet Metal - 6x6 Inch
MET-703.24
- Lesson Quantity: 1.00 pieces
- Purchase Quantity: 1.00 each
- Price: $17.48
- Gold Club Price: $13.11

26 Gauge 0.016 Dead Soft Nickel Silver Sheet Metal - 6x6 Inch
MET-703.26
- Lesson Quantity: 1.00 pieces
- Purchase Quantity: 1.00 each
- Price: $15.30
- Gold Club Price: $11.48
Tools

Metal Cutting Shears
SHR-536.00
- SHR-536.00
- Lesson Quantity: 1.00 pieces
- Purchase Quantity: 1.00 each
- Price: $14.97
- Gold Club Price: $11.23

GROBET FILE - BARRETTE CUT 4, 6"
FIL-31.031
- FIL-31.031
- Lesson Quantity: 1.00 pieces
- Purchase Quantity: 1.00 each
- Price: $35.10
- Gold Club Price: $26.33

Economy Needle File Set, 6 Piece Set
FIL-993.00
- FIL-993.00
- Lesson Quantity: 1.00 pieces
- Purchase Quantity: 1.00 each
- Price: $7.95
- Gold Club Price: $5.96

WET/DRY PAPER 9 X 11 ASST- 20PC- 2EA GRIT 180-3000
ABR-500.90
- ABR-500.90
- Lesson Quantity: 1.00 pieces
- Purchase Quantity: 1.00 each
- Price: $24.95
- Gold Club Price: $18.71

7 Piece Mini TruStrike Hammer Set with Stand
HAM-520.70
- HAM-520.70
- Lesson Quantity: 1.00 pieces
- Purchase Quantity: 1.00 each
- Price: $140.54
- Gold Club Price: $105.40

Texturing Hammer with 9 Faces
HAM-470.00
- HAM-470.00
- Lesson Quantity: 1.00 pieces
- Purchase Quantity: 1.00 each
- Price: $47.00
- Gold Club Price: $35.25

Euro Tool Metal Hole Punch Pliers, 1.8 Millimeters
PLR-133.50
- PLR-133.50
- Lesson Quantity: 1.00 pieces
- Purchase Quantity: 1.00 each
- Price: $11.98
- Gold Club Price: $8.98

Steel Bench Block 4x4 Inch - Pack of 1
G17-10
- G17-10
- Lesson Quantity: 2.00 pieces
- Purchase Quantity: 2.00 each
- Price: $21.95
- Gold Club Price: $16.46

Designer Metal Stamps--Eight Point Star
PUN-102.23
- PUN-102.23
- Lesson Quantity: 1.00 pieces
- Purchase Quantity: 1.00 each
- Price: $10.57
- Gold Club Price: $7.93

Designer Metal Stamps--Snowflake
PUN-102.39
- PUN-102.39
- Lesson Quantity: 1.00 pieces
- Purchase Quantity: 1.00 each
- Price: $9.95
- Gold Club Price: $7.46

Designer Metal Stamps--Spiral
PUN-106.26
- PUN-106.26
- Lesson Quantity: 1.00 pieces
- Purchase Quantity: 1.00 each
- Price: $6.76
- Gold Club Price: $5.07

Designer Metal Stamps--Square Labyrinth
PUN-106.27
- PUN-106.27
- Lesson Quantity: 1.00 pieces
- Purchase Quantity: 1.00 each
- Price: $9.95
- Gold Club Price: $7.46

12 Piece Dapping Punch Set with Wooden Base
G17-6
- G17-6
- Lesson Quantity: 1.00 pieces
- Purchase Quantity: 1.00 each
- Price: $16.97
- Gold Club Price: $12.73

2 1/2 Inch Dapping Die Block
DAP-125.00
- DAP-125.00
- Lesson Quantity: 1.00 pieces
- Purchase Quantity: 1.00 each
- Price: $32.30
- Gold Club Price: $24.23

Small Disc Cutter, 7 Pieces
DAP-400.10
- DAP-400.10
- Lesson Quantity: 1.00 pieces
- Purchase Quantity: 1.00 each
- Price: $46.95
- Gold Club Price: $35.21
Instructions
Step 1
Read through the tutorial before starting the project.
Follow all safety precautions pertaining to the tools and supplies being used and the space you are working in.
Scale the templates to the desired size and print a copy.
The pieces can be mixed, but the curve of the beard may need to be changed.
Choose a hat band.
Add a bit more to the sides of the hat and beard template than needed to accommodate the hat band (third photo).
Since a larger hat pom may be later desired, it is wise to add a bit in that area as well.
Cut the pieces apart.


Step 2
Decide what metal will be used for each part.
Remember, the thicker the metal, the harder it is to cut with shears, and two layers will be sandwiched together to stabilize the gnome.
So, think about how the gnome will be finished.
Remember, the thicker the metal, the harder it is to cut with shears, and two layers will be sandwiched together to stabilize the gnome.
So, think about how the gnome will be finished.
Option 1 (not made) Cute Gnome Tag Ornament:
This is by far the easiest method.
Instead of following the outline of the gnome for the bottom stabilizing layer, cut a rectangular piece of 24 gauge sheet slightly longer and wider than the gnome template.
A tag shape would look nice.
Texture this backplate before adhering all the gnome parts.
This is by far the easiest method.
Instead of following the outline of the gnome for the bottom stabilizing layer, cut a rectangular piece of 24 gauge sheet slightly longer and wider than the gnome template.
A tag shape would look nice.
Texture this backplate before adhering all the gnome parts.
Option 2 Make the Gnomes as Shown:
Cut a 24 gauge backing slightly larger than the finished Gnome drawing template.
If you are sure you will be able to cut around the ornament with shears, a larger piece can be cut.
This may give you more design options later.
Cut a 24 gauge backing slightly larger than the finished Gnome drawing template.
If you are sure you will be able to cut around the ornament with shears, a larger piece can be cut.
This may give you more design options later.
Both Options: Use 26 gauge sheet for the gnome beard, hat, hat band, hat pom, and nose.
The feet can only be added to Option 2. Cut the feet from 22 gauge sheet metal.
The hat strip trim and the patches are cut from 28 gauge because they are easier to manipulate when crossing each other.
26 gauge will work, though.
Glue the templates to the chosen sheet metal.
The feet can only be added to Option 2. Cut the feet from 22 gauge sheet metal.
The hat strip trim and the patches are cut from 28 gauge because they are easier to manipulate when crossing each other.
26 gauge will work, though.
Glue the templates to the chosen sheet metal.


Step 3
Before cutting out the larger pieces, use a disc cutter to cut a variety of sizes of discs in the space around them.
When this is done, cut out the hats and beards.
When this is done, cut out the hats and beards.
Cut embellishment strips and hat bands.
If using an old pair of pinking shears (never to be used on fabric again) to cut the zig zag top hatband, make sure the metal is no thicker than 28 gauge.
Also, cut through several layers of waxed paper a few times before cutting the metal.
This makes cutting easier and protects the shears a bit.
If using an old pair of pinking shears (never to be used on fabric again) to cut the zig zag top hatband, make sure the metal is no thicker than 28 gauge.
Also, cut through several layers of waxed paper a few times before cutting the metal.
This makes cutting easier and protects the shears a bit.


Step 4
Dome some of the cut discs if a three-dimensional ornament desired.
Having these extra parts makes it easier to see what works best for your vision of the finished ornament.
Sand the back of each domed disc flat using 320 or 400 grit sandpaper placed on a bench block.
Having these extra parts makes it easier to see what works best for your vision of the finished ornament.
Sand the back of each domed disc flat using 320 or 400 grit sandpaper placed on a bench block.
Pro Tip: Keep a box of different size and gauge discs on hand. When the urge to design with circles hits, they are ready to go!


Step 5
Lay the parts out to make sure nothing is missing.
Separating the parts will help with assembly later.
Separating the parts will help with assembly later.


Step 6
Texture the beard.
A Mini TruStrike Sharp Texture Hammer was combined with one of the hammers from the Wubbers Texture Hammers set for the Tall Gnome beard.
For the Short Gnome beard, a texture hammer was combined with a metal stamp.
A Mini TruStrike Sharp Texture Hammer was combined with one of the hammers from the Wubbers Texture Hammers set for the Tall Gnome beard.
For the Short Gnome beard, a texture hammer was combined with a metal stamp.


Step 7
Texture the hats. Using more than one texture will add dimension to the piece.


Step 8
Texturing will change the shape of the pieces.
The only place where this would be noticeable is on the gnome with no hat band.
Notice that the two pieces do not fit together.
File the beard back until the two pieces fit together.
Use a rubber mallet to flatten all the pieces.
Note: All the parts for the Tag Gnome must be perfectly fit before gluing.


Step 9
For the glue or epoxy to work well, all the pieces need to be sanded.
Wiping the surface with alcohol after sanding is also a must.
Then try not to touch the metal surfaces, only the edges.
Wiping the surface with alcohol after sanding is also a must.
Then try not to touch the metal surfaces, only the edges.

Step 10
Place the backplate on a bench block.
Know where the hat will be placed on the backplate.
It may help to mark the area with an ultra fine point retractable Sharpie.
Spread the glue on the back of the hat.
Place the hat, glue side down, on the backplate.
Repeat the process with the beard, positioning it glue side down in line with the hat.
See Step 12 if a tag ornament is being made.
Much less glue should be used.


Step 11
Place a piece of waxed paper over the assembly.
Carefully add a bench block on top of the assembly.
Then add more weight.
Here, another bench block plus a sad iron bottom was added.
If using E-6000, after an hour check to make sure the parts are still in place and did not move.
Since E-6000 will take up to 72 hours to cure, the parts can be shifted back into place if they did move.
If using two-part epoxy, check after no more than 5 minutes.


Step 12
Notice how much glue seeped out between the layers.
This would only be a problem on the tag ornament.
If a tag ornament was made and glue seeped out, use a very sharp knife to slice the glue next to the Gnome.
Pull the glue away.
Remove the waxed paper.
Sand the piece.
Do not worry if the glue remains.
It will be cut away later. Remove the sanding dust and clean the surface with alcohol.


Step 13
Here is where it is important to not add too much glue.
Add a strip of glue down the middle of the back of the hat band.
Place the hat band in position over the had/beard seam, glue side down.
Clamp in place on either end.
Add a strip of glue down the middle of the back of the hat band.
Place the hat band in position over the had/beard seam, glue side down.
Clamp in place on either end.


Step 14
For flat noses or the hat patches, place a small amount of glue on the beard or hat where the piece will be placed.
Press the piece into place over the glue.
Press the piece into place over the glue.

Step 15
Fill all domed embellishments with E-6000, turn over, and press into place.
The glue will settle and bond the two pieces together.
The hat bands stabilize the seam area between the hat and the beard.
To help stabilize the seam on the gnome with no hat band, the nose should overlap the seam.
The glue will settle and bond the two pieces together.
The hat bands stabilize the seam area between the hat and the beard.
To help stabilize the seam on the gnome with no hat band, the nose should overlap the seam.


Step 16
Make design decisions along the way, as was done here.
Instead of a pom on the hat tip, it was decided to add a hanging heart.
Instead of a pom on the hat tip, it was decided to add a hanging heart.

Step 17
The directions on E-6000 say that curing can be hastened if the piece is heated with a hair dryer.
Putting the ornaments on a food dehydrator does the trick.
Putting the ornaments on a food dehydrator does the trick.

Step 18
Redraw any lines needed for design and cutting changes.

Step 19
Trim excess metal away around the gnome.
It is difficult to get into the curves and corners.
Those areas can be filed and sanded.
Use a hole punch to make the curved hat tip.
It is difficult to get into the curves and corners.
Those areas can be filed and sanded.
Use a hole punch to make the curved hat tip.


Step 20
Gnomes, placed on a bench block, can be decorated with a variety of metal stamps.

Step 21
I saved my original drawing with the bisecting line down the center.
I used the lines to determine where to make a hole for hanging the ornament.
The same thing can be accomplished by folding the paper design in half lengthwise.
I used the lines to determine where to make a hole for hanging the ornament.
The same thing can be accomplished by folding the paper design in half lengthwise.
Step 22
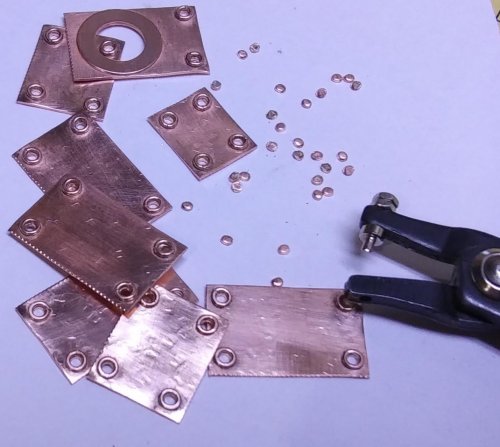
Punch 1/8" holes. Add an eyelet to the hole and place on a piece of thick leather on a bench block.
Flare the rivet on the back side using dapping punches.
Finish with a Mini TruStrike Embossing Hammer.
Flare the rivet on the back side using dapping punches.
Finish with a Mini TruStrike Embossing Hammer.

Step 23
Feet/shoes can be added, or not.
Cut feet from 22 gauge sheet.
Cut a narrow strip of 26 or 28 gauge sheet if a sole strip is desired on the shoes.
Glue the pieces in place and secure using clamps.
Cut feet from 22 gauge sheet.
Cut a narrow strip of 26 or 28 gauge sheet if a sole strip is desired on the shoes.
Glue the pieces in place and secure using clamps.

Step 24
Hang the heart ornament embellishment and all the gnomes are done!







 Beaded Briolette Pendant
 Snail Trail Spiral Earrings
 Heart Link Bracelet and Earrings
 Crazy Hoop Earrings
 Double Delight Jade Bracelet
 Swagged Pearl Pendant
 Heart Earrings with Drops
 Scarab Bracelet
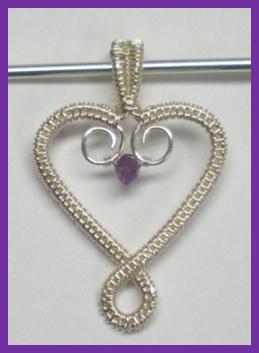 Birthstone Heart Pendant
 Pearl of the Sea Woven Pendant
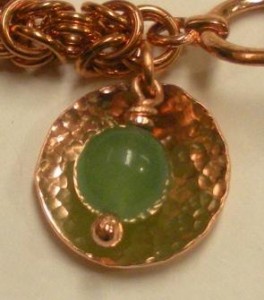 Bead Charm
 Coiled Rosette Link
 Wire Jewelry Component and Swan Hook
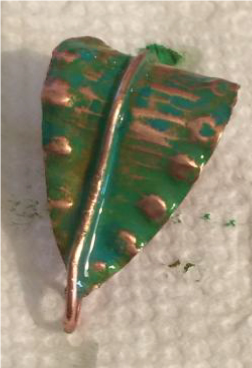 Leaf Bail
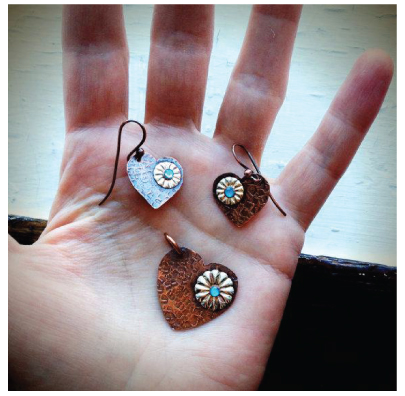 Component Templates with Heart Earrings and Pendant
 Ring Pendant
 Calla Lily Earrings
 Birdhouse Pendant
 Clamshell Earrings and Pendant
 Bracelet Component
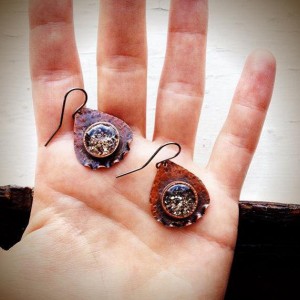 Teardrop Earrings and Pendant
 Tab Style Pendant
 Coiled End Caps
 Freeform Pendant
 French Hook Ear Wires
 Necklace Component
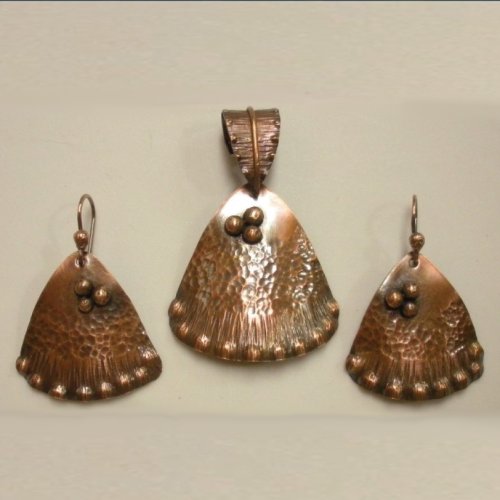 Triangle Shield Earrings, Pendant and Bail
 How to Make a Wire Coil and Bead
 Egyptian Coil Bracelet
 Focal Bead Egyptian Coiled Bracelet
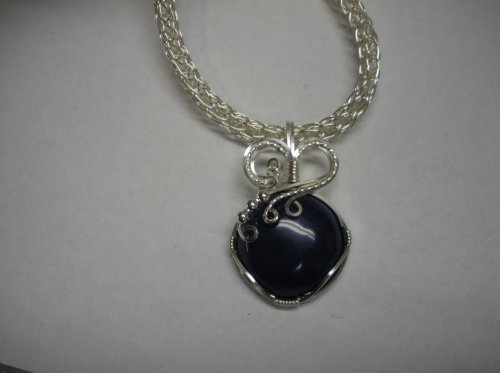 Sweetheart Round Cabochon Pendant
 Making Cobblestone Cabochons
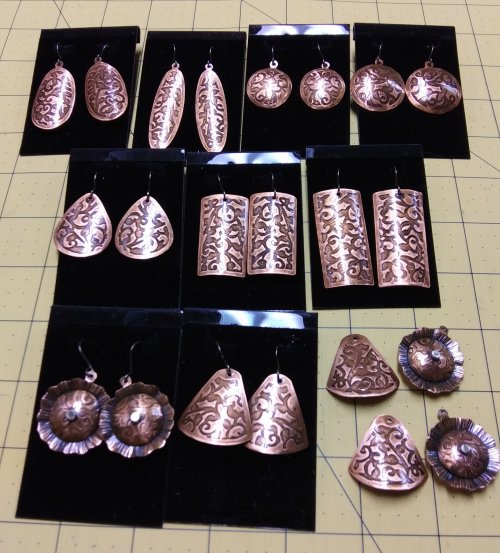 Cupcake Wrapper Earrings
 How to Make Metal Washers
 Baseball Skin Keychain
 Pat's Silver Domed Earrings
 Blaze Your Own Path Pendant
 Semi Snap-on Bail
 Interlocking Faux Twist Wire Bracelet
 Fold Formed Cuff With Faux Roman Glass or Coin Cabochon
 Steampunk Style Leaf Earrings
 Stamped Saucer Beads
 Kat's Wire Hoop Earrings
 Simple Bail on a Coin Pendant
 Wire Bangles
 Rolling Mill - or not - Cuff Bracelet
 Jen's Chain
 Making Neckwires
 Silver Scrap Wire Focals to Embellish
 Splash Ring
 Cobblestone Cab Earrings
 Multi Gemstone Necklace
 Southwest Style Pendant
 Bezels Using Square Wire
 Mixed Metal Sampler Bracelet 1
 Mixed Metal Sampler Bracelet 2
 Mixed Metal Sampler Bracelet 3
 Mixed Metal Sampler Bracelet 4 - Words Matter
 Mixed Metal Sampler Bracelet 5 - River Walk
 Mixed Metal Sampler Bracelet 6 - A Little Bling
 Mixed Metal Sampler Bracelets Series PUTTING IT ALL TOGETHER
 Mixed Metal Sampler Bracelet 7 - Steampunk Space Oddity
 Mixed Metal Sampler Bracelet 8 - Fun Shapes
 Jump Ring Fringe Bracelet
 Easy Artisan Earrings
 Making Chain with Wubbers and Wire
 Heirloom Buttons and Beads Bracelet
 Tiny Silver Charms part 1
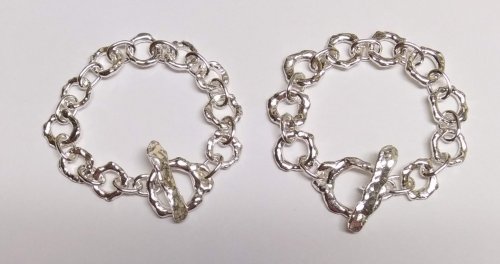 Argentium Silver Scrap Chain
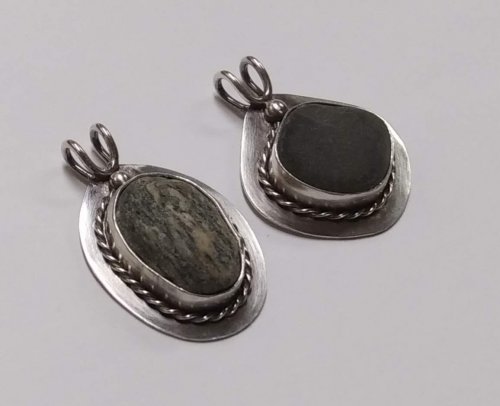 Sterling Lake Stone Pendant with Twisted Wire
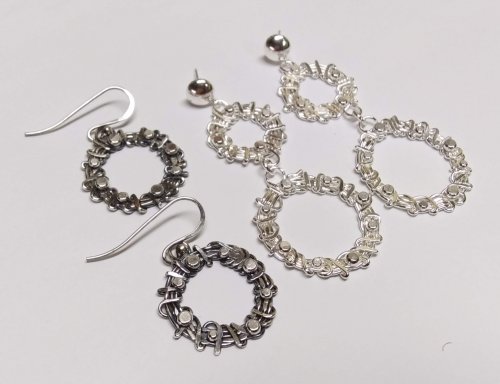 Smashing Drop Earrings
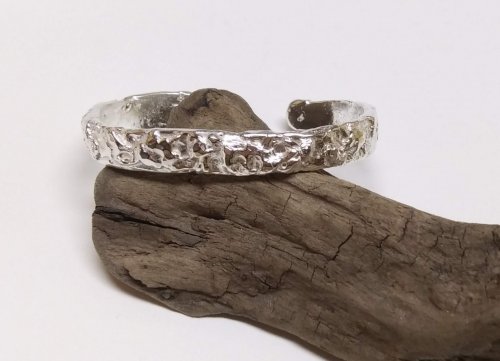 Argentium Silver Scrap Nugget Cuff
 Finish Them Your Way Earrings
 Paddle Fringe Earrings
 Seed Bead Earrings
 Bracelet Links 1, 2,3
 Stamped Saucer Beads
 Chaos Scrap Wrap Jewelry
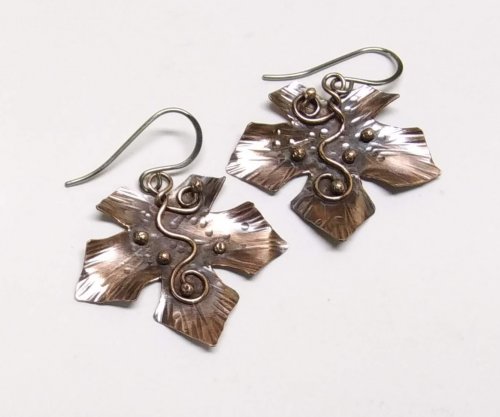 Maple Leaf Earrings
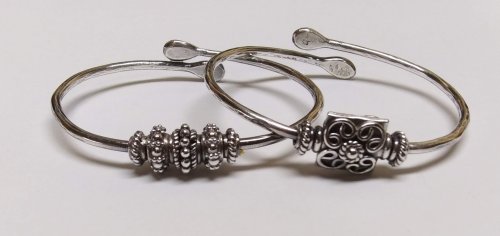 Child's Bracelet That Grows with Them
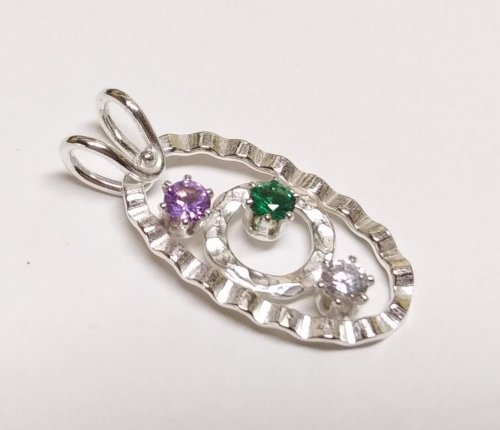 Mike's Surpirise Claire's Ripple Pendant
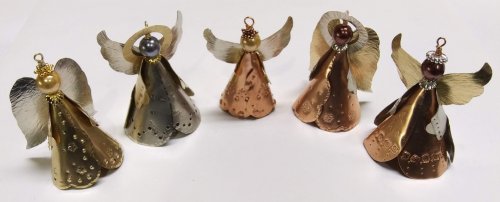 Angel Ornament
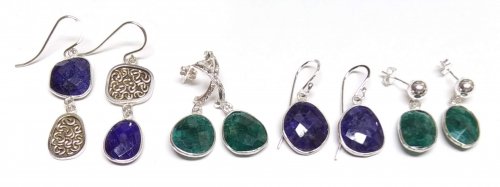 Diamonds, Emeralds, and Sapphires, Oh My.
 Treasure Bezel Cups
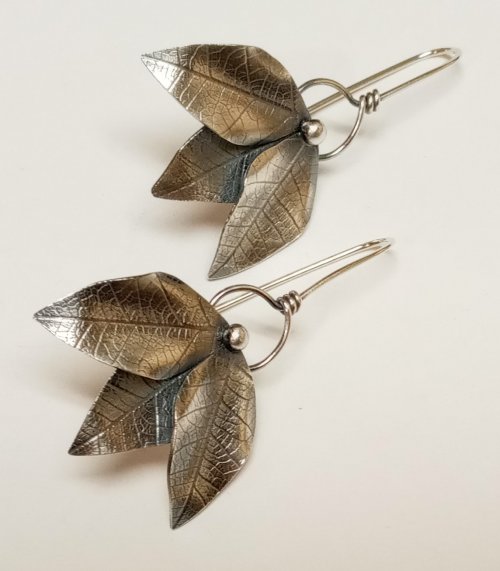 Three Leaves Earrings
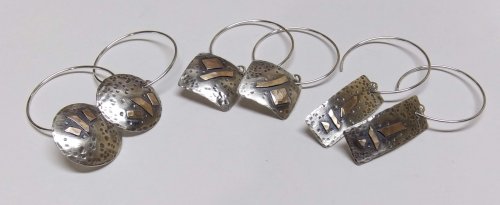 Silver and Gold Earrings
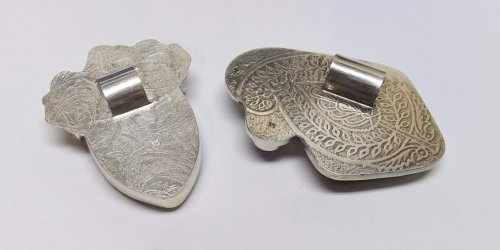 Make a Hidden Bail
 Wire Links 4, 5, 6
 Wire Links 7, 8, 9, and 10
 Double Loop Ear Wires
 Balled and Paddled Head Pins
 Textured Stacked Rings
 Cord and Bead Earrings
 Bali Style Adjustable Closures
 Organic Fused Silver Dust Earrings
 Mobius Rings
 Dainty Bead and Wire Bangle with Hook Closure
 Seed Bead and Nugget Necklace
 Love Locks Heart Charm
 Traditional Southwest Style Hook Closures
 Negative Space Earrings
 Jumbled Lacy Chain
 Easy Beaded Post Hoop Earrings
 Rustic Silver Links
 Make a Soldered Paperclip Chain
 Make a Fused Paperclip Chain
 Make Woven Metal Strips to Use in Your Designs
 Leaf Wrap Metal Rings version 1
 Leaf Wrap Metal Rings version 2
 Snowflake Ornaments
 Mitten Ornament
 A Partridge in a Pear Tree Earrings
 Two Turtle Doves Earrings
 Three French Hens Earrings
 Four Calling Birds Earrings
 Five Golden Rings Earrings
 Six Geese a Layin' Earrings
 Seven Swans a Swimming Earrings
 Eight Maids a Milking earrings
 Nine Ladies Dancing Earrings
 Ten Lords a Leaping Earrings
 Eleven Pipers Piping Earrings
 Twelve Drummers Drumming Earrings
 Make Your Own Bracelet Button Clasps
 Little Saucer Bells
 Doodads - Fun Findings
 No Measure Hearts, Any Size, Any Gauge
 Cascading Drops Earrings
 WIre Basics - Spiral Charms
 Wire Basics - Wrapped Loops and Links
 Wire Basics - Simple Swan Hook
 Wire Crocheted Necklace
 Wire Basics - Wire Garage Door Spring Link
 Easy Post Hoop Earrings
 Double Wrap Wire Bangle Bracelet
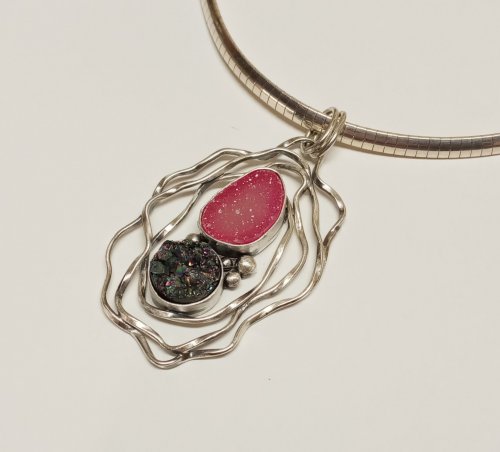 Organic Wire Pendant
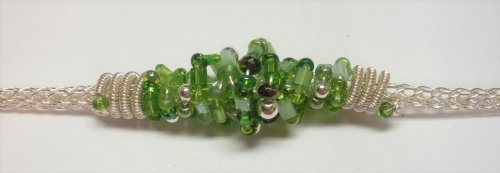 Coiled, Beaded Slide
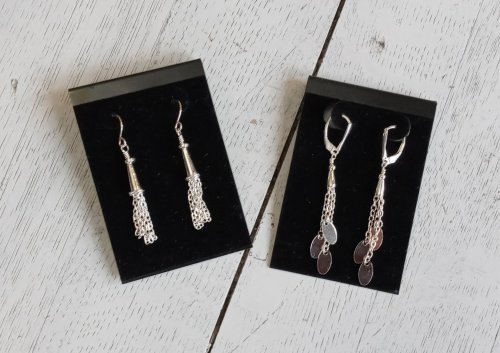 Cone and Chain Earrings
 Embellished Sterling Cones
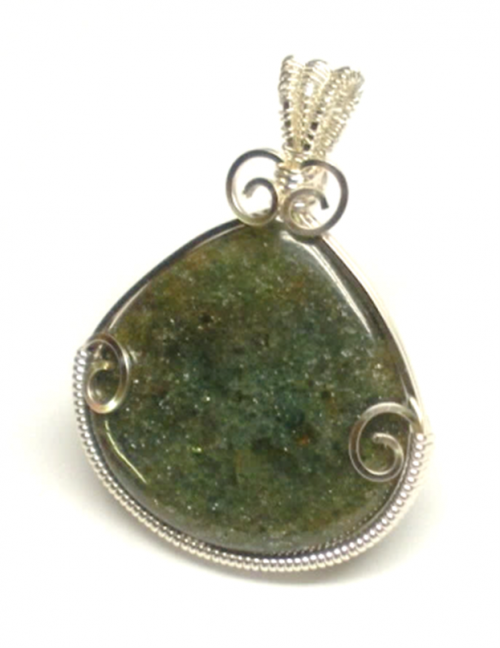 Classic Wire Wrap Bezelled Pendant
 Wire Wrap a Coin
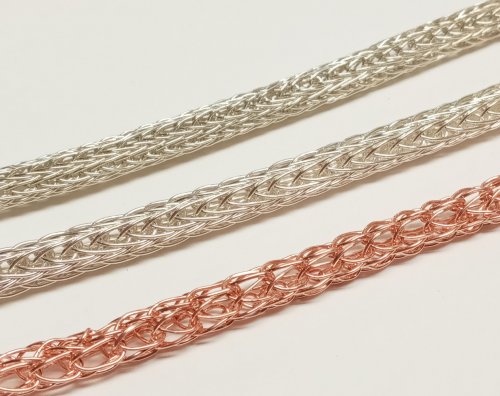 Viking Knit
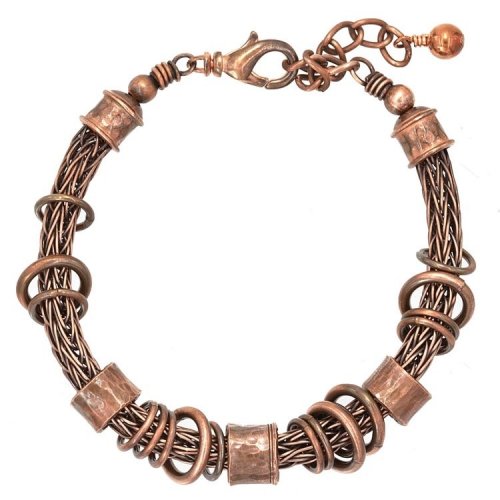 Viking Knit Bracelet
 Coiled Wire End Caps
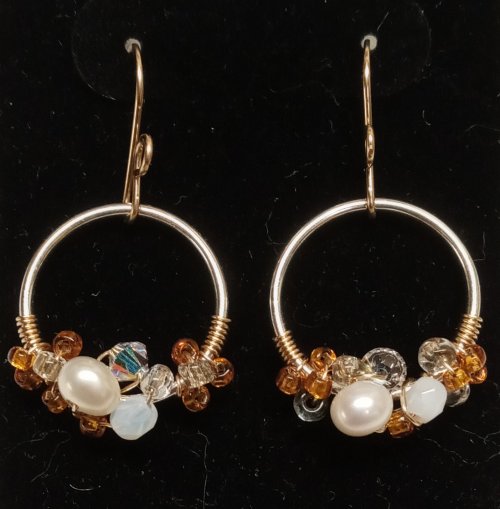 Bead-Wrapped Hoop Earrings
 Copper Feather Earrings
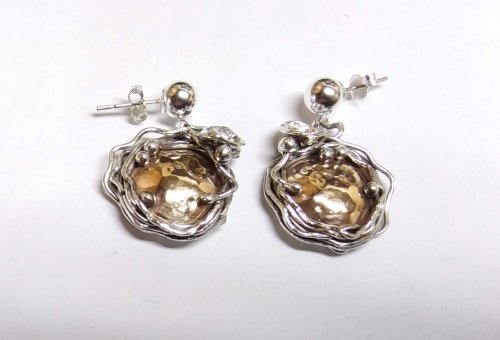 Soldering a Dome to a Backplate
 Wire Heart Pendant with Gemstone Drop
 Make Basic Wire Shapes for Jewelry
 Make Simple Wire Slide Bails
 Coiled Bead and Twisted Wire Bracelet
 Wire Triangle Link
 Bali Style Focal Toggle
 Silver Nuggets
 Fun Shapes Fish Hook Earrings
 After the Rain Bracelets
 Dangling Drop Earrings
 Dangling Chain Sticks
 Wire Heart Pendant with Gemstone Drop
 Tropical Leaf Earrings
 Basic Bezel Wire Tutorial
 Dog Tag Style Necklace
 Lacy Washers
 8-Strand Kumihimo
 Closed Loop Ear Wires
 Simple Strip Bails from Scratch
 Anti-tarnish Silver Cloth Bags
 Cotter Pin Style Bail
 Holiday Woodland Fairy Ornament
 Happy Holly Days Wreath Ornament
 Happy Holly Days Leaves and Berries
 Happy Holly Days Bells Ornament
 Art Deco Wire Wrapped Pendant
 Twisted Wire Jump Rings
 Two-tone Beaded Bangle
 Sweetheart Pendant
 Waves on the Beach Earrings
 Any Size Wire Hearts - Any Size, Any Gauge
 Just in Case Heart Pendant
 Small Flower Embellishment
 Making Tiny Dapped Metal Leaves
 Spinner Fidget Bangles
 Small Flower Bud Embellishment
 Three Petal Bud and Layered Embellishment
 Creating a Flower Stem
 Stamped Tube Beads
 Water Cast Scrap Cross
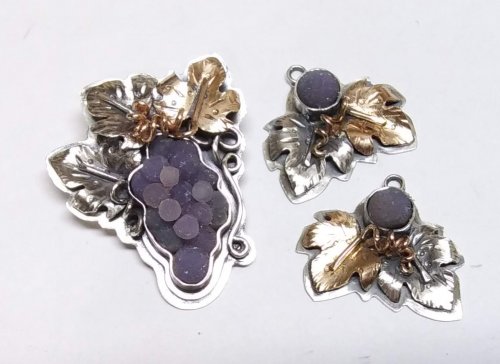 Sugared Grapes Pendant
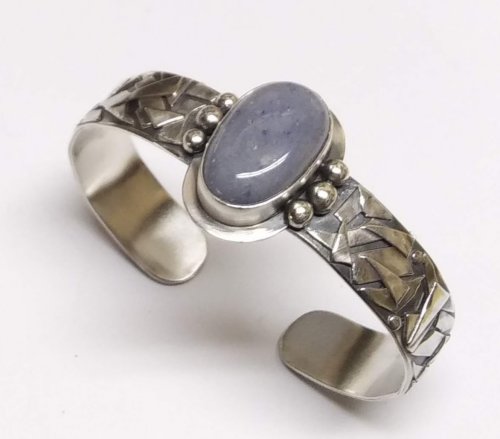 Tourist Rock Cuff Bracelet
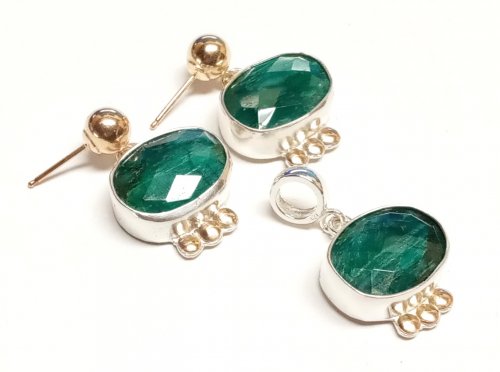 Gemstone Chains Reimagined
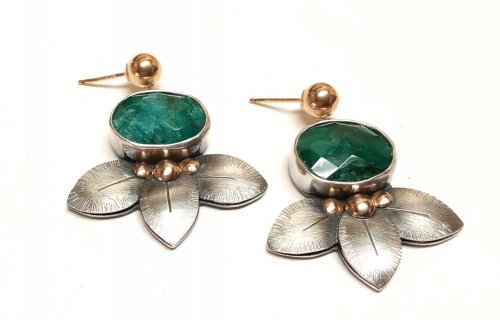 Checkerboard Faceted Earrings
 Foxtail Chain aka Loop-in-Loop
 Handmade Chunky Chain
 Capture a Summer Memory
 Stone Key Fob
 Sprinkles Link
 Ball Chain Embellishments
 Handmade Ornament Hooks
 Coin Focal
 Branching Out
 Broken AKA Bits and Pieces Dish Jewelry
 Easy No Solder Hinges
 Small Embellished Classic Cross
 Closure Focal Necklace
 Classic Cameo Pendant
 Bali Style Earrings
 Combine Druzy With Straw and Water Cast Components
 Feathers and Leaves Earring Remodel
 Five Year Bracelet
 Designer Stick Earrings Remodel
 Hammered Luxury
 Recycled Black Pearl Earrings
 Disc Cutter Earrings Remodel
 Show Your Colors Bracelet
 CZ Explosion Necklace
 Domed Stud with Drop Loop
 Gemstone Stud Earrings With Hanging Loop
 Split Bead Earrings
 Ripple Bracelet
 Double Foxtail Chain
 Stretch Bracelets
 Copper Feather Earrings Remodel Into Cuff
 Summer Fun Necklace
 Reunion Key Fobs
 Gnome Ornaments
 Happy Holly Days Ornament
 Hearts and Flowers Charms
 Double Link Chain
 Threader Earrings

