


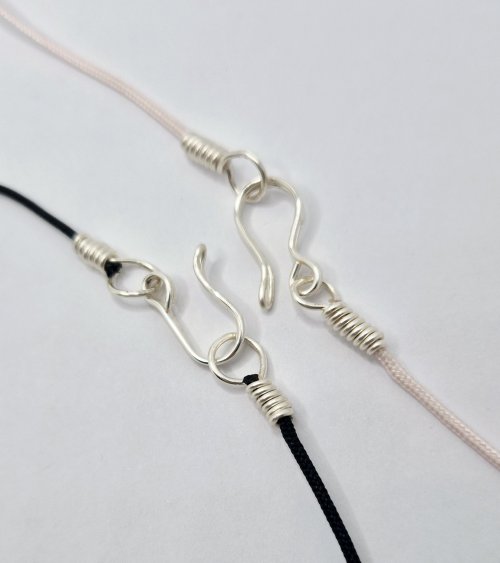


Embellished Hook Clasp
- Category: Findings
- Technique(s): Lashing, Wrapping
- Skill Level: Beginner
Being able to make your own components for your jewelry not only makes the item truly handmade, it also means that you can co-ordinate your jewelry as well as using up all those scraps of wire!
This is a very robust clasp and yet due to its sleekness is also very stylish!
This clasp measures 1 inch the top of the curve to the bottom of the loop and 1/2 inch wide.
This is a very robust clasp and yet due to its sleekness is also very stylish!
This clasp measures 1 inch the top of the curve to the bottom of the loop and 1/2 inch wide.
Materials

28 Gauge Round Dead Soft Copper Wire
H11-28D
- Lesson Quantity: 12.00 inches
- Purchase Quantity: 1.00 1FT
- Price: $0.18
- Gold Club Price: $0.14

12 Gauge Round Dead Soft Copper Wire
H11-12D
- Lesson Quantity: 3.00 inches
- Purchase Quantity: 1.00 1FT
- Price: $2.35
- Gold Club Price: $1.76

Amethyst 4mm Round Beads - 8 Inch Strand
A1-634
- Lesson Quantity: 1.00 pieces
- Purchase Quantity: 1.00 each
- Price: $10.50
- Gold Club Price: $7.88
Tools

Round Nose Wire Pliers
G2-507
- G2-507
- Lesson Quantity: 1.00 pieces
- Purchase Quantity: 1.00 each
- Price: $32.95
- Gold Club Price: $24.71

Chain Nose Wire Pliers
G2-508
- G2-508
- Lesson Quantity: 1.00 pieces
- Purchase Quantity: 1.00 each
- Price: $32.95
- Gold Club Price: $24.71

Flat Nose Nylon Flat Jaw With Spring
PLR-831.00
- PLR-831.00
- Lesson Quantity: 1.00 pieces
- Purchase Quantity: 1.00 each
- Price: $13.80
- Gold Club Price: $10.35

C.H.P Milano Italian Flush Cutter, 5 1/2 Inches
PLR-487.00
- PLR-487.00
- Lesson Quantity: 1.00 pieces
- Purchase Quantity: 1.00 each
- Price: $16.97
- Gold Club Price: $12.73

Steel and Rubber Bench Block 2.5X2.5 Inches
G17-22
- G17-22
- Lesson Quantity: 1.00 pieces
- Purchase Quantity: 1.00 each
- Price: $21.97
- Gold Club Price: $16.48

Flat Face Chasing Hammer
HAM-161.00
- HAM-161.00
- Lesson Quantity: 1.00 pieces
- Purchase Quantity: 1.00 each
- Price: $14.97
- Gold Club Price: $11.23

6 Piece Assorted File Set with Wooden Handle
G14-7
- G14-7
- Lesson Quantity: 1.00 pieces
- Purchase Quantity: 1.00 each
- Price: $5.57
- Gold Club Price: $4.18
Instructions
Step 1:
Prepare the wire
Cut a 3" length of 12 gauge wire.
Straight by grasping one end with the chain nose pliers and pulling the length through the nylon jaw pliers a couple of times.
Straight by grasping one end with the chain nose pliers and pulling the length through the nylon jaw pliers a couple of times.
Pro Tip: Check that your tools (especially your wire cutters) are suitable to use with 12 gauge (2mm) wire before starting, so that you do not damage them.

Step 2:
Form a loop
Hold one end of the wire with the round-nose pliers and guide the wire around the jaw with your thumb on your less dominant hand.
Pro Tip: Be careful when working with heavy gauge wire which, due to its thickness, is more difficult to shape than thinner gauges. You need to make sure that you do not strain your hands and wrists. Do not over stretch: re-position your tools often, rather than over turning your wrist.
Notice how the loop is currently more egg shaped than round.


Step 3:
Make the loop round
Snip the corner off the wire by holding the wire cutters at a 90° angle to the straight wire as shown.
Notice how there is a tapered edge on the end of the wire now.
File the wire end smooth.
Close the loop to make it round.
Close the loop to make it round.


Step 4:
Shape the hook
Grasp the wire with the round nose pliers with the thickest part of the jaws, just after the loop.
Shape the wire around the jaw, forming a hook.


Step 5:
Hammer the wire
The clasp is hammered not only to add contrast in textures but also to harden the metal.
Lay the clasp on your bench block or anvil and carefully hammer the outer edge of the loop
Lay the clasp on your bench block or anvil and carefully hammer the outer edge of the loop
Notice how hammering the outer edge increases the length thus forcing the loop to tighten.
If you were to hammer the inner edge, the loop would open.
Also hammer the curve of the hook.
This time keeping the hammer head perfectly flat, so that the whole face of the wire is hammered evenly.
If you were to hammer the inner edge, the loop would open.
Also hammer the curve of the hook.
This time keeping the hammer head perfectly flat, so that the whole face of the wire is hammered evenly.


Step 6:
Shape the end of the wire
Position the end of the wire at a 90° angle to the bench block and carefully hammer the end so that it flares outwards.
Also carefully bend the hook upwards as you hammer to create a gentle curve in the hook.


Step 7:
File and sand
Using the file, shape the end into a smooth curve.
Starting with the roughest grit, sand any filing or tool marks out of the wire.
Work each successive grit in the opposite direction to the previous one.
The clasp can be used like this or continue following the steps to embellish it.
Starting with the roughest grit, sand any filing or tool marks out of the wire.
Work each successive grit in the opposite direction to the previous one.
The clasp can be used like this or continue following the steps to embellish it.

Step 8:
Attach a 28g piece of wire
If you would like to add some color to the clasp, coordinating it with your jewelry, follow the next steps.
Cut a piece of 28 gauge wire 15" long and attach it to the clasp by coiling 3 times, just after the loop, leaving a 1" tail to hold onto.
Cut a piece of 28 gauge wire 15" long and attach it to the clasp by coiling 3 times, just after the loop, leaving a 1" tail to hold onto.
Coil another 10 times.


Step 9:
Attach a bead
Thread a 4mm bead onto the 28 gauge wire and coil the clasp 3 times to secure the bead in place.

Step 10:
Secure the bead
To hold the bead firmly in place, wrap the base of the bead 3 times, pulling tightly.
Coil underneath the bead 8 times to fill the gap in the existing coils.
Trim the 28 gauge wire so that the end is on the outer edge of the clasp and tuck in by carefully grasping the frame with the chain nose pliers and using a twisting motion, in the same direction as the coils, flattening the 28 gauge wire against the frame, securing it in place.
You are done!
You are done!


Supply Detail
loading...
Change Metal:
This Pattern requires:
Purchase quantity:
Price: $
Gold Club Price: $
Purchase quantity:
Price: $
Gold Club Price: $

Abby Hook
Other Patterns by Abby Hook
 Wire Wrapped Bail for Top-drilled Stones
 Wire Wrapped Bail for Stone Donuts
 Figure 8 Chain
 Seed of Change Pendant
 testdenise
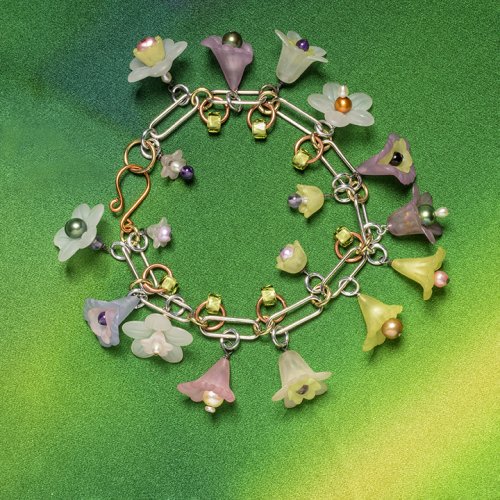
 Wire-wrapped Bead Link Bracelet
 Heart Frame Bracelet
 Embellished Heart Earrings
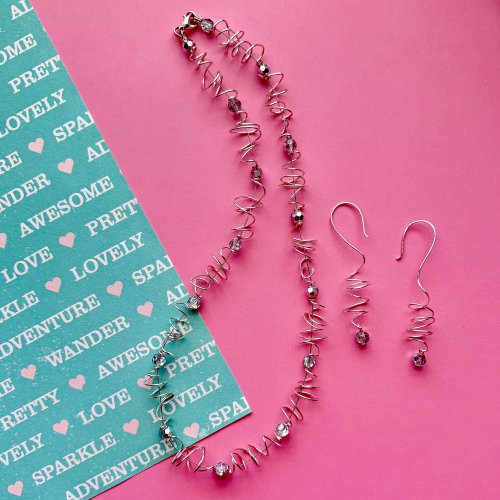
 Embellished Artisan Ear Wires
 Coiled T-bar and Toggle Clasp
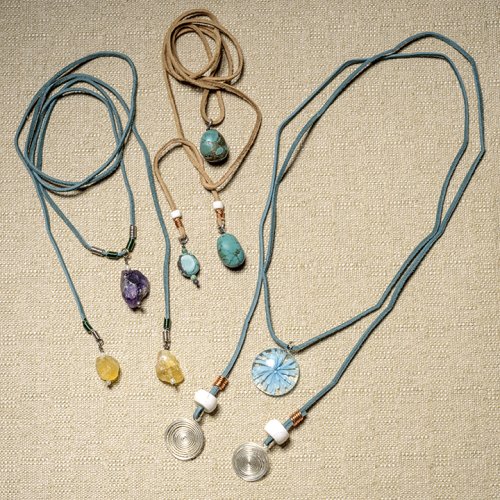
 Simply Elegant Pendant
 Lavender Lariat Necklace
 Brooch Pin
 Woven Wire Lotus Flower Pendant
 Coiled Ear Wires
 Wire Wrapped Briolette Pendant
 Simple T-bar and Toggle Clasp
 Cirrus Pendant
 Spiral Wire End Caps
 Mermaid's Teardrop Necklace
 Spiral Bead Cage
 Spiral Bead Charm
 Quick and Easy Loop Earrings
 Squares Bracelet
 Fuchsia Bud Earrings
 Dainty Boho Ring
 Jasmine Pendant
 Dainty Interchangeable Boho Bracelet Tutorial
 Delicate Jasmine Earrings
![]()
The premier place for all your jewelry making needs. The best in wire, tools, cabochons, gemstone beads and more. As well as a superior resource for educational support to help build your jewelry making skills and techniques.
Connect With Us

® 2007 - 2026 Wirejewelry.com Powered by ClaimTheWeb Cart