
Double Foxtail Chain
- Category: Design
- Technique(s): Chain Making, Making Loops
- Skill Level: Intermediate
In this latest project, Judy Larson explores two variations of the classic Foxtail Chain bracelet. From experimenting with ring sizes for a more supple drape to adding extender chains, charms, and clever finishing touches, this guide shows how small adjustments can elevate both the look and wearability of your design.
Materials

20 Gauge Round Dead Soft Argentium .940 Silver Wire
H19-20D
- Lesson Quantity: 1.00 feet
- Purchase Quantity: 1.00 1FT
- Price: $7.13
- Gold Club Price: $5.35
Tools

Round Nose Wire Pliers
G2-507
- G2-507
- Lesson Quantity: 1.00 pieces
- Purchase Quantity: 1.00 each
- Price: $32.95
- Gold Club Price: $24.71

Flat Nose Wire Pliers
G2-506
- G2-506
- Lesson Quantity: 1.00 pieces
- Purchase Quantity: 1.00 each
- Price: $32.95
- Gold Club Price: $24.71

20 X 15 Inch Padded Work Mat
MAT-620.00
- MAT-620.00
- Lesson Quantity: 1.00 pieces
- Purchase Quantity: 1.00 each
- Price: $14.95
- Gold Club Price: $11.21

Multi-Size Wrap 'N' Tap Pliers, Large Barrels
PLR-746.03
- PLR-746.03
- Lesson Quantity: 1.00 pieces
- Purchase Quantity: 1.00 each
- Price: $29.95
- Gold Club Price: $22.46

Straight Steel Pick
CVR-400.30
- CVR-400.30
- Lesson Quantity: 1.00 pieces
- Purchase Quantity: 1.00 each
- Price: $3.95
- Gold Club Price: $2.96

Rosewood Handheld Draw Plate
G28-8
- G28-8
- Lesson Quantity: 1.00 pieces
- Purchase Quantity: 1.00 each
- Price: $17.97
- Gold Club Price: $13.48

WireJewelry Single Barrel Tumbler, Jewelry and Metal Polishing Kit, Includes 1 Pound of Jewelers Mix Shot and 8 Ounces of Shinebrite Burnishing Compound
G24-1-KITSS
- G24-1-KITSS
- Lesson Quantity: 1.00 pieces
- Purchase Quantity: 1.00 each
- Price: $173.27
- Gold Club Price: $129.95

12 Inch Stainless Steel Ruler
G7-30
- G7-30
- Lesson Quantity: 1.00 pieces
- Purchase Quantity: 1.00 each
- Price: $2.97
- Gold Club Price: $2.23

WireJewelry Ultra Pro Micro Abrasive Polishing Pads, 20 pack
G9-5-20PK
- G9-5-20PK
- Lesson Quantity: 1.00 pieces
- Purchase Quantity: 1.00 each
- Price: $8.95
- Gold Club Price: $6.71

Liver of Sulphur Gel, 1 Ounce Bottle
SOL-610.01
- SOL-610.01
- Lesson Quantity: 1.00 pieces
- Purchase Quantity: 1.00 each
- Price: $9.95
- Gold Club Price: $7.46
Optional Tools

The Quad Jump Ring Former
DUR-1312
- Lesson Quantity: 1.00 pieces
- Purchase Quantity: 1.00 each
- Price: $388.00
- Gold Club Price: $291.00

WireJewelry - Ultimate Wire-Pliers Jewelry Pliers with Case, Set of 5
G15-20
- Lesson Quantity: 1.00 pieces
- Purchase Quantity: 1.00 each
- Price: $170.72
- Gold Club Price: $128.04

Deluxe Soldering Kit
G15-5
- Lesson Quantity: 1.00 pieces
- Purchase Quantity: 1.00 each
- Price: $116.97
- Gold Club Price: $87.73
Instructions
Step 1:
Before You Get Started
About the Bracelets
The bracelets shown here are a small size, measuring 6¼" on a bracelet cone. They use 6.5mm x 6mm end caps (actually crimp cord ends) and 16mm swivel lobster claw clasps, which add to the overall length, so fewer rings were needed for each bracelet. Both chains were drawn down to 13/64".The finished bracelet on the right, made with 12mm ID rings, is noticeably more supple and fluid than the one on the left, which was made with 10mm ID rings.
Adding a 1" extender chain to both bracelets made them adjustable.
As a finishing touch, and for a bit of whimsy, heart charms were added to the end caps along with the extender chains.
End caps are optional. Jump rings can easily attach clasps and extenders directly to the loops at the ends of the chains.
Forty-nine 10mm rings were used to make the left bracelet. If end caps are not used, add 5-7 extra rings.
Thirty-eight 12mm rings were used to make the right bracelet. If end caps are not used, add 4-6 extra rings.
The number of jump rings listed is approximate.

Step 2
Foxtail Chain aka Loop-in-Loop
The tutorial for the simple single loop Foxtail Chain aka Loop-in-Loop which details the basic construction and formation of the ring links is found here.
Step 3:
Starting The Project
Making short practice chains will help you decide which link size works best for you. Each single foxtail chain shown on a 1" grid is made with 10 links and has been drawn down to 3/16". Even when the chains are pulled through a round hole in a draw plate, they maintain their square shape.
The top chain is made with 20-gauge 10mm ID Argentium rings. The bottom chain is made with 20-gauge 12mm ID Argentium rings.
The top chain is made with 20-gauge 10mm ID Argentium rings. The bottom chain is made with 20-gauge 12mm ID Argentium rings.

Step 4
With the center of a bowtie shape held between the tips of round nose pliers, form it into a "U" shape by bending it over one of the plier tips using your fingers.

Step 5
Repeat this process to make two "U" shapes, then set them aside to start the chain.

Step 6
The bowtie shapes for the rest of the chain are made the same way as before, but instead of forming a full "U," bend them only halfway. On the work surface, they should resemble tiny birds in flight.
Shaping them slightly at this stage helps set a memory in the wire, showing where the center is and where each link should bend.
This small step makes the bending process easier and ensures more even shapes in later steps.
Hint: Because the rings were work-hardened when forming the bowtie shapes, bending many of them again can be tough on your fingers.
Annealing the shapes before this step can make the process easier, but it isn't required.

Step 7
Connecting the links can be tricky, especially with the smaller 10mm rings. To make it easier, use flat nose pliers to gently squish one loop of each "bird wing" shape slightly together.
If you can see the fused end of the ring, avoid squeezing that side. The extra pressure can cause the join to pop open.
If a join does break, flatten the piece slightly and re-fuse the area before continuing.
If you can see the fused end of the ring, avoid squeezing that side. The extra pressure can cause the join to pop open.
If a join does break, flatten the piece slightly and re-fuse the area before continuing.

Step 8
Alternate method for Step 6 and 7
If you have a large Wrap N Tap pliers, this is the best tool for curving the links.First, squish one side of the oval. Then, shape the piece over the middle level of the large Wrap N Tap pliers.
Hold the squished end firmly between the jaws, and press the more rounded end around the curve of the plier jaws.

Step 9
Start by attaching a twist tie or a short 3" piece of scrap wire to the bottom of one of the "U" shapes. This keeps sharp wire ends from poking or scratching while you work.
Before drawing the chain down, replace the twist tie with actual wire to keep the chain even.
Next, slide a new "U" shape into the first one by inserting one side of the new link into the opening of the first link. Pull the second link up and into the rounded tip of the first, aligning both links neatly to form the start of your chain.


Step 10
Push the second link slightly back into the first link.
In photo 1, the awl points to the area where the next link will be added. In photos 2 and 3, it shows the awl being pushed into that same spot.
By inserting the awl there, you can gently enlarge the opening to make it easier to add the next link.
In photo 1, the awl points to the area where the next link will be added. In photos 2 and 3, it shows the awl being pushed into that same spot.
By inserting the awl there, you can gently enlarge the opening to make it easier to add the next link.


Step 11
To make it easier to see in the photos and clearly show where to insert the new link, a flat link is used here instead of a curved "bird wings" shape.
For this first link added after starting the chain, the inserted end doesn't need to be squished much. The initial opening is larger than those that follow.
Insert the new link into the opening indicated by the awl in Step 10.
For this first link added after starting the chain, the inserted end doesn't need to be squished much. The initial opening is larger than those that follow.
Insert the new link into the opening indicated by the awl in Step 10.


Step 12
When working with shaped 12mm rings, inserting a new link into the chain is usually easy.
The 10mm rings, however, can be more difficult. Even after flattening one side of the new link, you may still need to enlarge the opening with an awl.
The turquoise-handled awl shown comes from sewing tools, while the silver one is from my father-in-law's watchmaking tools. Very fine-tipped round nose pliers can also work well.

Step 13
Push and twist the awl into the opening from one side, then repeat from the other side to even out the space.

Step 14
Push a new link into the opening of the chain, as shown in the first photo.
If the side of the new link that went through the chain was flattened, use an awl or the tips of round nose pliers to round it back out.
Shape it until it matches the size and curve of the other end of the link, as shown in the second photo.
If the side of the new link that went through the chain was flattened, use an awl or the tips of round nose pliers to round it back out.
Shape it until it matches the size and curve of the other end of the link, as shown in the second photo.


Step 15
Twist the link to perpendicular to the chain.

Step 16
Use fingers to bend both loop ends in a "U" shape toward the end of the chain as the arrows indicate.

Step 17
Notice how much smaller the opening is for inserting the new link compared to the first one at the beginning of the chain.

Step 18
If one side of the link isn't flattened, it won't fit. That's why the hole should be enlarged with an awl before inserting a "bird wing" shaped ring from Step 14, and one side of the new link should be gently squished.

Step 19
Use flat nose pliers to get a firm grip and push the new link securely into the chain.

Step 20
After all the manipulating, the links have become work-hardened and more difficult to bend.

Step 21
To make this step easier, start finishing the "U" shaped bend using soft jaw pliers. Do not flatten the "U" completely.


Step 22
Insert an awl into the two end loops. While the loops are on the awl, use flat nose pliers to press them together.
This helps ensure that the ends of the link are even.
This helps ensure that the ends of the link are even.

Step 23
Continue adding links to the chain until it is a bit shorter than the desired finished length.

Step 24
Remove the twist tie or scrap wire.
As with the Single Foxtail Chain, you'll notice that the chain links aren't perfectly even. Don't worry-this will smooth out once the chain is drawn through a drawplate.
You may also see that the chain feels stiff or has small kinks. That's normal. The chain will become more supple and shiny after tumbling.
The photo shows how much curve appears in chains made with different ring sizes but similar lengths. The 8" chain on the left, made with fifty-seven 12mm ID rings, is much more flexible than the 8½" chain on the right, which uses seventy-eight 10mm ID rings.

Step 25
Instruction for Annealing The Chain
Before using a drawplate, anneal the chain.Softening the links makes it easier for them to compress into an even size and shape when pulled through a drawplate.
Remove the twist tie or scrap wire, then place two soldering bricks side by side to lay the chain out evenly. This setup helps prevent overheating one section and accidentally fusing links together.
If the chain turns dark pink, orange, or red, it has been overheated and some links may have fused.
Move the torch flame slowly along the chain. It only needs to be heated until there's a faint hint of color, which will fade as you move down the length.
Allow the chain to cool naturally on the soldering bricks before touching or moving it.

Step 26
Even though there is no fire scale to be removed, it may be helpful to pickle the chain at this time.
Rinse and dry the chain before continuing.
Rinse and dry the chain before continuing.
Step 27
Attach a scrap piece of wire to one end of the chain. Use pliers with teeth to grip the wire and pull the chain through the drawplate.
Start with a hole slightly larger than the chain. Gradually work down the drawplate until you feel resistance. Pull the chain through that hole three or four times before moving to the next smaller size.
Only draw the chain down two hole sizes before annealing again to prevent the links from becoming brittle.
Hint: If you want to test how far a chain can safely be drawn down, make a short sample with 10 links first. This way, you won't risk ruining a full chain if it becomes overly stiff-tumbling won't fix that.
The photo shows two sample chains made with 10 rings each. The top chain uses 12mm rings, and the bottom uses 10mm rings. Both were drawn down to 13/64" in diameter, fitting snugly into 5mm ID end caps (like the bracelets in Steps 28 and 29).
If you prefer an easier fit, use 6mm ID end caps so the chain doesn't need to be compressed to fit inside.

Step 28
To become more fluid and supple, the chain can be tumbled in water with Dawn dish liquid and steel shot for several hours.

Step 29
Adding patina and removing it from the high areas of the chain will highlight the intricate work.
The first photo gives you an idea of chain size on my wrist, which measures a bit over 5½".
The second photo shows the finished chain with patina.
In both photos, the chain on the left is made with 10mm rings and the one on the right is made with 12mm rings.
The first photo gives you an idea of chain size on my wrist, which measures a bit over 5½".
The second photo shows the finished chain with patina.
In both photos, the chain on the left is made with 10mm rings and the one on the right is made with 12mm rings.





 Beaded Briolette Pendant
 Snail Trail Spiral Earrings
 Heart Link Bracelet and Earrings
 Crazy Hoop Earrings
 Double Delight Jade Bracelet
 Swagged Pearl Pendant
 Heart Earrings with Drops
 Scarab Bracelet
 Birthstone Heart Pendant
 Pearl of the Sea Woven Pendant
 Bead Charm
 Coiled Rosette Link
 Wire Jewelry Component and Swan Hook
 Leaf Bail
 Component Templates with Heart Earrings and Pendant
 Ring Pendant
 Calla Lily Earrings
 Birdhouse Pendant
 Clamshell Earrings and Pendant
 Bracelet Component
 Teardrop Earrings and Pendant
 Tab Style Pendant
 Coiled End Caps
 Freeform Pendant
 French Hook Ear Wires
 Necklace Component
 Triangle Shield Earrings, Pendant and Bail
 How to Make a Wire Coil and Bead
 Egyptian Coil Bracelet
 Focal Bead Egyptian Coiled Bracelet
 Sweetheart Round Cabochon Pendant
 Making Cobblestone Cabochons
 Cupcake Wrapper Earrings
 How to Make Metal Washers
 Baseball Skin Keychain
 Pat's Silver Domed Earrings
 Blaze Your Own Path Pendant
 Semi Snap-on Bail
 Interlocking Faux Twist Wire Bracelet
 Fold Formed Cuff With Faux Roman Glass or Coin Cabochon
 Steampunk Style Leaf Earrings
 Stamped Saucer Beads
 Kat's Wire Hoop Earrings
 Simple Bail on a Coin Pendant
 Wire Bangles
 Rolling Mill - or not - Cuff Bracelet
 Jen's Chain
 Making Neckwires
 Silver Scrap Wire Focals to Embellish
 Splash Ring
 Cobblestone Cab Earrings
 Multi Gemstone Necklace
 Southwest Style Pendant
 Bezels Using Square Wire
 Mixed Metal Sampler Bracelet 1
 Mixed Metal Sampler Bracelet 2
 Mixed Metal Sampler Bracelet 3
 Mixed Metal Sampler Bracelet 4 - Words Matter
 Mixed Metal Sampler Bracelet 5 - River Walk
 Mixed Metal Sampler Bracelet 6 - A Little Bling
 Mixed Metal Sampler Bracelets Series PUTTING IT ALL TOGETHER
 Mixed Metal Sampler Bracelet 7 - Steampunk Space Oddity
 Mixed Metal Sampler Bracelet 8 - Fun Shapes
 Jump Ring Fringe Bracelet
 Easy Artisan Earrings
 Making Chain with Wubbers and Wire
 Heirloom Buttons and Beads Bracelet
 Tiny Silver Charms part 1
 Argentium Silver Scrap Chain
 Sterling Lake Stone Pendant with Twisted Wire
 Smashing Drop Earrings
 Argentium Silver Scrap Nugget Cuff
 Finish Them Your Way Earrings
 Paddle Fringe Earrings
 Seed Bead Earrings
 Bracelet Links 1, 2,3
 Stamped Saucer Beads
 Chaos Scrap Wrap Jewelry
 Maple Leaf Earrings
 Child's Bracelet That Grows with Them
 Mike's Surpirise Claire's Ripple Pendant
 Angel Ornament
 Diamonds, Emeralds, and Sapphires, Oh My.
 Treasure Bezel Cups
 Three Leaves Earrings
 Silver and Gold Earrings
 Make a Hidden Bail
 Wire Links 4, 5, 6
 Wire Links 7, 8, 9, and 10
 Double Loop Ear Wires
 Balled and Paddled Head Pins
 Textured Stacked Rings
 Cord and Bead Earrings
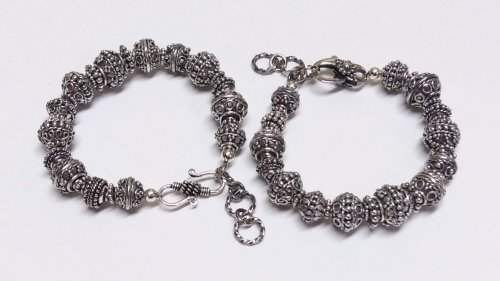 Bali Style Adjustable Closures
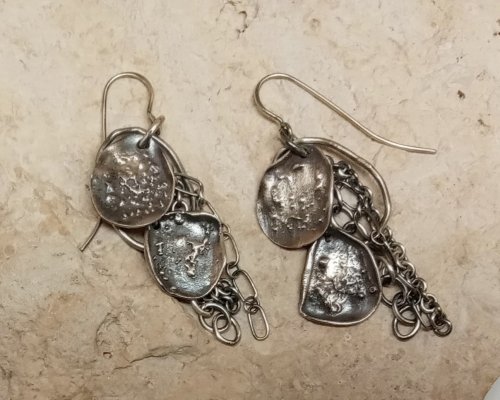 Organic Fused Silver Dust Earrings
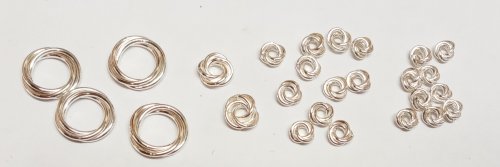 Mobius Rings
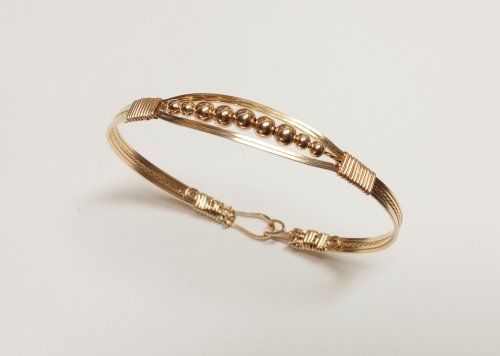 Dainty Bead and Wire Bangle with Hook Closure
 Seed Bead and Nugget Necklace
 Love Locks Heart Charm
 Traditional Southwest Style Hook Closures
 Negative Space Earrings
 Jumbled Lacy Chain
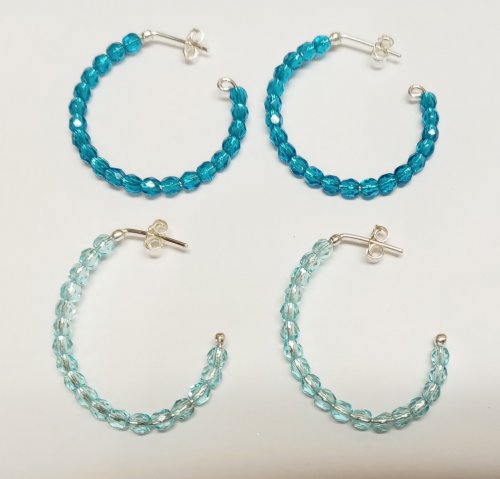 Easy Beaded Post Hoop Earrings
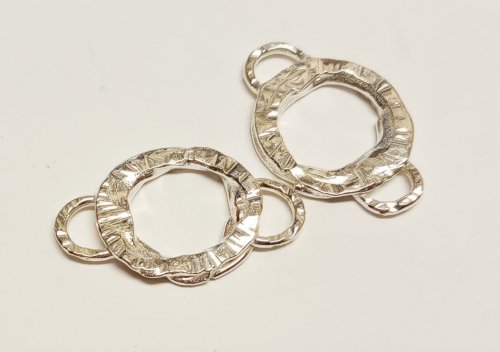 Rustic Silver Links
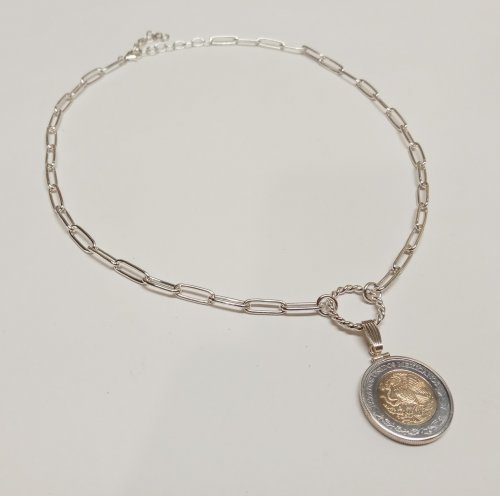 Make a Soldered Paperclip Chain
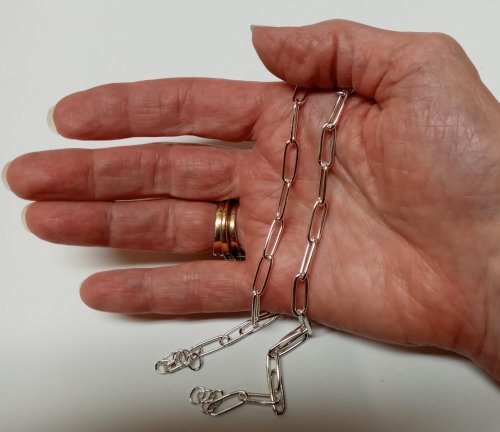 Make a Fused Paperclip Chain
 Make Woven Metal Strips to Use in Your Designs
 Leaf Wrap Metal Rings version 1
 Leaf Wrap Metal Rings version 2
 Snowflake Ornaments
 Mitten Ornament
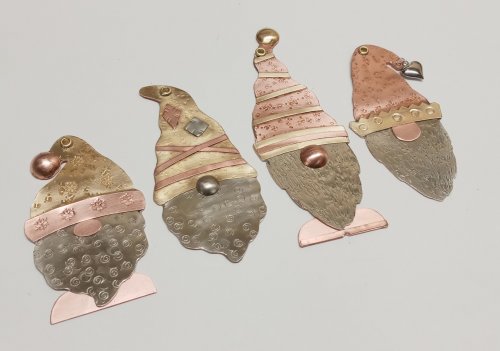 Gnome Ornaments
 A Partridge in a Pear Tree Earrings
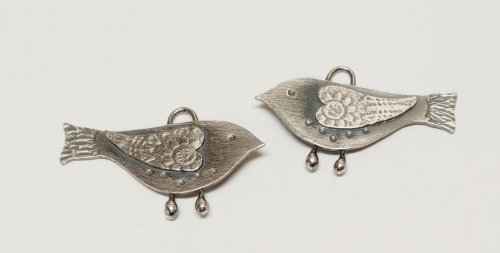 Two Turtle Doves Earrings
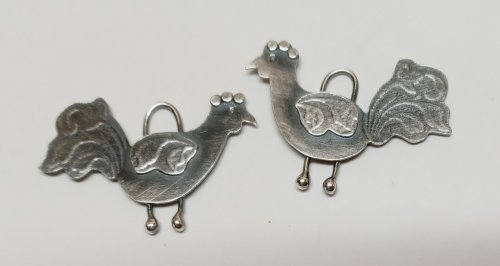 Three French Hens Earrings
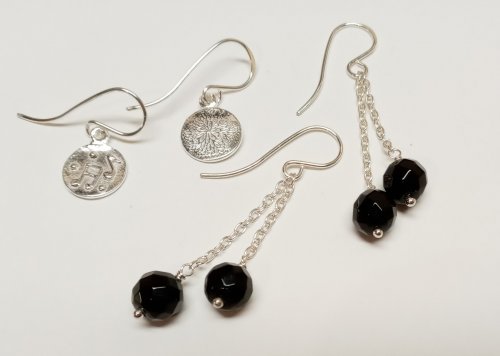 Four Calling Birds Earrings
 Five Golden Rings Earrings
 Six Geese a Layin' Earrings
 Seven Swans a Swimming Earrings
 Eight Maids a Milking earrings
 Nine Ladies Dancing Earrings
 Ten Lords a Leaping Earrings
 Eleven Pipers Piping Earrings
 Twelve Drummers Drumming Earrings
 Make Your Own Bracelet Button Clasps
 Little Saucer Bells
 Doodads - Fun Findings
 No Measure Hearts, Any Size, Any Gauge
 Cascading Drops Earrings
 WIre Basics - Spiral Charms
 Wire Basics - Wrapped Loops and Links
 Wire Basics - Simple Swan Hook
 Wire Crocheted Necklace
 Wire Basics - Wire Garage Door Spring Link
 Easy Post Hoop Earrings
 Double Wrap Wire Bangle Bracelet
 Organic Wire Pendant
 Coiled, Beaded Slide
 Cone and Chain Earrings
 Embellished Sterling Cones
 Classic Wire Wrap Bezelled Pendant
 Wire Wrap a Coin
 Viking Knit
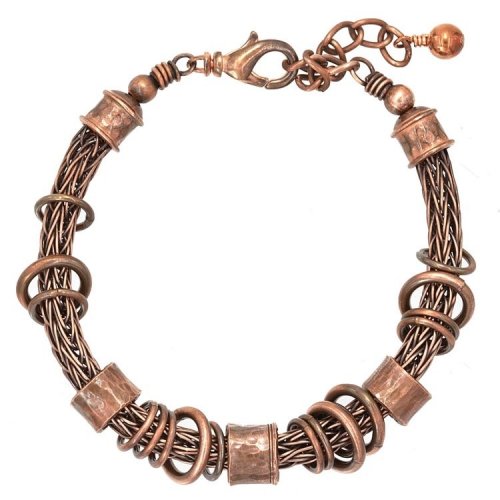 Viking Knit Bracelet
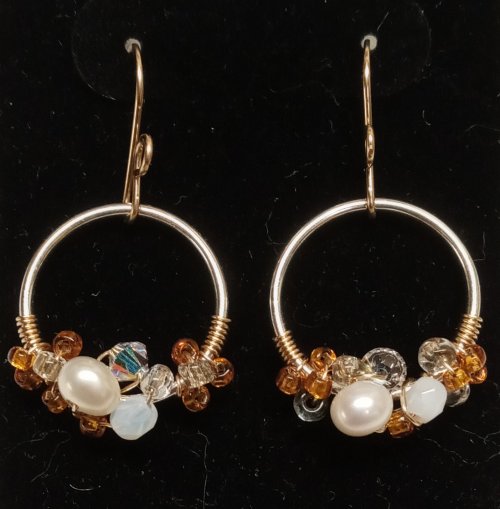 Bead-Wrapped Hoop Earrings
 Copper Feather Earrings
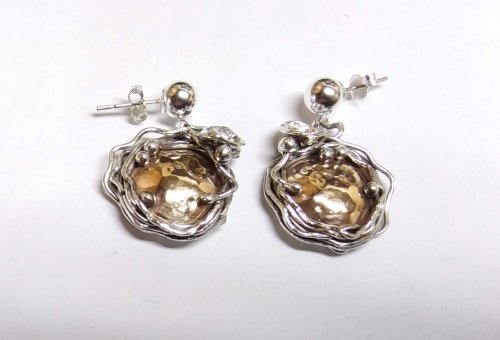 Soldering a Dome to a Backplate
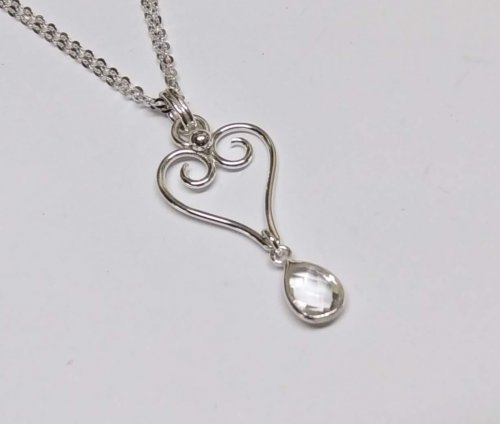 Wire Heart Pendant with Gemstone Drop
 Make Basic Wire Shapes for Jewelry
 Make Simple Wire Slide Bails
 Coiled Bead and Twisted Wire Bracelet
 Wire Triangle Link
 Bali Style Focal Toggle
 Silver Nuggets
 Fun Shapes Fish Hook Earrings
 After the Rain Bracelets
 Dangling Drop Earrings
 Dangling Chain Sticks
 Wire Heart Pendant with Gemstone Drop
 Tropical Leaf Earrings
 Basic Bezel Wire Tutorial
 Dog Tag Style Necklace
 Lacy Washers
 8-Strand Kumihimo
 Closed Loop Ear Wires
 Simple Strip Bails from Scratch
 Anti-tarnish Silver Cloth Bags
 Cotter Pin Style Bail
 Holiday Woodland Fairy Ornament
 Happy Holly Days Wreath Ornament
 Happy Holly Days Leaves and Berries
 Happy Holly Days Bells Ornament
 Art Deco Wire Wrapped Pendant
 Twisted Wire Jump Rings
 Two-tone Beaded Bangle
 Sweetheart Pendant
 Waves on the Beach Earrings
 Any Size Wire Hearts - Any Size, Any Gauge
 Just in Case Heart Pendant
 Small Flower Embellishment
 Making Tiny Dapped Metal Leaves
 Spinner Fidget Bangles
 Small Flower Bud Embellishment
 Three Petal Bud and Layered Embellishment
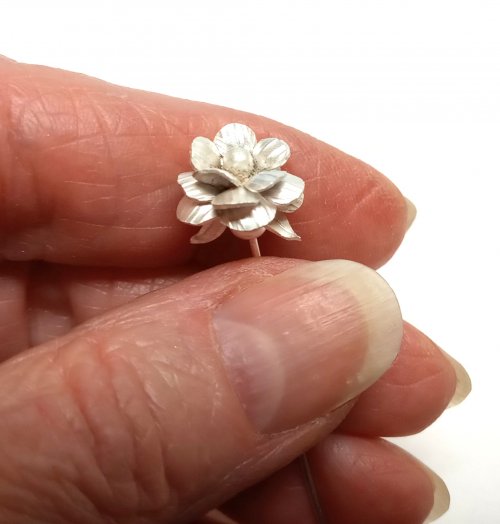 Creating a Flower Stem
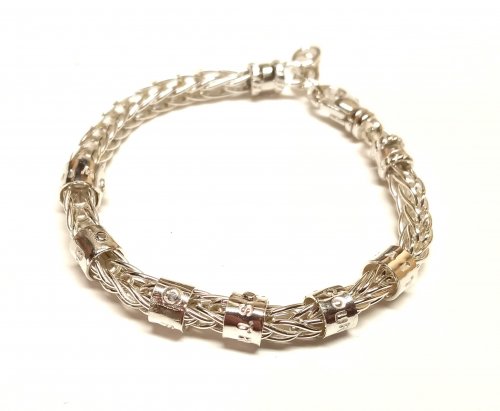 Stamped Tube Beads
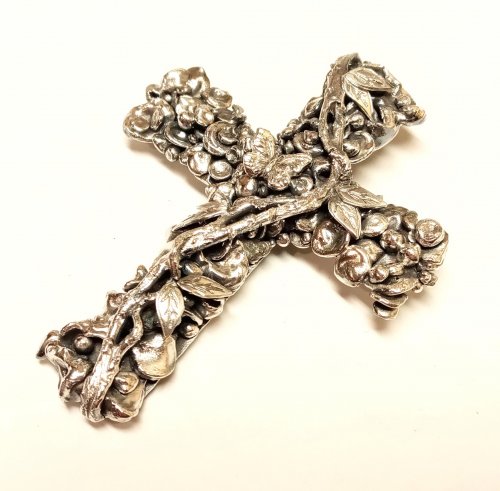 Water Cast Scrap Cross
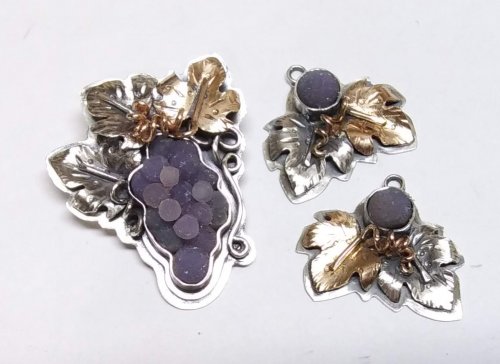 Sugared Grapes Pendant
 Tourist Rock Cuff Bracelet
 Gemstone Chains Reimagined
 Checkerboard Faceted Earrings
 Foxtail Chain aka Loop-in-Loop
 Handmade Chunky Chain
 Capture a Summer Memory
 Stone Key Fob
 Sprinkles Link
 Ball Chain Embellishments
 Handmade Ornament Hooks
 Coin Focal
 Branching Out
 Broken AKA Bits and Pieces Dish Jewelry
 Easy No Solder Hinges
 Small Embellished Classic Cross
 Closure Focal Necklace
 Classic Cameo Pendant
 Bali Style Earrings
 Combine Druzy With Straw and Water Cast Components
 Feathers and Leaves Earring Remodel
 Five Year Bracelet
 Designer Stick Earrings Remodel
 Hammered Luxury
 Recycled Black Pearl Earrings
 Disc Cutter Earrings Remodel
 Show Your Colors Bracelet
 CZ Explosion Necklace
 Domed Stud with Drop Loop
 Gemstone Stud Earrings With Hanging Loop
 Split Bead Earrings
 Ripple Bracelet
 Stretch Bracelets
 Copper Feather Earrings Remodel Into Cuff
 Summer Fun Necklace
 Reunion Key Fobs

