
Cobblestone Cab Earrings
- Category: Metalwork
- Technique(s): Sawing, Butane Torch Techniques
- Skill Level: Intermediate
There are so many design possibilities for Cobblestone cabochons. You can find a tutorial on making these cabs here: https://www.wirejewelry.com/jewelry_making_patterns_tutorials/Making-Cobblestone-Cabochons_390.html
This is just one design - Silver Earrings with a Southwest flair. These cabochons were set on point to disguise the fact that they rarely end up perfectly square.
This is just one design - Silver Earrings with a Southwest flair. These cabochons were set on point to disguise the fact that they rarely end up perfectly square.
Materials

24 Gauge Dead Soft Sterling Silver Sheet - 6 Inches
H8-24SM6
- Lesson Quantity: 1.00 pieces
- Purchase Quantity: 1.00 1 Inch
- Price: $186.87
- Gold Club Price: $140.15

28 Gauge 3/16" Fine Silver Bezel Wire
H9-28BZL
- Lesson Quantity: 5.00 inches
- Purchase Quantity: 1.00 1FT
- Price: $51.78
- Gold Club Price: $38.84

20 Gauge Round Half Hard .925 Sterling Silver Wire
H8-20H
- Lesson Quantity: 6.00 inches
- Purchase Quantity: 1.00 1FT
- Price: $15.97
- Gold Club Price: $11.98
Tools

Digital Calipers With Stone Holder by Euro Tool
GAU-179.00
- GAU-179.00
- Lesson Quantity: 1.00 pieces
- Purchase Quantity: 1.00 each
- Price: $43.95
- Gold Club Price: $32.96

Multi Angle Cutting Jig
VIS-512.00
- VIS-512.00
- Lesson Quantity: 1.00 pieces
- Purchase Quantity: 1.00 each
- Price: $84.95
- Gold Club Price: $63.71

4.5 Inch Flat Nose Mini Pliers
G2-88
- G2-88
- Lesson Quantity: 1.00 pieces
- Purchase Quantity: 1.00 each
- Price: $4.97
- Gold Club Price: $3.73

Chain Nose Wire Pliers
G2-508
- G2-508
- Lesson Quantity: 1.00 pieces
- Purchase Quantity: 1.00 each
- Price: $32.95
- Gold Club Price: $24.71

C.H.P Milano Italian Flush Cutter, 5 1/2 Inches
PLR-487.00
- PLR-487.00
- Lesson Quantity: 1.00 pieces
- Purchase Quantity: 1.00 each
- Price: $16.97
- Gold Club Price: $12.73

7 Inch Jewelers Metal Shear - Pack of 1
G35-4
- G35-4
- Lesson Quantity: 1.00 pieces
- Purchase Quantity: 1.00 each
- Price: $7.97
- Gold Club Price: $5.98

Handy Flame Butane Torch
SOL-315.00
- SOL-315.00
- Lesson Quantity: 1.00 pieces
- Purchase Quantity: 1.00 each
- Price: $29.95
- Gold Club Price: $22.46

Fire Brick
SOL-485.00
- SOL-485.00
- Lesson Quantity: 1.00 pieces
- Purchase Quantity: 1.00 each
- Price: $15.95
- Gold Club Price: $11.96

Pickle Pot, 16 Ounces
CLN-584.00
- CLN-584.00
- Lesson Quantity: 1.00 pieces
- Purchase Quantity: 1.00 each
- Price: $31.95
- Gold Club Price: $23.96

NATURE'S TOUCH CITRIC PICKLE, 2LB PLASTIC JAR
CLN-163.00
- CLN-163.00
- Lesson Quantity: 1.00 pieces
- Purchase Quantity: 1.00 each
- Price: $17.95
- Gold Club Price: $13.46

Straight Copper Tongs
TWZ-958.00
- TWZ-958.00
- Lesson Quantity: 1.00 pieces
- Purchase Quantity: 1.00 each
- Price: $10.57
- Gold Club Price: $7.93

Premium Steel Bench Block 2 1/2 X 2 1/2
G17-9
- G17-9
- Lesson Quantity: 1.00 pieces
- Purchase Quantity: 1.00 each
- Price: $15.97
- Gold Club Price: $11.98

Single 3rd Hand with Tweezer and Base
HOL-165.00
- HOL-165.00
- Lesson Quantity: 1.00 pieces
- Purchase Quantity: 1.00 each
- Price: $18.97
- Gold Club Price: $14.23

Silver Solder Paste Medium SS70 - 1/4 T.O.
SOL-822.15
- SOL-822.15
- Lesson Quantity: 1.00 pieces
- Purchase Quantity: 1.00 each
- Price: $21.95
- Gold Club Price: $16.46

Silver Solder Paste Hard SS75 - 1/4 T.O.
SOL-822.20
- SOL-822.20
- Lesson Quantity: 1.00 pieces
- Purchase Quantity: 1.00 each
- Price: $23.95
- Gold Club Price: $17.96

Silver Solder Paste Soft SS65- 1/4 T.O.
SOL-822.10
- SOL-822.10
- Lesson Quantity: 1.00 pieces
- Purchase Quantity: 1.00 each
- Price: $20.95
- Gold Club Price: $15.71

WET/DRY PAPER 9 x 11, 400grit- PK/10
ABR-500.25
- ABR-500.25
- Lesson Quantity: 1.00 pieces
- Purchase Quantity: 1.00 each
- Price: $12.95
- Gold Club Price: $9.71

WireJewelry Double Barrel Rotary Tumbler, Jewelry and Metal Polishing Kit, Includes 2 Pounds of Jewelers Mix Shot and 8 Ounces of Shinebrite Burnishing Compound (2021 Version)
G24-2V2-KIT2SS
- G24-2V2-KIT2SS
- Lesson Quantity: 1.00 pieces
- Purchase Quantity: 1.00 each
- Price: $279.93
- Gold Club Price: $209.95

5/8 Inch Double Rubber/Nylon Head Hammer - Pack of 1
G3-26
- G3-26
- Lesson Quantity: 1.00 pieces
- Purchase Quantity: 1.00 each
- Price: $4.97
- Gold Club Price: $3.73

6 Step Barrel Plier - Pack of 1
G2-503
- G2-503
- Lesson Quantity: 1.00 pieces
- Purchase Quantity: 1.00 each
- Price: $14.95
- Gold Club Price: $11.21

Swiss Bur Set Assortment, 24 Piece Set
BUR-416.00
- BUR-416.00
- Lesson Quantity: 1.00 pieces
- Purchase Quantity: 1.00 each
- Price: $44.95
- Gold Club Price: $33.71
Instructions
Step 1
Please read through the directions entirely before starting the project.
Use a vernier scale to determine the thickness of the thickest bead.
This will help determine the width of bezel wire needed.
For this tutorial and for all the cabs that have been made using beads with a 4mm thickness, the 28 Gauge 3/16" Fine Silver Bezel Wire at wirejewelry.com works well without any modifications.

Step 2
Prepare the cabochons.
Place a pieces of painters tape on the back of each.
Use an ultra fine point Sharpie to number or letter each cab.
Mark which way the cab will be placed in the setting (which corner is up).
Make a mark on the tape off center (it is important for this mark to be off-center) on one side of the cab.
This is where the bezel seam will be.
Pro Tip: Since the cabochons are not calibrated, it is important that bezels be made one at a time so they do not get mixed up.


Step 3
Place the one end of the bezel wire in a Miter Cutting Vise and file the end to square up that end of the bezel wire.
Pro Tip: Mark the squared end with an ultra fine point Sharpie so you will know which end was squared in case you accidentally drop the bezel wire.

Step 4
Place the cab right side down on a flat surface.
A bench block works great.
Place the bezel wire end at the off-center mark.
Hold the bezel wire in place and bend around the first corner.
The cabochon can be turned right side up now if desired.
A bench block works great.
Place the bezel wire end at the off-center mark.
Hold the bezel wire in place and bend around the first corner.
The cabochon can be turned right side up now if desired.


Step 5
Use flat nose pliers to square up the corner.

Step 6
Holding the bezel wire in place, bend it around the next corner.
Again, square up the corner with flat nose pliers.
Contiue around the cabochon in this manner.
The bezel must be a tight fit, so make sure that each bend is in the proper place.
Approximately 2-1/8" of 4.5mm bezel wire was used to wrap this cobblestone cab.
Again, square up the corner with flat nose pliers.
Contiue around the cabochon in this manner.
The bezel must be a tight fit, so make sure that each bend is in the proper place.
Approximately 2-1/8" of 4.5mm bezel wire was used to wrap this cobblestone cab.


Step 7
Cut the end of the bezel wire a bit long.
Overlap the beginning end on the cut end.
Use a Sharpie marker to make a line where the squared up end overlaps the other end.
Cut the bezel wire a bit longer than needed.
Place the cut end in the miter cutting vise and use a file to square up the cut end.
Check the fit. Keep filing off a small amount from the cut end until a tight fit is achieved.


Step 8
Line up the two filed bezel ends.
Use a clean solder pick to place a small amount of hard paste solder inside the bezel on the seam.
Use a micro torch to heat around the bezel until the solder flows.
Wait for the bezel to cool a bit before quenching.
Use a clean solder pick to place a small amount of hard paste solder inside the bezel on the seam.
Use a micro torch to heat around the bezel until the solder flows.
Wait for the bezel to cool a bit before quenching.

Step 9
Pickle, rinse and dry the bezel.
Step 10
There is only one way the bezel seam and the off-set line on the back of the cabochon will line up.
Place the cabochon in the bezel and fine tune the sides and corners a bit.
It can help to use an ultra fine point Sharpie to make an arrow pointing up on the bezel, but since the seam can only match up one way, this is not necessary.
Place the cabochon in the bezel and fine tune the sides and corners a bit.
It can help to use an ultra fine point Sharpie to make an arrow pointing up on the bezel, but since the seam can only match up one way, this is not necessary.

Step 11
Place 240 or 320 grit sandpaper on a bench block.
Sand the bottom edge of the bezel flat by running it over the sandpaper in a figure eight motion.
Set the bezel and corresponding cabochon aside.
Sand the bottom edge of the bezel flat by running it over the sandpaper in a figure eight motion.
Set the bezel and corresponding cabochon aside.

Step 12
Repeat Steps 3 through 11, creating the bezel for the other cabochon.
Step 13
Use an ultra fine point Sharpie to mark out 7/8" squares on 24 or 26 gauge sheet metal.
Mark lines 1/8" inside the edge around each square to help position the metal content stamp mark in the lower corner inside the lines.
If using a makers mark stamp, it must be in the lower half as the ear wire is soldered on in the upper half.
Mark lines 1/8" inside the edge around each square to help position the metal content stamp mark in the lower corner inside the lines.
If using a makers mark stamp, it must be in the lower half as the ear wire is soldered on in the upper half.


Step 14
Use metal shears to cut the squares apart.
Step 15
Anneal the squares.
Step 16
Pickle, rinse and dry the squares.
Step 17
Use a rubber or plastic mallet to flatten the squares on a bench block.
Step 18
Place a square right side up on the bench block.
Set one bezel on top.
A marker line will disappear during soldering and/or during the patina process so scratch the corresponding cabochon number/letter on the square inside the bezel.
Also scratch a line on the square inside the bezel to correspond to the line on the back of the cabochon.
Set one bezel on top.
A marker line will disappear during soldering and/or during the patina process so scratch the corresponding cabochon number/letter on the square inside the bezel.
Also scratch a line on the square inside the bezel to correspond to the line on the back of the cabochon.

Step 19
Use a clean solder pick to place small amounts of medium paste solder around the bottom edge of the bezel.
Position the bezel on the square so the dimple from the metal content stamp is in one corner.
Transfer the unit to a soldering block.
Position the bezel on the square so the dimple from the metal content stamp is in one corner.
Transfer the unit to a soldering block.


Step 20
If adding balls to the earrings, cut and ball 18 gauge round wire in the following sizes for each earring: four at ¼" and two at ½".
Use medium paste solder to attach them to opposing corners of each earring.
Use medium paste solder to attach them to opposing corners of each earring.

Step 21
Secure the Handy Flame Butane Torch head to the butane canister.
Using a medium flame, move the torch around the unit, keeping the tip of the blue part of the flame about ¼" above the soldering block surface and ¼" away from the square (follow the red line).
Every few passes, hit the center of the bezel.
Continue until the solder flows. Immediately remove the flame.
Wait for the unit to cool a bit before quenching.

Step 22
Pickle, rinse and dry the piece.
Step 23
Repeat Steps 19 through 22 for the other bezel.
Pro Tip: Optional twisted wire decorative element:
Twist a 5½" to 6" length of 18 gauge square wire.
Anneal, pickle, rinse and dry the wire.
Wrap the wire around each bezel, in the same manner as the bezel wire around the cabochon, to determine the length needed.
Start the wire on a different side than the bezel seam.
Use an ultra fine point Sharpie to mark that point on the bezel and square.
Remember, the cabochons are not calibrated so the length needed will be different for each earring.
Cut the wire with flush cutter, making sure each end is square.
Use a clean solder pick to place a small amount of hard paste solder on the twisted wire seam.
Use a micro torch to heat the piece until the solder flows.
Pickle, rinse and dry.
Place the wire piece on a bench block and tap lightly with a plastic or rubber mallet to flatten.
Use a micro torch to heat the piece until the solder flows.
Pickle, rinse and dry.
Place the wire piece on a bench block and tap lightly with a plastic or rubber mallet to flatten.
Place the soldered twisted wire square onto the earring, matching the seam with the marks made in step A.
Square the twisted wire corners to fit the bezel.
Here, the flat sides of two clothespin halves are used to push the sides of the twisted wire to the bezel to help square it up.
Keep working around the unit until the twisted wire square has an acceptable fit.
Carefully remove the wire and set to the side.
Use a clean solder pick to place small amounts of medium paste solder around the seam attaching the bezel to the square and on the square backing.
Place the twisted wire back on the earring, matching the seam to the Sharpie marks and pressing the wire into the solder.
Solder in place in the same manner as Step 21.
Place the twisted wire back on the earring, matching the seam to the Sharpie marks and pressing the wire into the solder.
Solder in place in the same manner as Step 21.
Pickle, rinse and dry the piece. Repeat the above steps for the other earring.
.jpg)


Step 24
Decide where and how much excess metal to trim off around the bezels.
A rim can be left around the bezel, or it can be cut back completely.
Once the excess metal has been trimmed away, file and refine the edges.
You may find it easier to use a fine sanding disc to clean up the bezel seam.
A rim can be left around the bezel, or it can be cut back completely.
Once the excess metal has been trimmed away, file and refine the edges.
You may find it easier to use a fine sanding disc to clean up the bezel seam.


Step 25
Place 320 or 400 grit sandpaper on a bench block.
Place each completed bezel top down on the sandpaper.
Move the bezel in a figure eight motion to even out the top of the bezel.
Place each completed bezel top down on the sandpaper.
Move the bezel in a figure eight motion to even out the top of the bezel.
Pro Tip: After all the filing and sanding, the bezel may be bent. Straighten it back up with flat nose or flat soft jaw pliers.
Step 26
Use an ultra fine point Sharpie to dissect the back of each earring, corner to corner.

Step 27
Straighten and cut two 3¼" long pieces of 20 gauge full hard wire.
Make a 90 degree bend ¾" from one end of each wire for the latch hook.
Note: The latch hook section is cut longer than needed because it may melt a bit during soldering if you are not careful.
Make a 90 degree bend ¾" from one end of each wire for the latch hook.
Note: The latch hook section is cut longer than needed because it may melt a bit during soldering if you are not careful.

Step 28
Use a clean solder pick to place easy paste solder on the line above center.

Step 29
Place one earring right side down on a solder block (shown here is a ceramic honeycomb soldering block).
Use a third hand to hold a wire in place on the solder on the back of the earring. Stacked pennies hold the long of the wire up.
Use a third hand to hold a wire in place on the solder on the back of the earring. Stacked pennies hold the long of the wire up.

Step 30
Using the Handy Flame torch, move a medium flame around the earring, keeping the tip of the blue portion of the flame about ¼" above the soldering surface and ¼" away from the edge of the earring, until the solder flows.
It is very important to NOT run the flame over the wire, as it can too easily melt.
The red line is where the flame should be moving during this step.
It is very important to NOT run the flame over the wire, as it can too easily melt.
The red line is where the flame should be moving during this step.

Step 31
Pickle, rinse and dry the piece.
Step 32
Repeat Steps 29 through 31 for the other earring.
Step 33
Cut the ¾" long latch hook wire back to ½".

Step 34
Use an ultra fine point Sharpie to mark the wire 3/8" and 1-5/8"from the top edge of the earring.

Step 35
Use flush cutters to trim the wire to the outer mark at 1-5/8"
Step 36
Use a cup bur to smooth the short and long wire ends.
Step 37
Patina the earrings in liver of sulfur.
Neutralize the patina process on the earrings by placing them in baking soda water.
Use 0000 steel wool to buff the pieces and bring out the highlights.
Neutralize the patina process on the earrings by placing them in baking soda water.
Use 0000 steel wool to buff the pieces and bring out the highlights.

Step 38
Tumble the earrings in steel shot for an hour or so to work harden them.
Step 39
Place the tips of a chain nose pliers at the base of the ½" wire on the back of the earrings.
Holding the plier tips in place, bend one wire over the plier tips toward the left at 45 degrees, and the other toward the right.
Holding the plier tips in place, bend one wire over the plier tips toward the left at 45 degrees, and the other toward the right.

Step 40
Use the smallest barrel on the 6-step barrel pliers to create the latch.

Step 41
Bend the long wire toward the front of the earring at a 45 degree angle.

Step 42
At the 3/8" mark, grasp the wire between the two middle barrels of the 6-step barrel pliers.
Bend earring portion down over the larger of the two barrels on one side and the wire down on the other side of the larger barrel.
Bend earring portion down over the larger of the two barrels on one side and the wire down on the other side of the larger barrel.


Step 43
Use the largest barrel on the 6-step barrel pliers to make a slight bend in the end of the wire.


Step 44
Place the earring wire on the edge of a bench block. Hammer the front curve to provide some stiffness to the ear wire.


Step 45
Remove the tape from the back of the cabochon.
Hint: Use an ultra fine point Sharpie to transfer the registration mark from the tape to the back of the cab before removing the tape completely.
That way, if for some reason the cab goes flying, it can still be inserted correctly.
Place a generous amount of e-6000 glue in the earring and a bit around the edge of the bezel.
Place the cabochon face down on a bench block.
Line up the line on the back of the cabochon with the line inside the bezel.
Press the bezel down onto the cabochon. It will be a tight fit, so may take a bit of work.
Do not rush it or push hard. If the cabochon fit in the bezel in the first place, it will still fit.
The bezel wire may just need a bit of finessing with a flat nose or soft jaw pliers.

Step 46
Once the bezel sits flush with the bench block, the earring should be set aside to dry for at least 3 days (up to a week would be ideal) for the glue to dry.
Once the glue is dry, any excess that squished out can be pulled off.
The clothespins used when squaring the twisted wire optional trim can be used in the same manner to push the bezel in toward the cabochon stones.
Once the glue is dry, any excess that squished out can be pulled off.
The clothespins used when squaring the twisted wire optional trim can be used in the same manner to push the bezel in toward the cabochon stones.







 Beaded Briolette Pendant
 Snail Trail Spiral Earrings
 Heart Link Bracelet and Earrings
 Crazy Hoop Earrings
 Double Delight Jade Bracelet
 Swagged Pearl Pendant
 Heart Earrings with Drops
 Scarab Bracelet
 Birthstone Heart Pendant
 Pearl of the Sea Woven Pendant
 Bead Charm
 Coiled Rosette Link
 Wire Jewelry Component and Swan Hook
 Leaf Bail
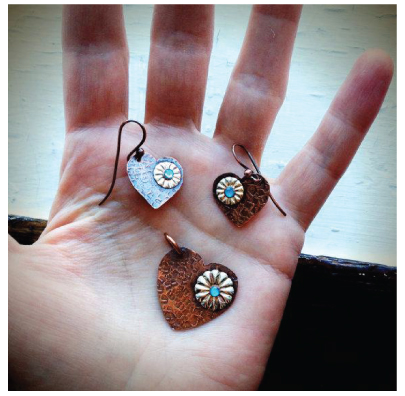 Component Templates with Heart Earrings and Pendant
 Ring Pendant
 Calla Lily Earrings
 Birdhouse Pendant
 Clamshell Earrings and Pendant
 Bracelet Component
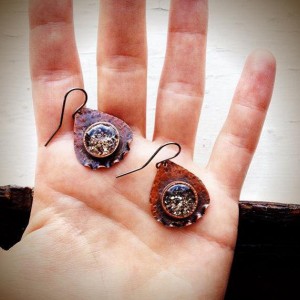 Teardrop Earrings and Pendant
 Tab Style Pendant
 Coiled End Caps
 Freeform Pendant
 French Hook Ear Wires
 Necklace Component
 Triangle Shield Earrings, Pendant and Bail
 How to Make a Wire Coil and Bead
 Egyptian Coil Bracelet
 Focal Bead Egyptian Coiled Bracelet
 Sweetheart Round Cabochon Pendant
 Making Cobblestone Cabochons
 Cupcake Wrapper Earrings
 How to Make Metal Washers
 Baseball Skin Keychain
 Pat's Silver Domed Earrings
 Blaze Your Own Path Pendant
 Semi Snap-on Bail
 Interlocking Faux Twist Wire Bracelet
 Fold Formed Cuff With Faux Roman Glass or Coin Cabochon
 Steampunk Style Leaf Earrings
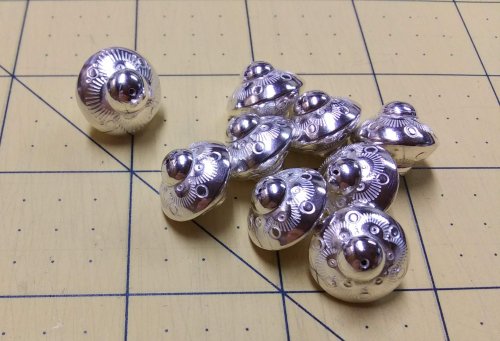 Stamped Saucer Beads
 Kat's Wire Hoop Earrings
 Simple Bail on a Coin Pendant
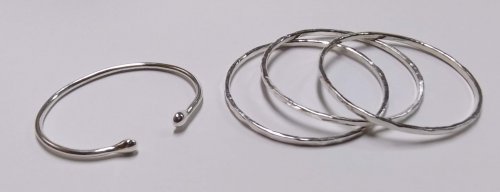 Wire Bangles
 Rolling Mill - or not - Cuff Bracelet
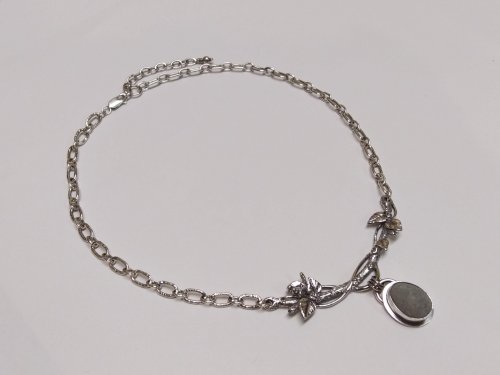 Jen's Chain
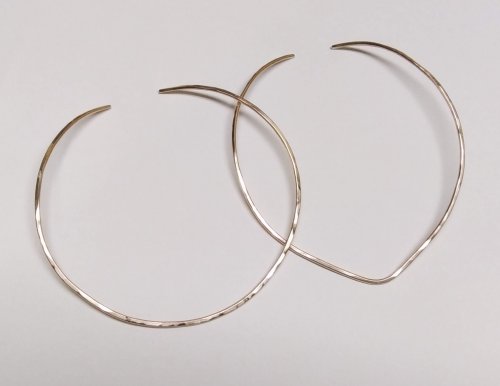 Making Neckwires
 Silver Scrap Wire Focals to Embellish
 Splash Ring
 Multi Gemstone Necklace
 Southwest Style Pendant
 Bezels Using Square Wire
 Mixed Metal Sampler Bracelet 1
 Mixed Metal Sampler Bracelet 2
 Mixed Metal Sampler Bracelet 3
 Mixed Metal Sampler Bracelet 4 - Words Matter
 Mixed Metal Sampler Bracelet 5 - River Walk
 Mixed Metal Sampler Bracelet 6 - A Little Bling
 Mixed Metal Sampler Bracelets Series PUTTING IT ALL TOGETHER
 Mixed Metal Sampler Bracelet 7 - Steampunk Space Oddity
 Mixed Metal Sampler Bracelet 8 - Fun Shapes
 Jump Ring Fringe Bracelet
 Easy Artisan Earrings
 Making Chain with Wubbers and Wire
 Heirloom Buttons and Beads Bracelet
 Tiny Silver Charms part 1
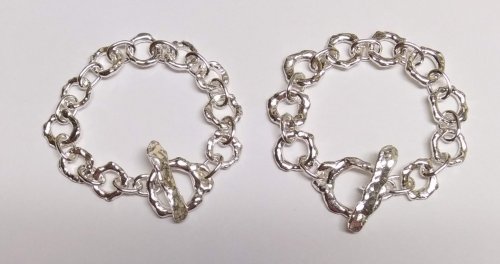 Argentium Silver Scrap Chain
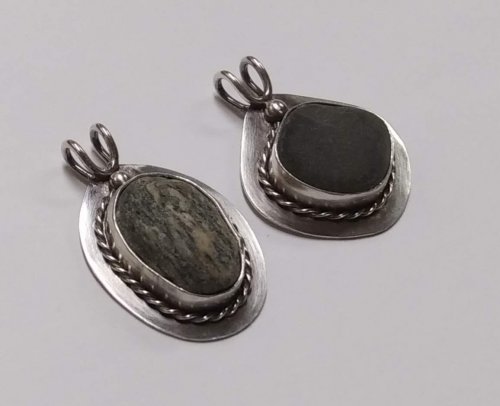 Sterling Lake Stone Pendant with Twisted Wire
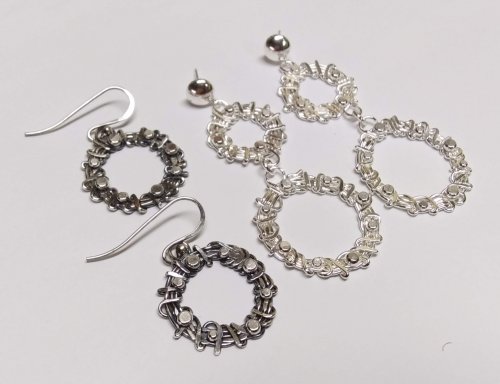 Smashing Drop Earrings
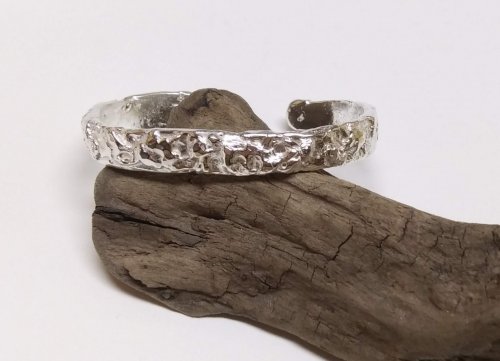 Argentium Silver Scrap Nugget Cuff
 Finish Them Your Way Earrings
 Paddle Fringe Earrings
 Seed Bead Earrings
 Bracelet Links 1, 2,3
 Stamped Saucer Beads
 Chaos Scrap Wrap Jewelry
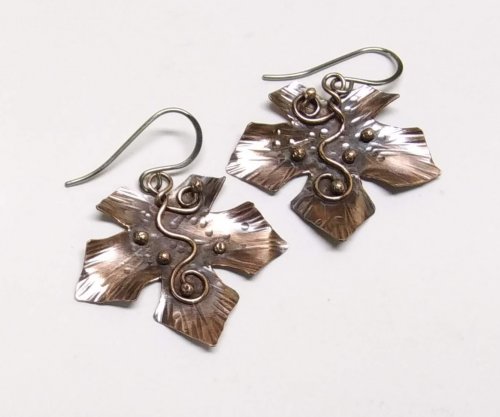 Maple Leaf Earrings
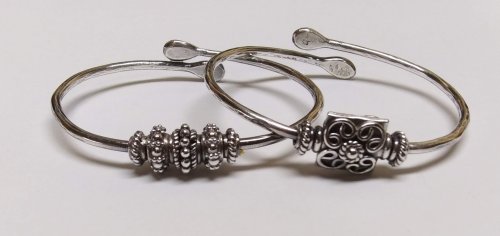 Child's Bracelet That Grows with Them
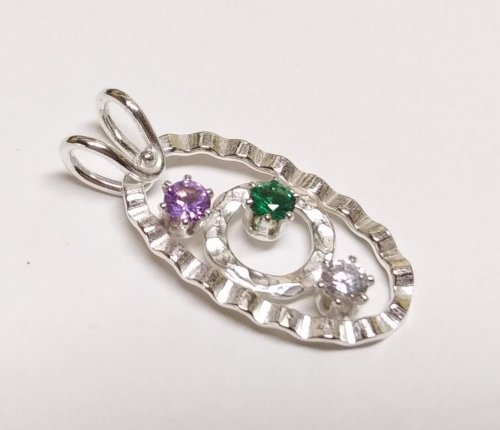 Mike's Surpirise Claire's Ripple Pendant
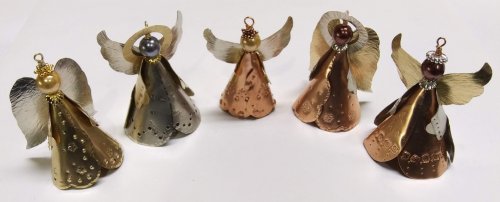 Angel Ornament
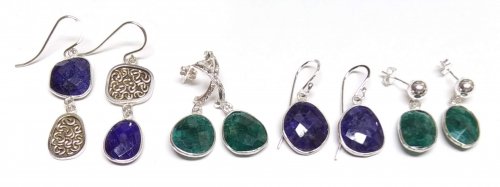 Diamonds, Emeralds, and Sapphires, Oh My.
 Treasure Bezel Cups
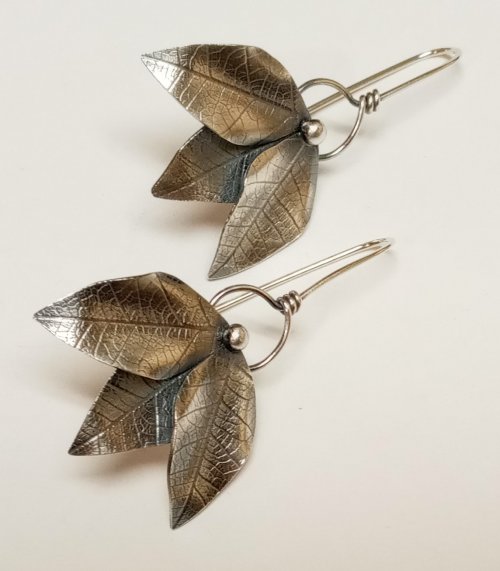 Three Leaves Earrings
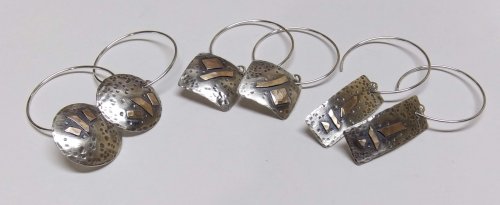 Silver and Gold Earrings
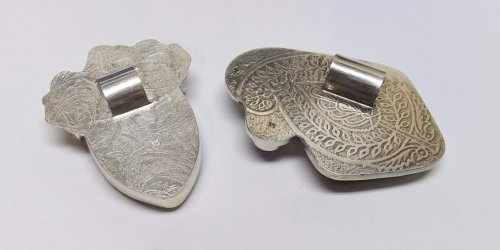 Make a Hidden Bail
 Wire Links 4, 5, 6
 Wire Links 7, 8, 9, and 10
 Double Loop Ear Wires
 Balled and Paddled Head Pins
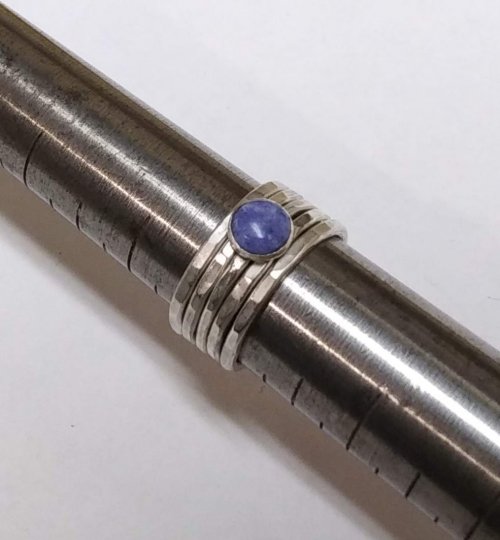 Textured Stacked Rings
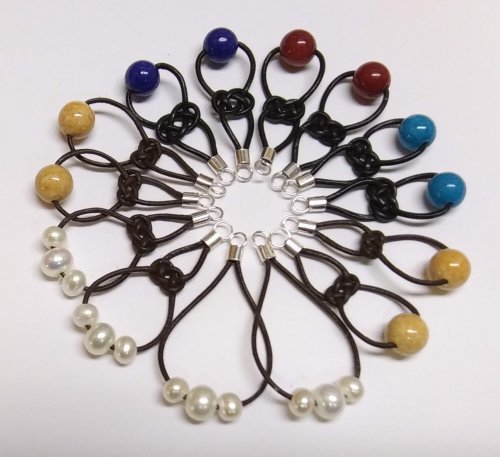 Cord and Bead Earrings
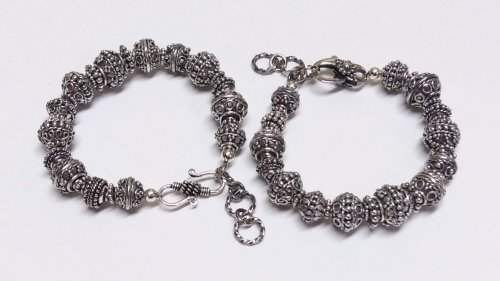 Bali Style Adjustable Closures
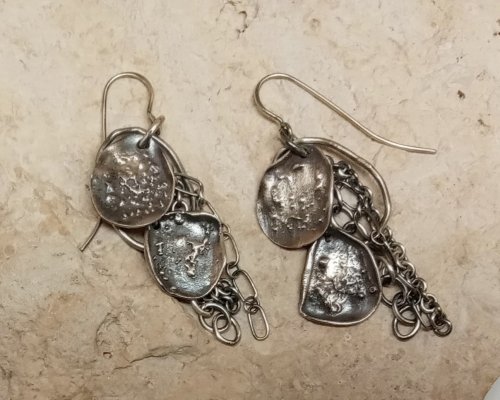 Organic Fused Silver Dust Earrings
 Mobius Rings
 Dainty Bead and Wire Bangle with Hook Closure
 Seed Bead and Nugget Necklace
 Love Locks Heart Charm
 Traditional Southwest Style Hook Closures
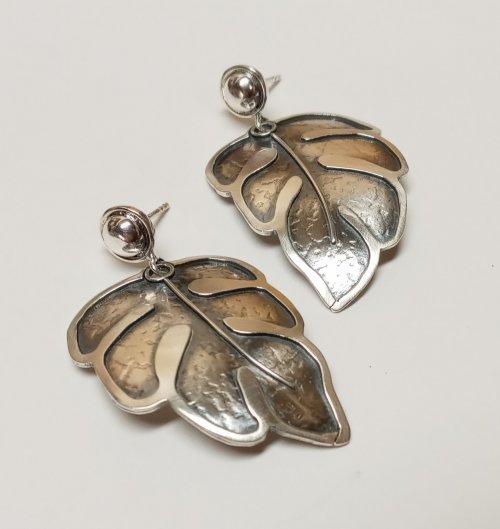 Negative Space Earrings
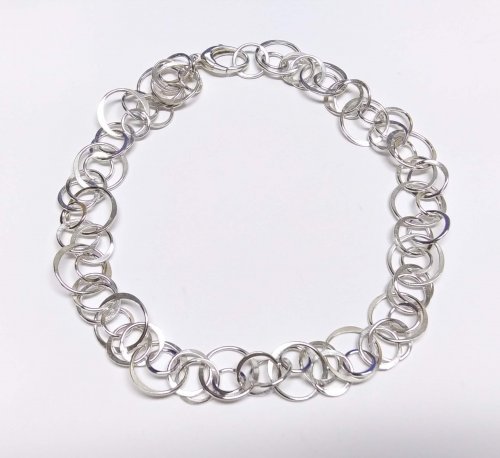 Jumbled Lacy Chain
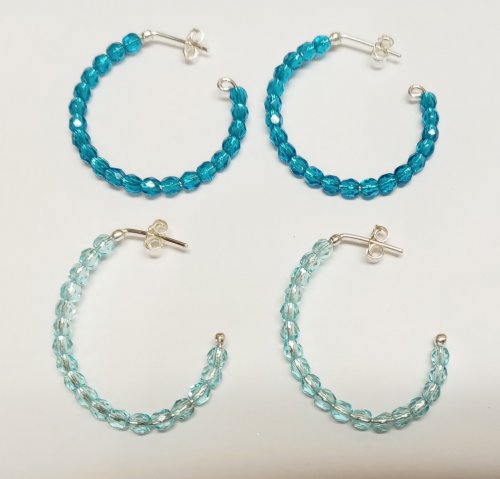 Easy Beaded Post Hoop Earrings
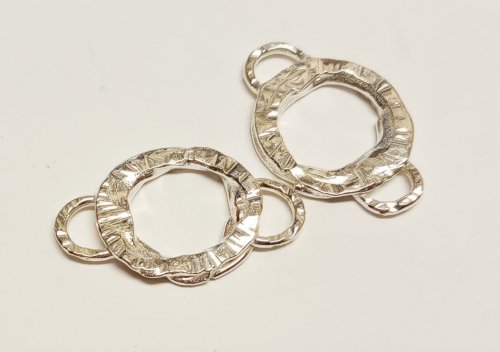 Rustic Silver Links
 Make a Soldered Paperclip Chain
 Make a Fused Paperclip Chain
 Make Woven Metal Strips to Use in Your Designs
 Leaf Wrap Metal Rings version 1
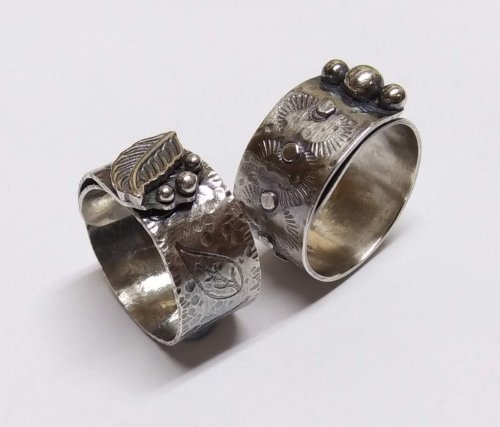 Leaf Wrap Metal Rings version 2
 Snowflake Ornaments
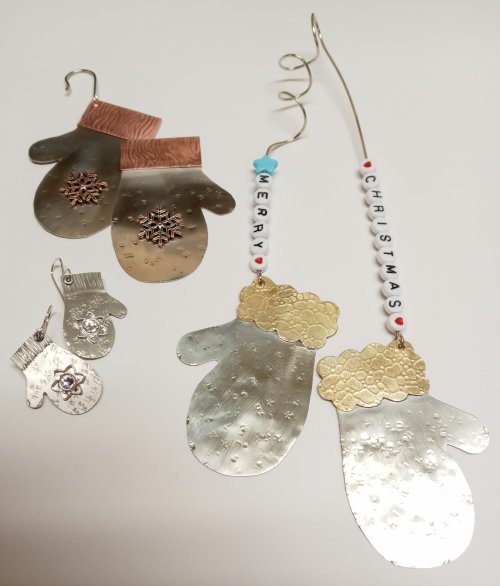 Mitten Ornament
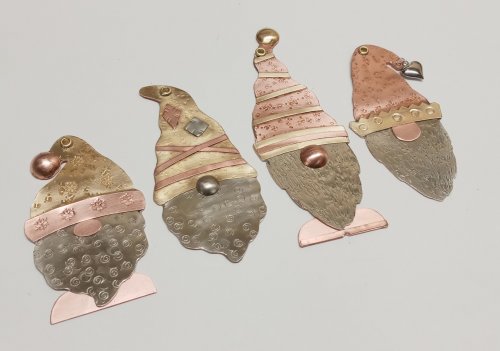 Gnome Ornaments
 A Partridge in a Pear Tree Earrings
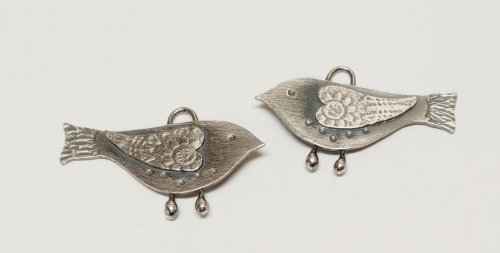 Two Turtle Doves Earrings
 Three French Hens Earrings
 Four Calling Birds Earrings
 Five Golden Rings Earrings
 Six Geese a Layin' Earrings
 Seven Swans a Swimming Earrings
 Eight Maids a Milking earrings
 Nine Ladies Dancing Earrings
 Ten Lords a Leaping Earrings
 Eleven Pipers Piping Earrings
 Twelve Drummers Drumming Earrings
 Make Your Own Bracelet Button Clasps
 Little Saucer Bells
 Doodads - Fun Findings
 No Measure Hearts, Any Size, Any Gauge
 Cascading Drops Earrings
 WIre Basics - Spiral Charms
 Wire Basics - Wrapped Loops and Links
 Wire Basics - Simple Swan Hook
 Wire Crocheted Necklace
 Wire Basics - Wire Garage Door Spring Link
 Easy Post Hoop Earrings
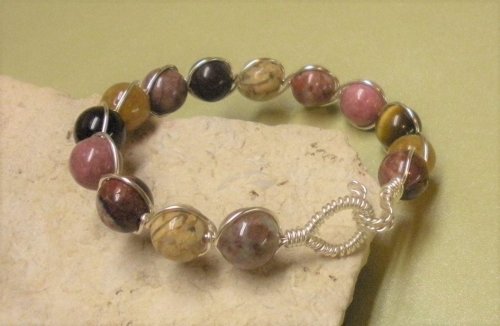 Double Wrap Wire Bangle Bracelet
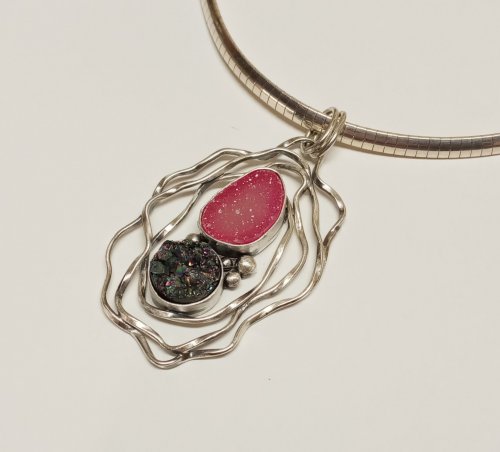 Organic Wire Pendant
 Coiled, Beaded Slide
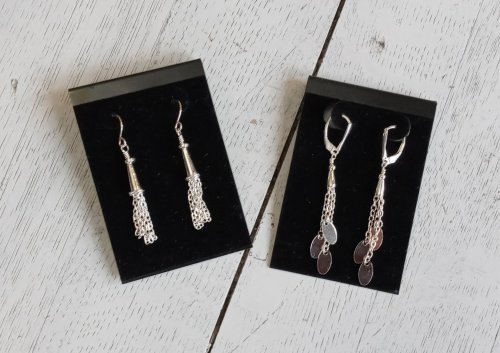 Cone and Chain Earrings
 Embellished Sterling Cones
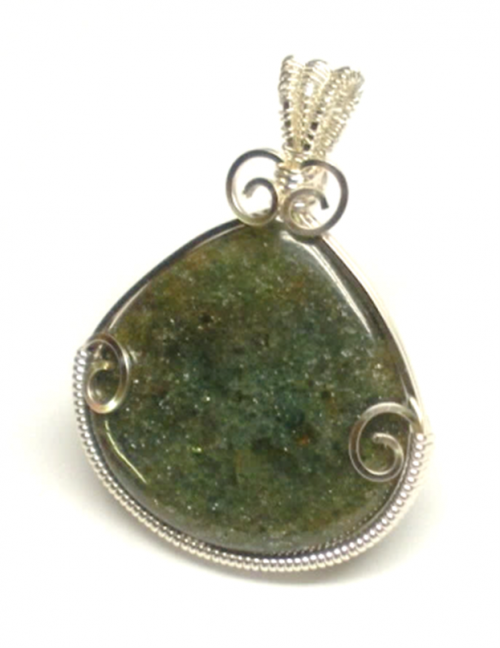 Classic Wire Wrap Bezelled Pendant
 Wire Wrap a Coin
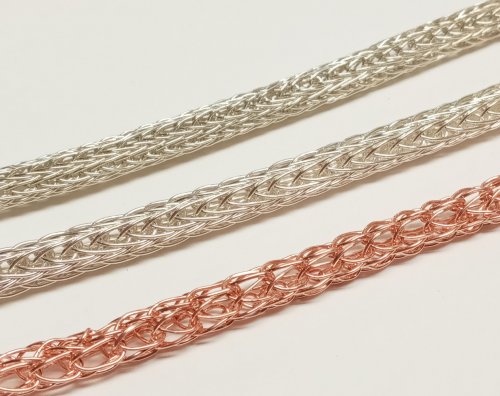 Viking Knit
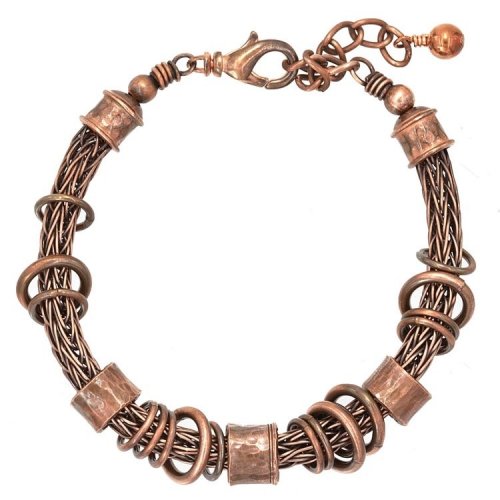 Viking Knit Bracelet
 Coiled Wire End Caps
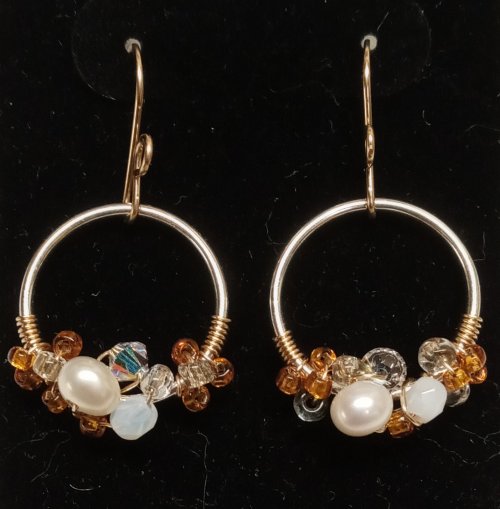 Bead-Wrapped Hoop Earrings
 Copper Feather Earrings
 Soldering a Dome to a Backplate
 Wire Heart Pendant with Gemstone Drop
 Make Basic Wire Shapes for Jewelry
 Make Simple Wire Slide Bails
 Coiled Bead and Twisted Wire Bracelet
 Wire Triangle Link
 Bali Style Focal Toggle
 Silver Nuggets
 Fun Shapes Fish Hook Earrings
 After the Rain Bracelets
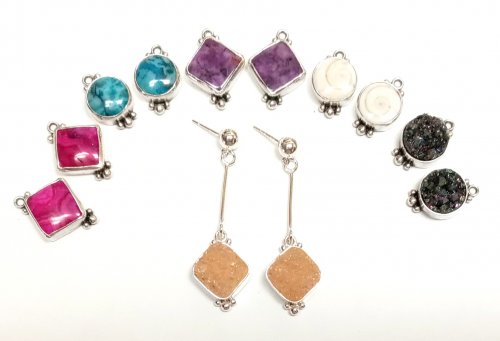 Dangling Drop Earrings
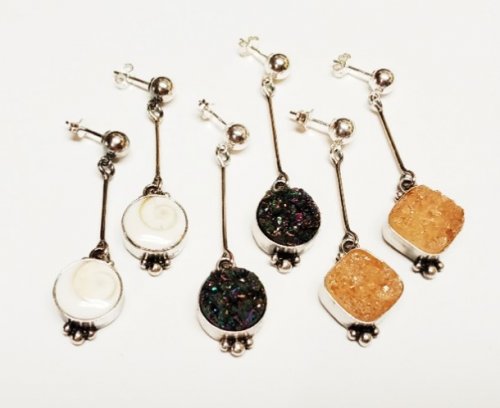 Dangling Chain Sticks
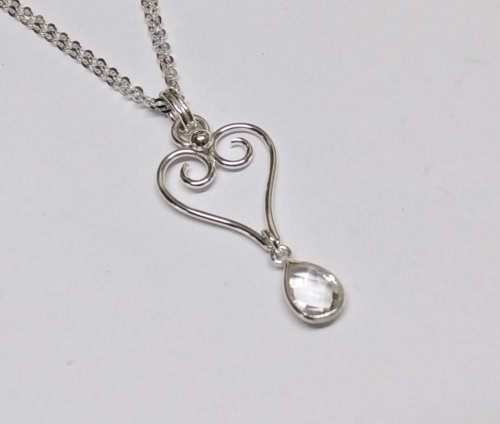 Wire Heart Pendant with Gemstone Drop
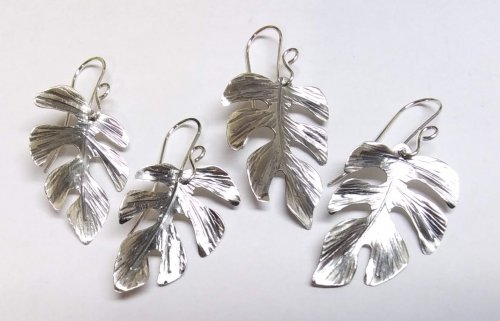 Tropical Leaf Earrings
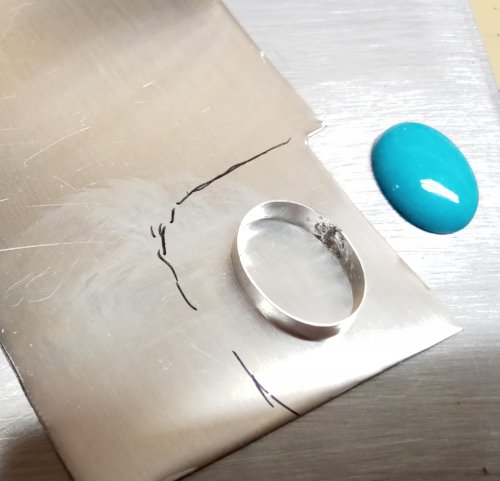 Basic Bezel Wire Tutorial
 Dog Tag Style Necklace
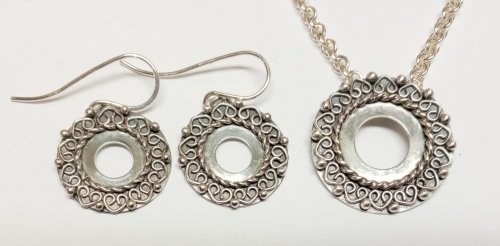 Lacy Washers
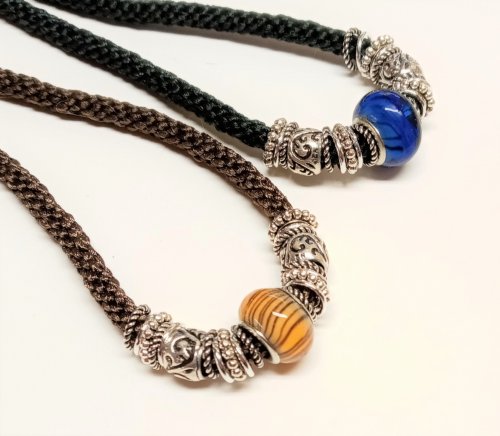 8-Strand Kumihimo
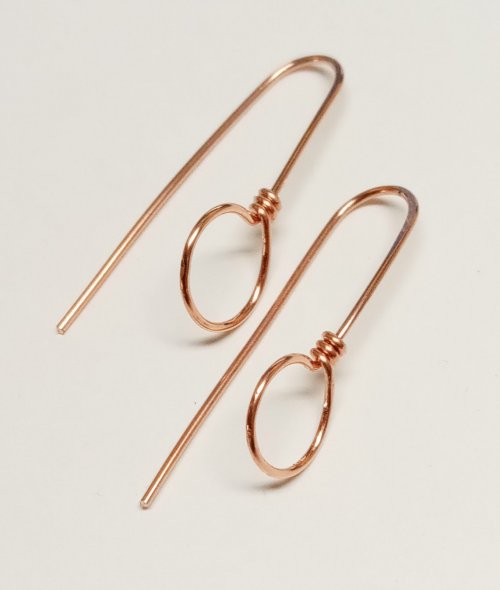 Closed Loop Ear Wires
 Simple Strip Bails from Scratch
 Anti-tarnish Silver Cloth Bags
 Cotter Pin Style Bail
 Holiday Woodland Fairy Ornament
 Happy Holly Days Wreath Ornament
 Happy Holly Days Leaves and Berries
 Happy Holly Days Bells Ornament
 Art Deco Wire Wrapped Pendant
 Twisted Wire Jump Rings
 Two-tone Beaded Bangle
 Sweetheart Pendant
 Waves on the Beach Earrings
 Any Size Wire Hearts - Any Size, Any Gauge
 Just in Case Heart Pendant
 Small Flower Embellishment
 Making Tiny Dapped Metal Leaves
 Spinner Fidget Bangles
 Small Flower Bud Embellishment
 Three Petal Bud and Layered Embellishment
 Creating a Flower Stem
 Stamped Tube Beads
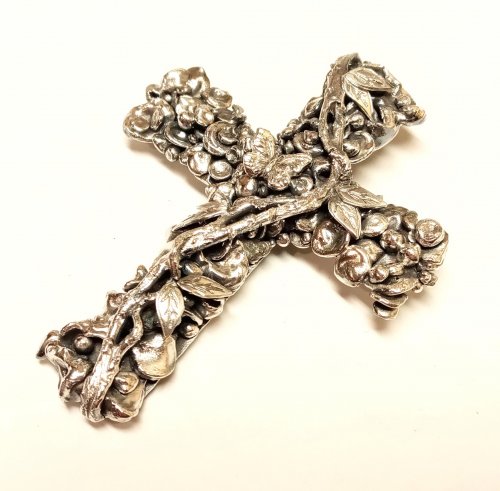 Water Cast Scrap Cross
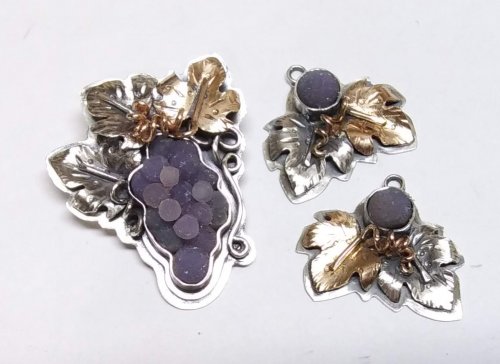 Sugared Grapes Pendant
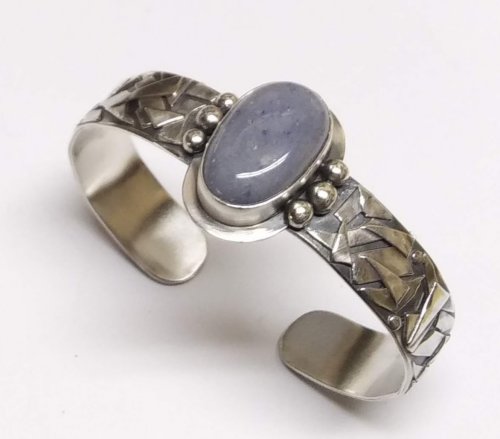 Tourist Rock Cuff Bracelet
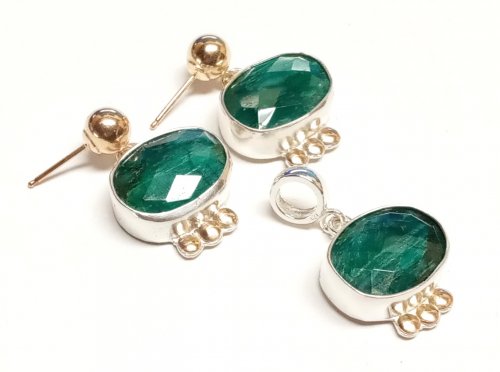 Gemstone Chains Reimagined
 Checkerboard Faceted Earrings
 Foxtail Chain aka Loop-in-Loop
 Handmade Chunky Chain
 Capture a Summer Memory
 Stone Key Fob
 Sprinkles Link
 Ball Chain Embellishments
 Handmade Ornament Hooks
 Coin Focal
 Branching Out
 Broken AKA Bits and Pieces Dish Jewelry
 Easy No Solder Hinges
 Small Embellished Classic Cross
 Closure Focal Necklace
 Classic Cameo Pendant
 Bali Style Earrings
 Combine Druzy With Straw and Water Cast Components
 Feathers and Leaves Earring Remodel
 Five Year Bracelet
 Designer Stick Earrings Remodel
 Hammered Luxury
 Recycled Black Pearl Earrings
 Disc Cutter Earrings Remodel
 Show Your Colors Bracelet
 CZ Explosion Necklace
 Domed Stud with Drop Loop
 Gemstone Stud Earrings With Hanging Loop
 Split Bead Earrings
 Ripple Bracelet
 Double Foxtail Chain
 Stretch Bracelets
 Copper Feather Earrings Remodel Into Cuff
 Summer Fun Necklace
 Reunion Key Fobs
 Gnome Ornaments
 Happy Holly Days Ornament
 Hearts and Flowers Charms
 Double Link Chain
 Threader Earrings

