


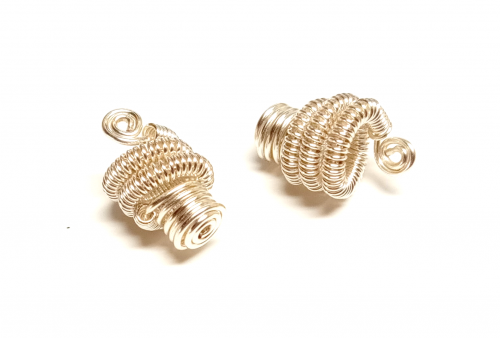
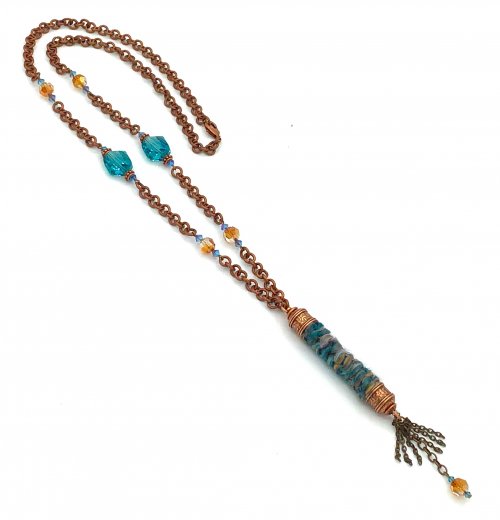
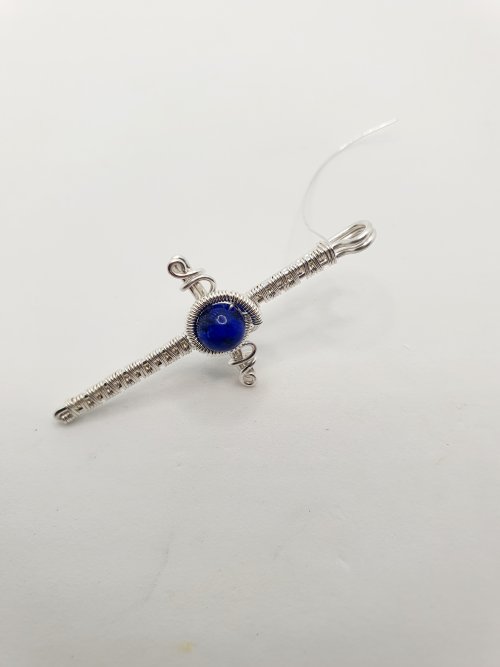

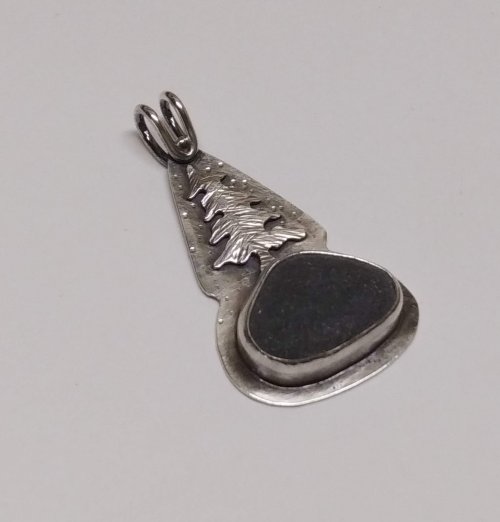


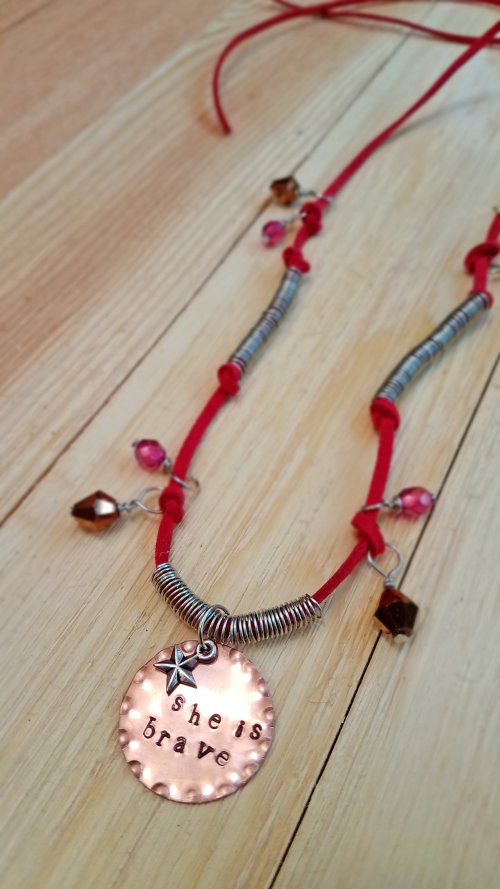


The Five "Cs" of Wire Wrapping Intro
One of my favorite classes to teach is basic wire wrapping. I start class by announcing that we are going to explore the role of the letter "C" in wire wrapping. I watch my students go letter by letter in their mind to confirm that, indeed, there is no letter "C" in wire wrapping. A slow smile emerges, and "C" words fill the room.
"Convenient, circle, connect, consistent, cut, quality," someone always says the last one, and we get a good laugh. This is the perfect segue.
Yes, all of these! Quality wire wrapping requires consistency. The key to consistency is learning the proper way to create a circle, connect, coil, cut, and clean. These techniques involve deliberate changes in the position of your wire and tools.
Together, all of these "Cs" form a formula for the perfect wire wrap every time.
This is not a new or secret method for wire wrapping. Almost every artist I know wraps wire in this or a similar manner using the same techniques.
Instead, this is simply a recipe. It breaks down the entire process into memorable chunks to help you understand what to do and, more importantly, why you are doing it.
I value all methods of learning. If you are curious about why things work, want to learn things once, or need a way to teach others how to wire wrap, this series of articles is for you. It explains each step in detail and offers numerous tips and tricks throughout.
However, if you prefer trial-and-error learning, this series may feel overwhelming. I value this method, which I call creating recklessly, as it often leads to innovation.
In that case, experiment with wire wrapping first. Then, when you are ready to improve your quality and consistency, come back-you'll have an "aha" moment, I promise.
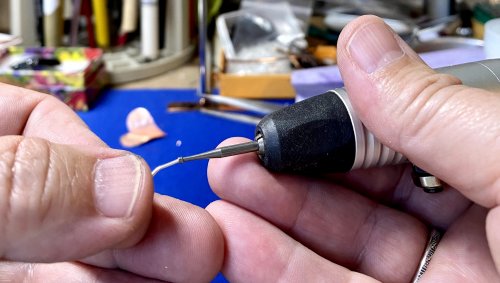
Moving the wire versus the pliers
Before we start, it's important to understand the difference between two types of movement: wire movements and plier movements.
Every move you make should change the position of the wire or the pliers, but never both at the same time.
Keeping this in mind helps you troubleshoot early and avoid problems you can't undo.
If you notice both the wire and pliers moving at the same time, stop and restart that step.
You'll be back on track!
Video 1: Wire movement followed by a plier movement. Notice each moves independently (Video coming)
Video 2: Avoid this. The wire and the pliers are moving at the same time. (Video coming)
One last note, if you are left handed, feel free to switch the pliers to your preferred hands.
Along the way, I'll point out any additional adjustments you'll need to make.
Along the way, I'll point out any additional adjustments you'll need to make.
Click below to navigate to the next lessons in this series:
Five Lessons to Perfect Wire Wrapped Loops
The Five Cs of Wire Wrapping Step 1: The Circle
The Five Cs of Wire Wrapping Step 2: Connect
The Five Cs of Wire Wrapping Step 3: Coil
The Five Cs of Wire Wrapping Step 4: Cover then Cut
The Five Cs of Wire Wrapping Step 5: Clean
Five Lessons to Perfect Wire Wrapped Loops
The Five Cs of Wire Wrapping Step 1: The Circle
The Five Cs of Wire Wrapping Step 2: Connect
The Five Cs of Wire Wrapping Step 3: Coil
The Five Cs of Wire Wrapping Step 4: Cover then Cut
The Five Cs of Wire Wrapping Step 5: Clean
Materials

Wire

Beads
Tools

WireJewelry - Ultimate Wire-Pliers Jewelry Pliers with Case, Set of 5
G15-20
- G15-20
- Lesson Quantity: 1.00 pieces
- Purchase Quantity: 1.00 each
- Price: $170.72
- Gold Club Price: $128.04
Supply Detail
loading...
Change Metal:
This Article requires:
Purchase quantity:
Price: $
Gold Club Price: $
Purchase quantity:
Price: $
Gold Club Price: $
- Category: Classic
- Technique(s): Wrapping
 The Five Cs of Wire Wrapping Step 5 Clean
 The Five Cs of Wire Wrapping Step 4 Cover then Cut
 The Five Cs of Wire Wrapping Step 3 Coil
 The Five Cs of Wire Wrapping Step 2 Connect
 The Five Cs of Wire Wrapping Step 1 The Circle
![]()
The premier place for all your jewelry making needs. The best in wire, tools, cabochons, gemstone beads and more. As well as a superior resource for educational support to help build your jewelry making skills and techniques.
Connect With Us

® 2007 - 2025 Wirejewelry.com Powered by ClaimTheWeb Cart