




Easy Ear Wires are Always an Option
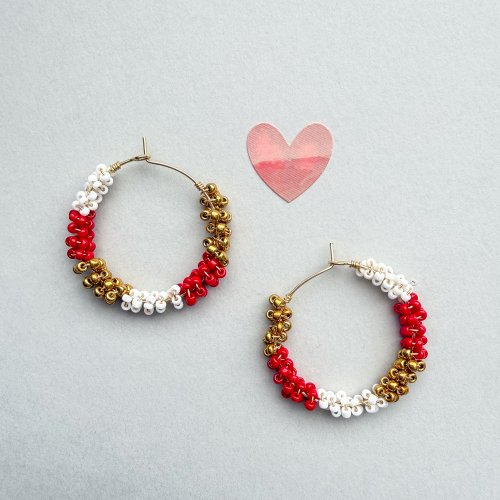
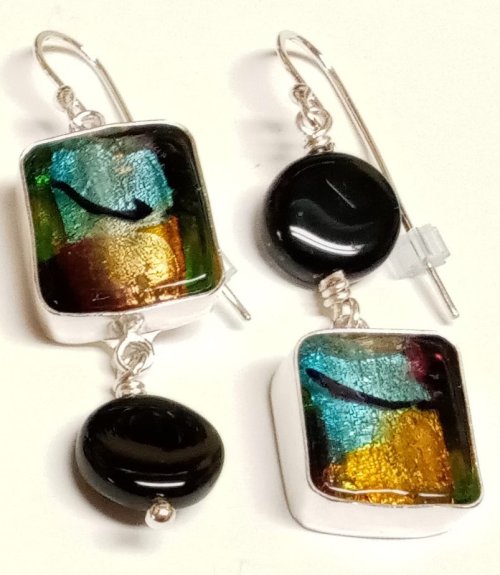
No more excuses when it comes to having plenty of ear wires around! Once you learn how easy it is to make your own ear wires, you'll have no reason to put off whipping up a pair of gorgeous earrings. Stop adding commercial ear wires to your beautiful designs. Ear wires can add another element of design to your handmade earrings. And it makes the entire design yours and yours alone. Plus, if you know how to make your own, you'll never find yourself unable to finish a pair of earrings.
No more excuses for running out of ear wires! Once you learn how easy it is to make your own, you'll never have to rely on commercial ones. Homemade ear wires add another design element to your earrings, making your creations uniquely yours. Plus, you'll always be able to finish a pair of earrings.
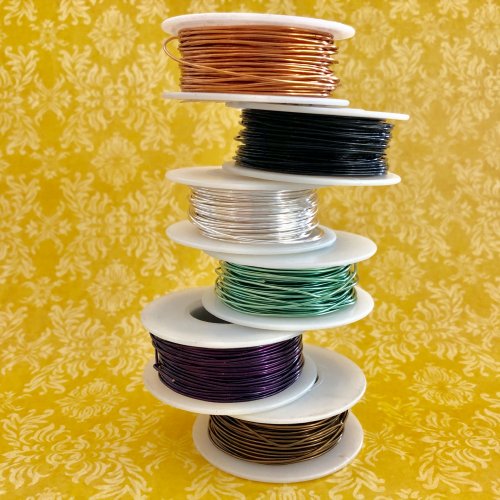
Ear wires can be made from any wire, but for customers with sensitive ears, stick with sterling or fine silver. Copper or bronze can cause reactions, so choose a precious metal when needed.
Use half-hard wire so your ear wires hold their shape. Soft wire, like craft wire, may be too flexible. You can strengthen ear wires by gently hammering the curve to work-harden them.
20-gauge wire is most common. 21- and 22-gauge wires can work if work-hardened. 18-gauge is possible but may be too thick for some ears.
These techniques don't require soldering just a few pliers, a wire cutter, and some household items. Once you master the basics, you can experiment with shaping and hammering. You can also work directly from your wire spool to avoid waste.
Mandrel pliers let you experiment with different ear wire shapes. Who said they have to be round? Squares, triangles, and ovals can make your earrings stand out.
Materials:
20-gauge wire
Tools:
Sharpie permanent marker or mandrel pliers
Flush cutters
Round nose pliers
Chain nose pliers OR combination pliers
Wire rounder or metal file
Step 1: Using round-nose or combination pliers, turn a small loop at the end of the wire. You don't have to cut it from the spool yet.
Ear wires can be made from any wire, but for customers with sensitive ears, stick with sterling or fine silver. Copper or bronze can cause reactions, so choose a precious metal when needed.
Use half-hard wire so your ear wires hold their shape. Soft wire, like craft wire, may be too flexible. You can strengthen ear wires by gently hammering the curve to work-harden them.
20-gauge wire is most common. 21- and 22-gauge wires can work if work-hardened. 18-gauge is possible but may be too thick for some ears.
These techniques don't require soldering just a few pliers, a wire cutter, and some household items. Once you master the basics, you can experiment with shaping and hammering. You can also work directly from your wire spool to avoid waste.
Mandrel pliers let you experiment with different ear wire shapes. Who said they have to be round? Squares, triangles, and ovals can make your earrings stand out.
Materials:
20-gauge wire
Tools:
Sharpie permanent marker or mandrel pliers
Flush cutters
Round nose pliers
Chain nose pliers OR combination pliers
Wire rounder or metal file
Step 1: Using round-nose or combination pliers, turn a small loop at the end of the wire. You don't have to cut it from the spool yet.

Step 2: Grasping the loop in your mandrel pliers, wrap the wire around the pliers. Alternately, wrap the wire around the Sharpie.

Step 3: Trim the wire. Use your round nose or combination pliers to make a slight 45 degree upward bend at the tip of the wire.
Repeat to make a second one.
Repeat to make a second one.

Step 4: Use the wire rounder to smooth the end of the wire that will go through the ear.
Alternatively, use a metal file to smooth it.
Alternatively, use a metal file to smooth it.

Materials

Wire by gauge
Tools

Wubbers Large Bail Making Pliers
G2-1303
- G2-1303
- Lesson Quantity: 1.00 pieces
- Purchase Quantity: 1.00 each
- Price: $27.97
- Gold Club Price: $20.98

WireJewelry - Ultimate Wire-Pliers Jewelry Pliers with Case, Set of 5
G15-20
- G15-20
- Lesson Quantity: 1.00 pieces
- Purchase Quantity: 1.00 each
- Price: $170.72
- Gold Club Price: $128.04

Wire Rounder Set, 3 pieces
G14-20
- G14-20
- Lesson Quantity: 1.00 pieces
- Purchase Quantity: 1.00 each
- Price: $13.95
- Gold Club Price: $10.46
Supply Detail
loading...
Change Metal:
This Article requires:
Purchase quantity:
Price: $
Gold Club Price: $
Purchase quantity:
Price: $
Gold Club Price: $
- Category: General Education
- Technique(s): Wrapping

Jennifer VanBenschoten
Other Articles by Jennifer VanBenschoten
 Kitchen Patinas
 Making Perfect Wire Loops
 How to Choose the Best Clasp for Your Project
 What to Know Before Starting Your Handmade Jewelry Business
 Using Copper Washers for Jewelry

The premier place for all your jewelry making needs. The best in wire, tools, cabochons, gemstone beads and more. As well as a superior resource for educational support to help build your jewelry making skills and techniques.
Connect With Us

® 2007 - 2026 Wirejewelry.com Powered by ClaimTheWeb Cart