







Wire Roses
- Category: Design
- Technique(s): Making Spirals, Texturing, Twisting
- Skill Level: Beginner
Natalie Patten shares a simple technique for creating beautiful wire roses that can be used in all kinds of jewelry designs. Made from a single piece of wire, these floral components are easy to customize with different colors and wire sizes, making every rose one of a kind.
It's a creative way to add timeless floral charm to your handmade pieces.
It's a creative way to add timeless floral charm to your handmade pieces.
Materials

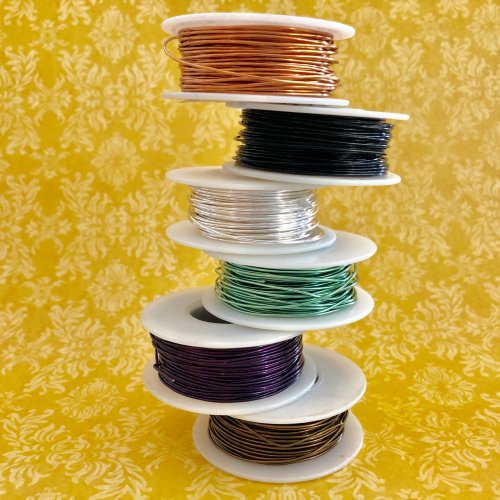
21 Gauge Round Dead Soft Copper Wire
H11-21D
- Lesson Quantity: 5.00 feet
- Purchase Quantity: 1.00 5FT
- Price: $1.45
- Gold Club Price: $1.09

Or choose your option of wire. Suggested gauges 21 AWG, 18 AWG or 16 AWG

Red Creek Jasper 10mm Round Beads - 8 Inch Strand
A1-384
- Lesson Quantity: 2.00 pieces
- Purchase Quantity: 1.00 each
- Price: $8.40
- Gold Club Price: $6.30

Red Creek Jasper 8mm Round Large Hole Beads - 8 Inch Strand
A1-668
- Lesson Quantity: 5.00 pieces
- Purchase Quantity: 1.00 each
- Price: $11.55
- Gold Club Price: $8.66

Wide variety of Beads - many shapes, sizes and materials

Gold Filled Ball & Coil Earwire 22mm - Pack of 2
J19-19
- Lesson Quantity: 2.00 pieces
- Purchase Quantity: 1.00 each
- Price: $8.40
- Gold Club Price: $6.30

Findings - Variety of ear wires and clasps to choose from
Findings - Variety of ear wires and clasps to choose from
Tools

Round Nose Wire Pliers
G2-507
- G2-507
- Lesson Quantity: 1.00 pieces
- Purchase Quantity: 1.00 each
- Price: $32.95
- Gold Club Price: $24.71

Chain Nose Wire Pliers
G2-508
- G2-508
- Lesson Quantity: 1.00 pieces
- Purchase Quantity: 1.00 each
- Price: $32.95
- Gold Club Price: $24.71
Chain Nose Wire Pliers
G2-508
- G2-508
- Lesson Quantity: 1.00 pieces
- Purchase Quantity: 1.00 each
- Price: $32.95
- Gold Club Price: $24.71

Xuron Flush Cutter - Pack of 1
G2-504
- G2-504
- Lesson Quantity: 1.00 pieces
- Purchase Quantity: 1.00 each
- Price: $29.95
- Gold Club Price: $22.46

20 X 15 Inch Padded Work Mat
MAT-620.00
- MAT-620.00
- Lesson Quantity: 1.00 pieces
- Purchase Quantity: 1.00 each
- Price: $14.95
- Gold Club Price: $11.21

5 1/2 Inch Nylon Flat Jaw Pliers with Replacement Jaws
G2-1
- G2-1
- Lesson Quantity: 1.00 pieces
- Purchase Quantity: 1.00 each
- Price: $9.97
- Gold Club Price: $7.48

Chasing Hammer with Wooden Handle, 1 1/8 Inch Face
G3-27
- G3-27
- Lesson Quantity: 1.00 pieces
- Purchase Quantity: 1.00 each
- Price: $13.95
- Gold Club Price: $10.46

Bench Blocks - 130 X 130 X 20
DUR-1187
- DUR-1187
- Lesson Quantity: 1.00 pieces
- Purchase Quantity: 1.00 each
- Price: $66.67
- Gold Club Price: $50.00
Optional Tools

WireJewelry - Ultimate Wire-Pliers Jewelry Pliers with Case, Set of 5
G15-20
- Lesson Quantity: 1.00 pieces
- Purchase Quantity: 1.00 each
- Price: $170.72
- Gold Club Price: $128.04
Instructions
Step 1
Create beautiful flower rose style components to add in to a variety of jewellery pieces from charms, earrings, brooches, necklaces, bracelets or even a ring!
To form the wire rose, begin with at least 12 inches of wire. This length is enough to create a small rose. Using a longer piece of wire will allow you to form more petals and create a larger rose.
Straighten the wire using wire straighteners or nylon-jaw pliers before you begin shaping the rose.
To form the wire rose, begin with at least 12 inches of wire. This length is enough to create a small rose. Using a longer piece of wire will allow you to form more petals and create a larger rose.
Straighten the wire using wire straighteners or nylon-jaw pliers before you begin shaping the rose.

Step 2
Hold the wire in the centre with your round nose pliers.

Step 3
Cross the wires over to form a loop around the jaw of the plier.

Step 4
Bring one of the wires up to a vertical position.

Step 5
Position the other in a downwards direction to interlock them.

Step 6
Rotate the wires so that they are now travelling horizontally.

Step 7
Move the one wire all the way around towards the back of the other wire.

Step 8
Move the wires as though they are the hands of a clock, bending them to form right angles. Alternate the movement of each wire, passing one behind the other to create a series of interlocking, spiraling petals.

Step 9
Continue to hold the base of rose in place by keeping the round nose pliers inside of the loop at the back as you shape the rotating wires at the front.

Step 10
Each time the wires form a right angle, swap to the other wire and move this one around the back of the other wire. This will create interlocking spirals that will start to form the petals of the rose.

Step 11
The spirals will move outward causing the form of the rose to take shape and grow. The distance and angle between the wires will determine how compact the petals form.
Continue with this movement of the wires until you have formed a rose to the size you would like.
Continue with this movement of the wires until you have formed a rose to the size you would like.


Step 12
When you are happy with the size of your wire rose, remove it from the round-nose pliers and turn it over to reveal the back. The loop formed around the pliers can be used as an anchor point if you wish to use the rose as a charm. It also provides a convenient point for securing the wire ends.

Step 13
To use your wire rose as a connector, the excess wires that have not formed the petals can be positioned to form connecting points in the component to attach into your jewellery piece as required.
Making your wire rose into a double ended connector enables you to add them in to chain links for bracelets or necklaces.
Making your wire rose into a double ended connector enables you to add them in to chain links for bracelets or necklaces.


Step 14
To use your wire rose as a charm or earring component with only one connecting point, cut the wire that travels along the back leaving a short tail end that can be used to lock the rose in place.
Using the round nose pliers, curve this cut wire into the loop that was formed around the round nose pliers and tuck it in firmly to lock into place inside the back of the rose.
Using the round nose pliers, curve this cut wire into the loop that was formed around the round nose pliers and tuck it in firmly to lock into place inside the back of the rose.


Step 15
Straighten the remaining wire in an upwards direction so that it is positioned vertically at the top of the rose.
Turn the rose to the front, to ensure you are happy with the positioning of this vertical wire as this will be used as the connecting point for your charm.
Turn the rose to the front, to ensure you are happy with the positioning of this vertical wire as this will be used as the connecting point for your charm.


Step 16
A bead can be added to this wire if desired.

Step 17
Create a connecting loop at the top of the rose or bead above it.
To form a wrapped loop, leave a small space below the loop.
Use the tail end of the wire to wrap around to fill the space.
Cut off the excess wire and tuck the end in firmly to the wrapped loop.
To form a wrapped loop, leave a small space below the loop.
Use the tail end of the wire to wrap around to fill the space.
Cut off the excess wire and tuck the end in firmly to the wrapped loop.


Step 18
You have now created a rose charm that can be worn as a pendant or attached to an earring hook.
Pro Tip: If creating earrings with your wire roses or multiple roses, form both roses at the same time to keep the size consistent.


Step 19
The petals can be hammered to flatten the rose and create different textures.
This texturing can be done with the hammer and block after the initial shaping of the rose but note that the initial loop formed around the round nose pliers will be flattened also.
This texturing can be done with the hammer and block after the initial shaping of the rose but note that the initial loop formed around the round nose pliers will be flattened also.


Step 20
The remaining wires from the rose can be used to form connecting points as before to create focal points in necklaces.

Step 21
To finish a hammered wire rose, with just one connecting point, cut off the wire that runs across the back of the rose.
Press this cut end of wire in firmly to the rose so that it sits flat.
Press this cut end of wire in firmly to the rose so that it sits flat.


Step 22
Straighten the remaining wire, so that it is positioned at the top of the rose.
Cut the wire leaving approximately 1cm and turn a loop in the direction you would like it to be positioned.
Cut the wire leaving approximately 1cm and turn a loop in the direction you would like it to be positioned.


Step 23
Turn you charms into earrings by attaching them to your favourite earring hooks.

Step 24
DESIGN SUGGESTION
This design technique can also be adapted easily into a ring, by using a ring mandrel instead of round nose pliers when initially forming the rose.
Step 25
COMPLETED WIRE ROSE PROJECTS


Supply Detail
loading...
Change Metal:
This Pattern requires:
Purchase quantity:
Price: $
Gold Club Price: $
Purchase quantity:
Price: $
Gold Club Price: $

Natalie Patten
Other Patterns by Natalie Patten
 French Hook Ear Wires
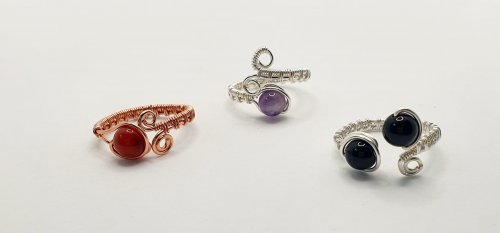 Adjustable Wire Wrapped Ring with Gemstone Bead
 Top Drilled Stone Pendant
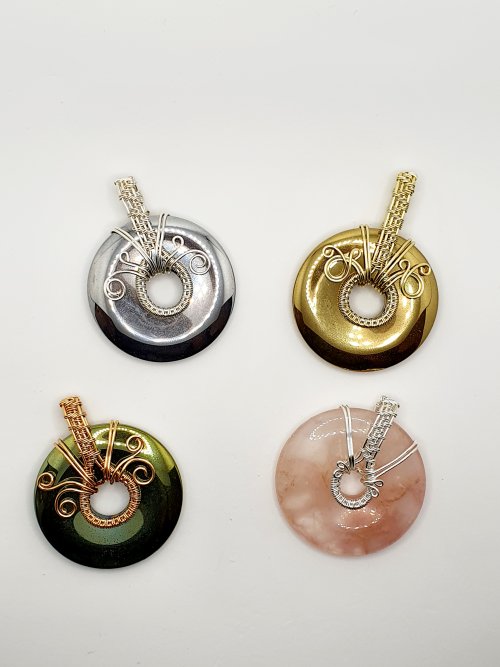 Wire Wrapped Donut Pendant
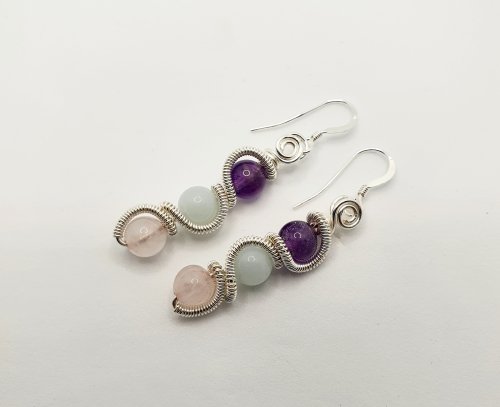 Coiled Wrap Bead Earrings
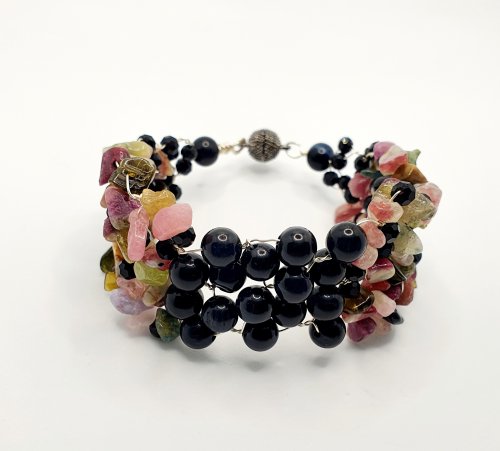 Gemstone Chip and Wire Cuff Bracelet
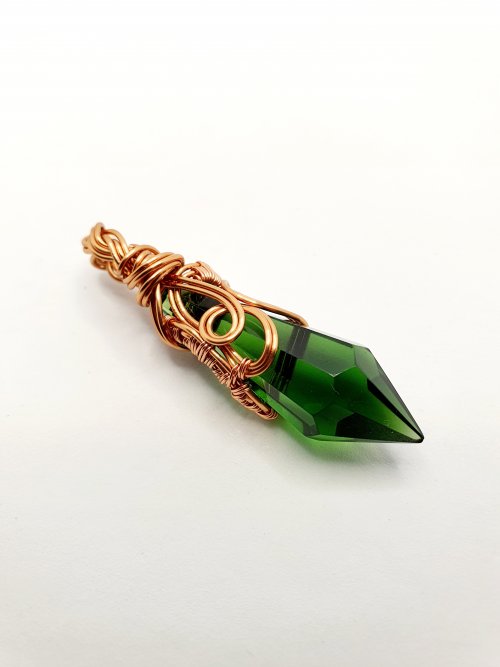 Wire Wrap a Chandelier Crystal
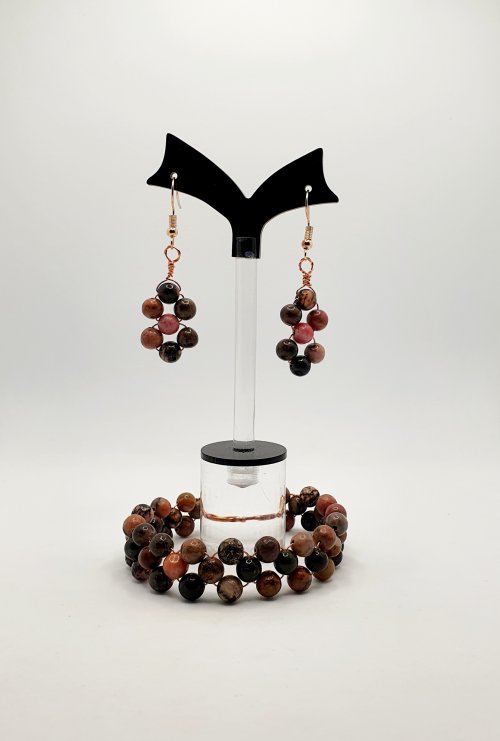 Beaded Wire Jewelry Set
 Braided Wire Cuff
 Classic Wrap Pumpkin Pendant
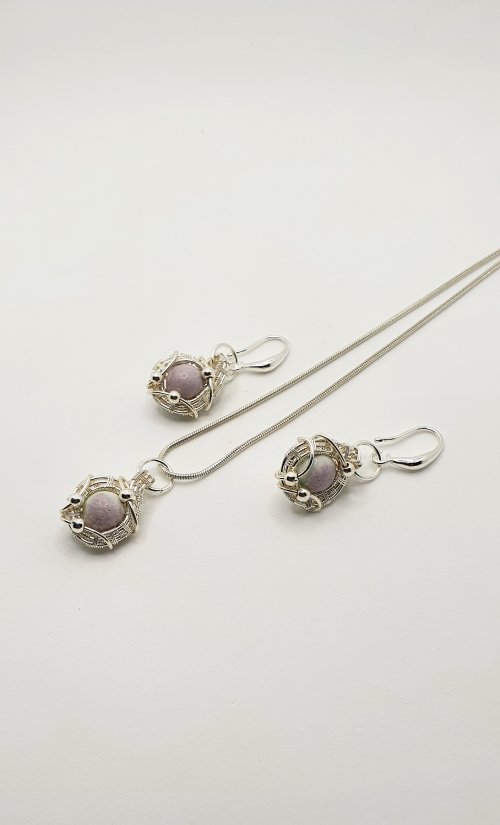 Woven Wire Pendant and Earrings Set
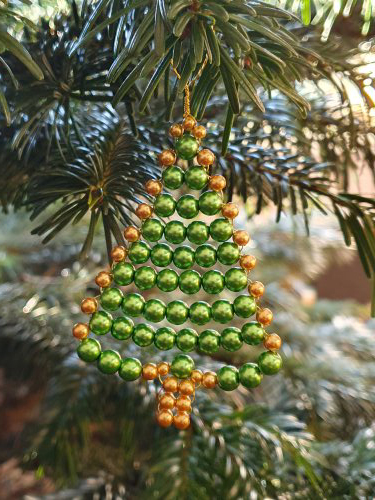 Beaded Wire Christmas Tree Ornament
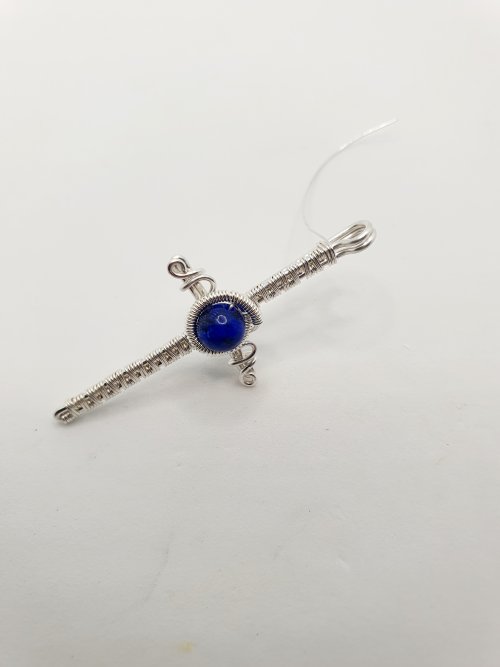 Woven Wire Cross Pendant
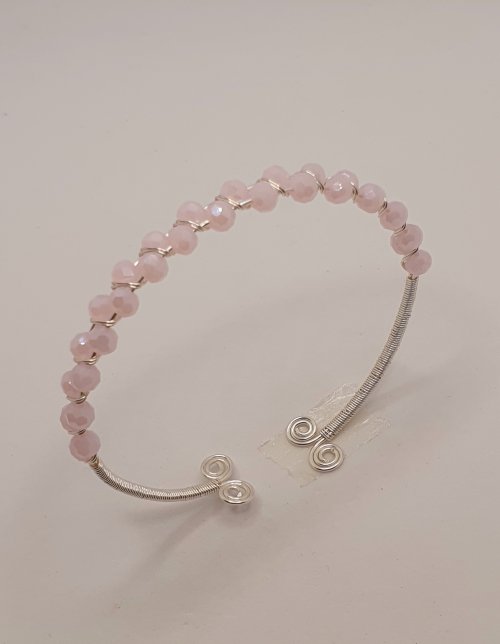 Adjustable Beaded Wire Bracelet
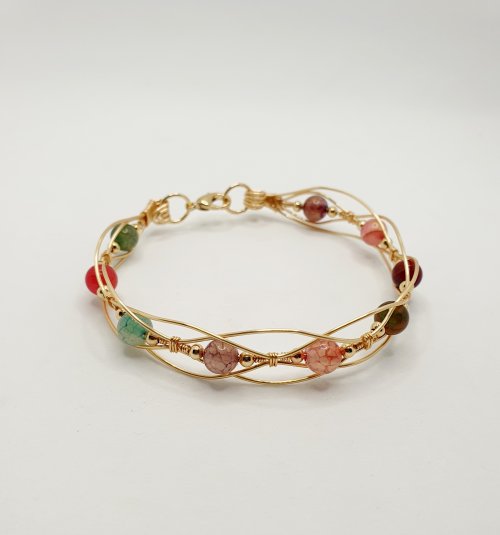 Beaded Wire Bracelet
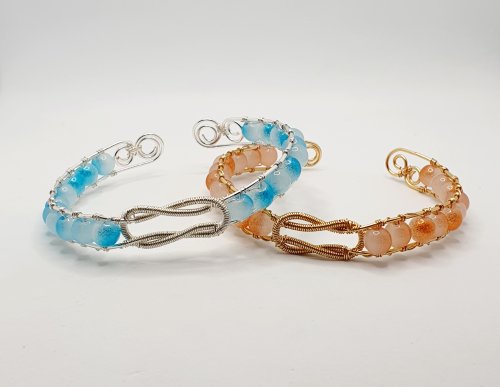 Interlocking Coil Bangle
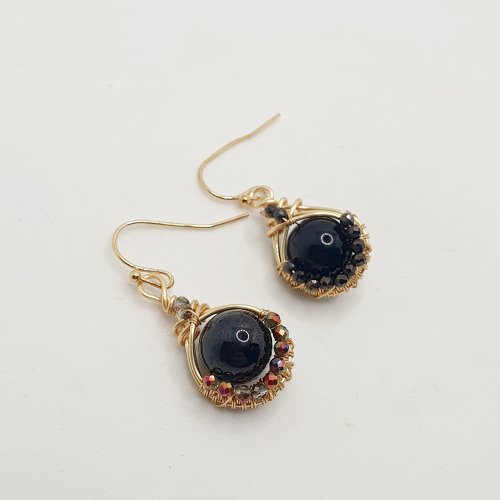 Bead and Micro-Crystal Wire Earrings
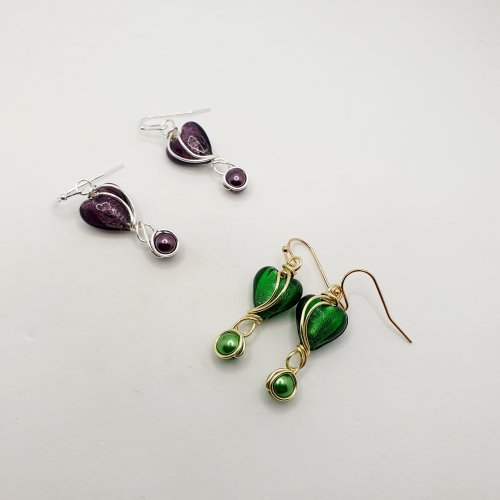 Valentine Heart Wire Earrings
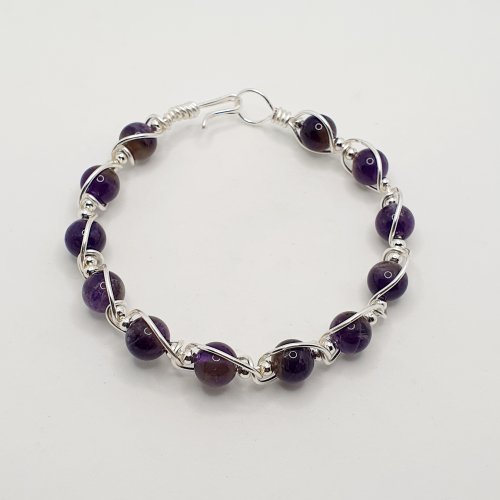 Gemstone and Spacer Bead Bangle
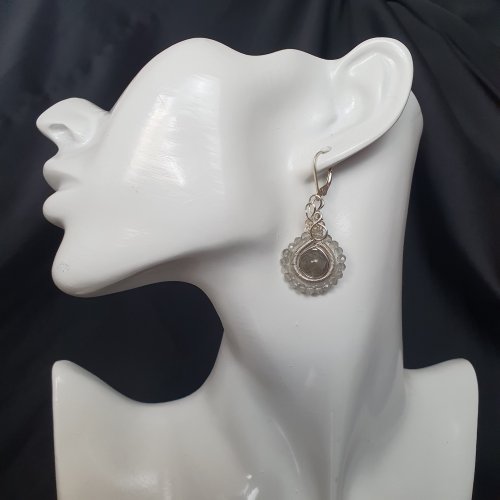 Coiled Wire Earrings
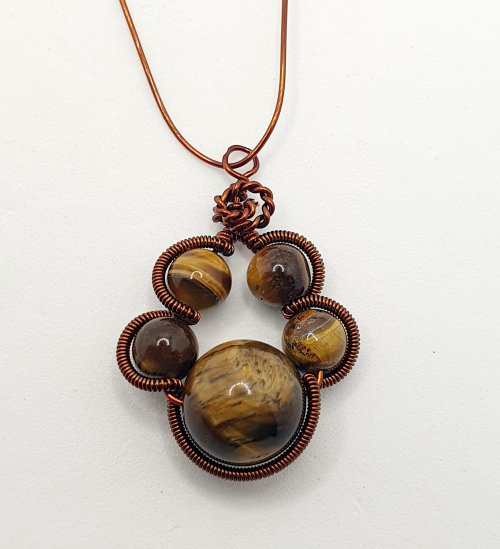 Pawprint Pendant and Earrings
 Right Angle Weave Wire Earrings
 Wire-filled Heart Earrings
 Wire Flower Component
 Woven Wire Wrapped Cabochon Ring
 Wire Beaded Bangle
 Adjustable Wire Wrapped Cocktail Ring
 Beaded Coiled Wire Beads
 Beaded Wire Bracelet
 Beaded Flowery Wire Bracelet
 Beaded Wire Cross
 Wire Caged Beads
 Delicate Wire and Chain Bracelet
 Bead and Wire Bracelet with Attached Clasp
 Spiral Chain Maille
 Graduated Bead Component
 Beaded Flower Connector
 Bead and Wire Circular Component
 Simple Beaded Bangle Bracelet
 Channel-set Beaded Cuff Bracelet
 Birds Nest Pendant
 Byzantine Chainmaille Earrings
 Lotus Pendant
 Romanov Chainmaille Pendant
 Planet Jewellery
 Herringbone Weave Connectors
 Shoot For the Stars Earrings
 Chain Tassel Earrings
 Byzantine Diamond Chainmaille
 Herringbone Memory Wrap Wire Bangle
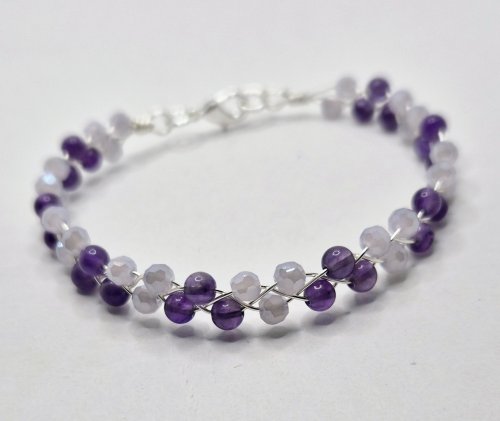 Braided Bracelet
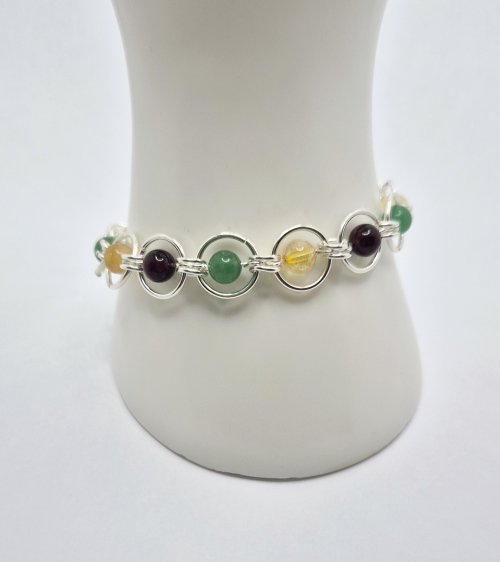 Fall Into Chainmaille
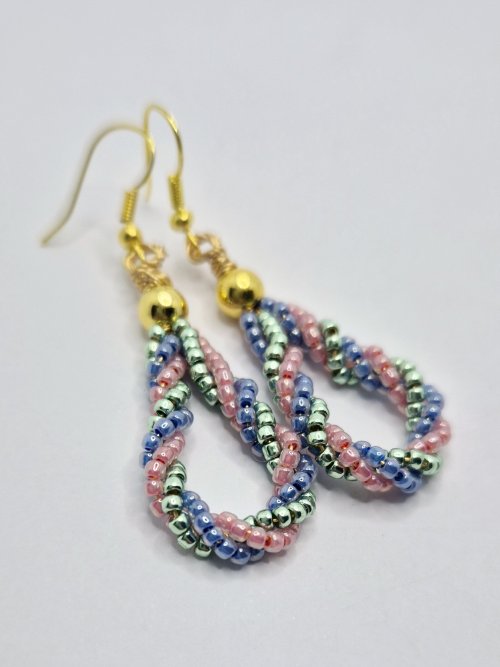 Twisted Seedbead Earrings
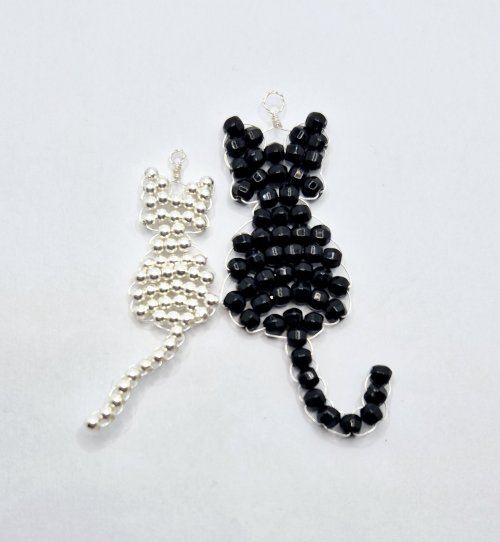 The Purrfect Feline Pendant
 Right Angle Weave Memory Bangle
 Beaded Festive Angel
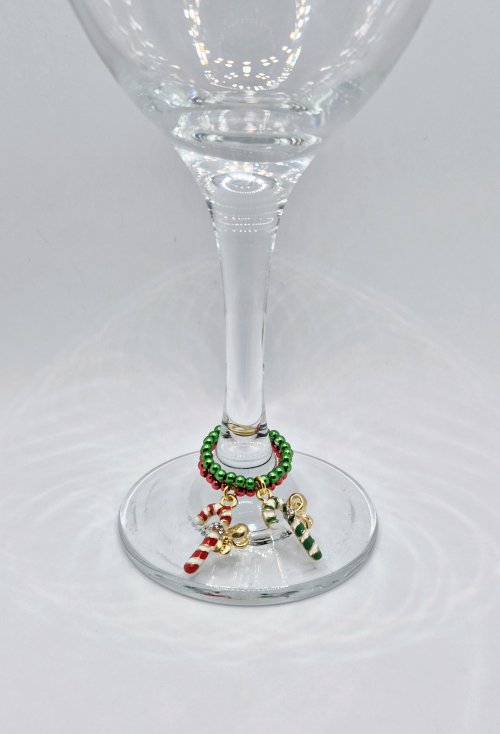 Festive Glass Charms
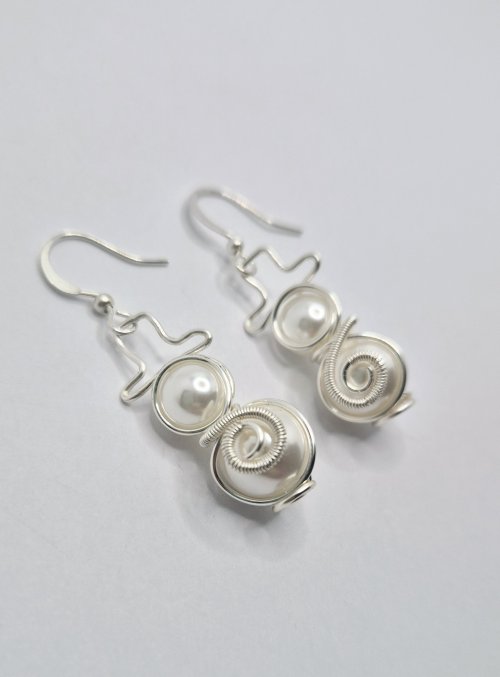 Wire Snowmen
 Half Wrist Wrap Bracelet
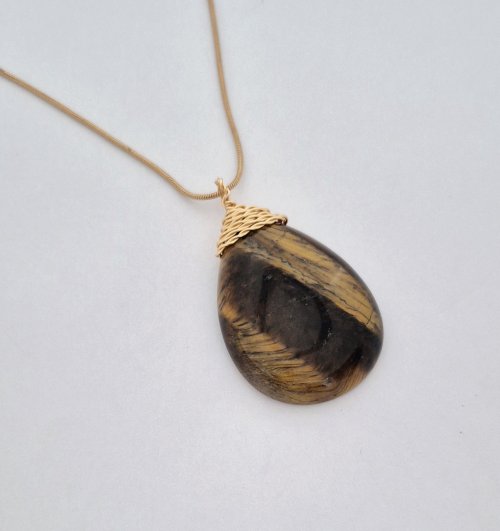 Twisted Briolette Wrap Bail
 Wrapped Loop Charm Bramble
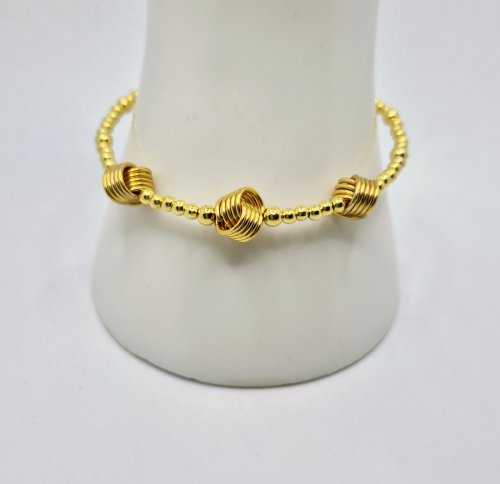 Love Knot Bead Components
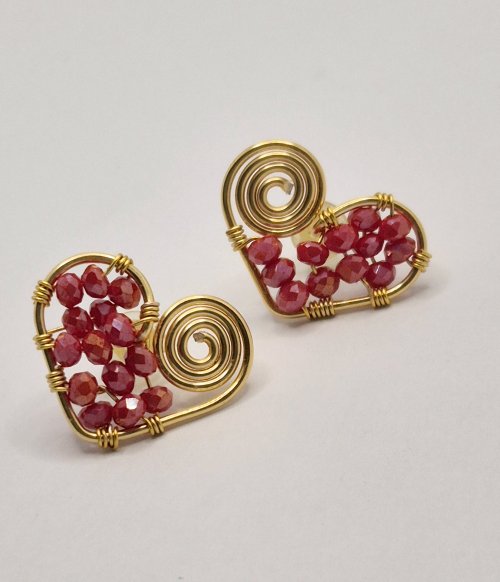 Filled Heart Earrings
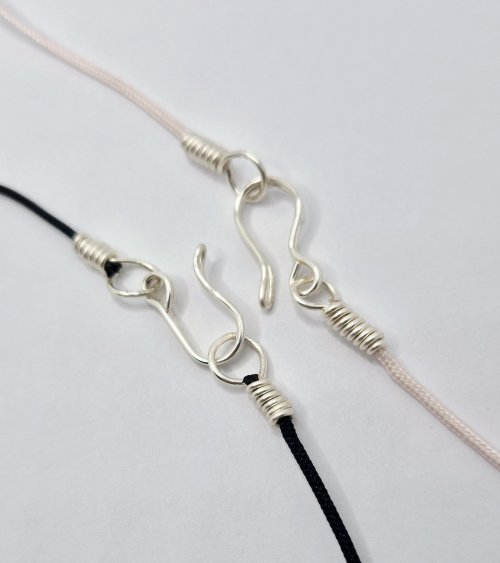 Cord ends and Clasp
 Chain Net Cage Pendant
 Adjustable Cup Chain Ring
 Double Herringbone Wire Wrap

The premier place for all your jewelry making needs. The best in wire, tools, cabochons, gemstone beads and more. As well as a superior resource for educational support to help build your jewelry making skills and techniques.
Connect With Us

® 2007 - 2026 Wirejewelry.com Powered by ClaimTheWeb Cart