- NEW DVD Series – Stone Setting with Bezels
- Tube Set Charm by Kim St. Jean
- Prong Basket Pendant by Kim St. Jean
- NEW DVD Series – Stone Setting with Cold Connections
- New DVD Series – Stone Setting with Wire
- NEW DVD Series: Introduction to Stone Setting by Kim St. Jean
- Featured Tool: Bracelet Bending Plier
- NEW Dvd by Eva Sherman
- Fun, Fast Fold Forming DVD Series
- Double Band Ear Cuff from Alex Simkin
Free Pattern: Embellished Hook Clasp by Abby Hook
by Judy Ellis, Wirejewelry.com
Wire Jewelry Pattern for August 10th, 2017
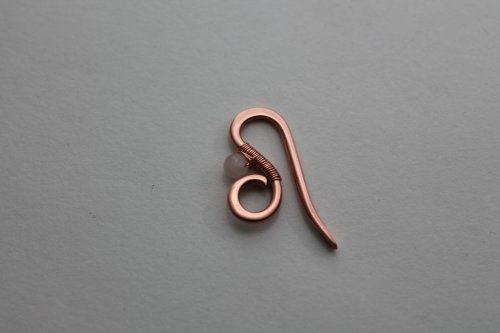
Embellished Hook Clasp
by Abby Hook
Being able to make your own components for your jewelry not only makes the item truly handmade, it also means that you can co-ordinate your jewelry as well as using up all those scraps of wire!
This is a very robust clasp and yet due to its sleekness is also very stylish!
This clasp measures 1” from the top of the curve to the bottom of the loop and 1/2” wide.
Materials:
- 28 Gauge Round Dead Soft Copper Wire (Pattern Quantity 12 Inches, Product ID: H11-28D)
- 12 Gauge Round Dead Soft Copper Wire (Pattern Quantity 3 Inches, Product ID: H11-12D)
- Amethyst 4mm Round Beads – 8 Inch Strand (Pattern Quantity 1 Piece, Product ID: A1-634)
Tools:
- Chain Nose Wire Plier (Pattern Quantity 1 Pieces, Product ID: G2-508)
- Round Nose Wire Plier (Pattern Quantity 1 Pieces, Product ID: G2-507)
- Flat Nose Nylon Flat Jaw With Spring (Pattern Quantity 1 Pieces, Product ID: PLR-831.00)
- C.H.P Milano Italian Flush Cutter, 5 1/2 Inches (Pattern Quantity 1 Pieces, Product ID: PLR-487.00)
- Steel and Rubber Bench Block 2X2 Inches (Pattern Quantity 1 Pieces, Product ID: G17-22)
- Flat Face Chasing Hammer (Pattern Quantity 1 Pieces, Product ID: HAM-161.00)
- 6 Piece Assorted File Set with Wooden Handle (Pattern Quantity 1 Pieces, Product ID: G14-7)
Directions:
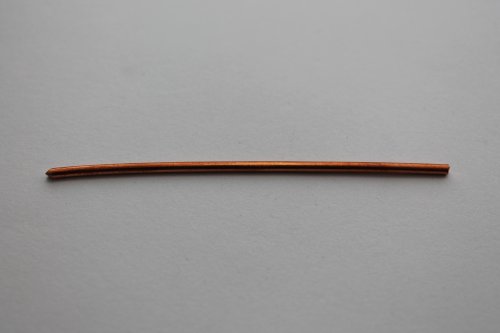
Step 1: Cut a 3” length of 12 gauge wire. Straighten by grasping one end with the chain nose pliers and pulling the length through the nylon jaw pliers a couple of times.
Tip: Check that your tools (especially your wire cutters) are suitable to use with 12 gauge (2mm) wire before starting, so that you do not damage them.
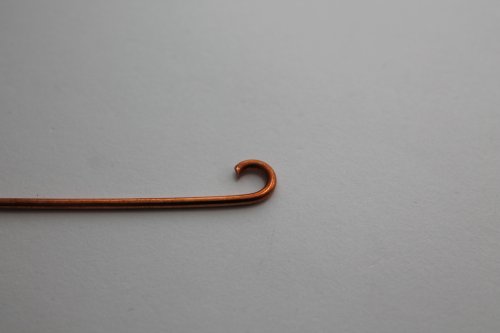
Step 2: Hold one end of the wire with the round-nose pliers and guide the wire around the jaw with your thumb on your less dominant hand.
Tip: Be careful when working with heavy gauge wire which, due to its thickness, is more difficult to shape than thinner gauges. You need to make sure that you do not strain your hands and wrists. Do not over stretch: re-position your tools often, rather than over turning your wrist.
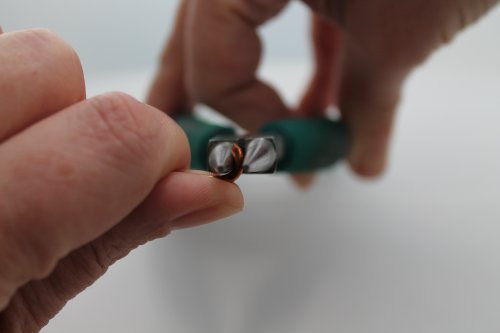
Notice how the loop is currently more egg shaped than round.
Step 3: Snip the corner off the wire by holding the wire cutters at a 90° angle to the straight wire as shown.
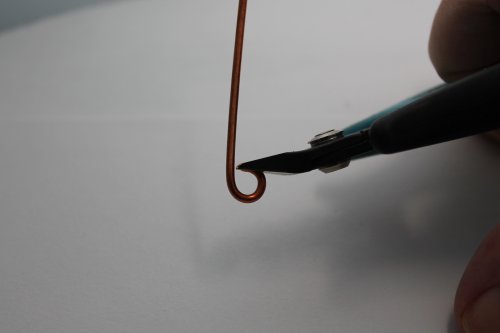
Notice how there is a tapered edge on the end of the wire now.
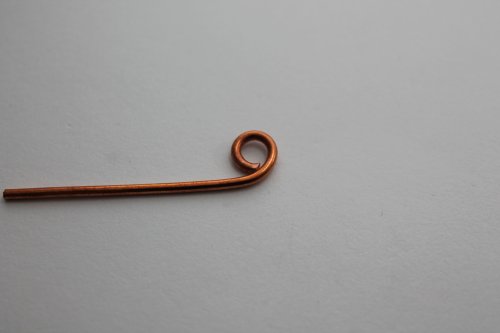
File the wire end smooth. Close the loop to make it round.
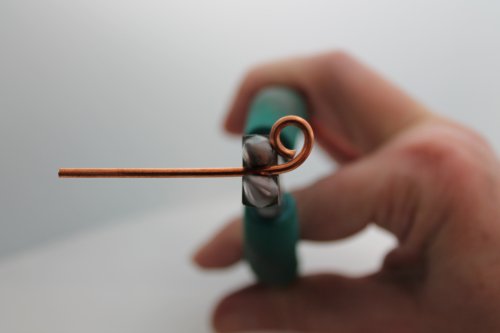
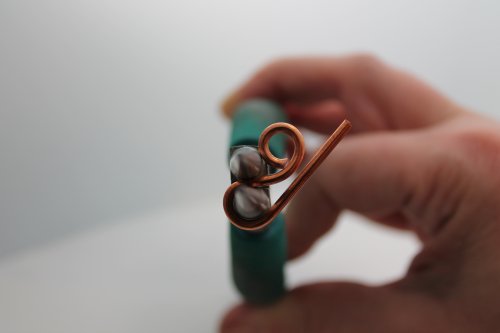
Step 4: Grasp the wire with the round nose pliers with the thickest part of the jaws, just after the loop.
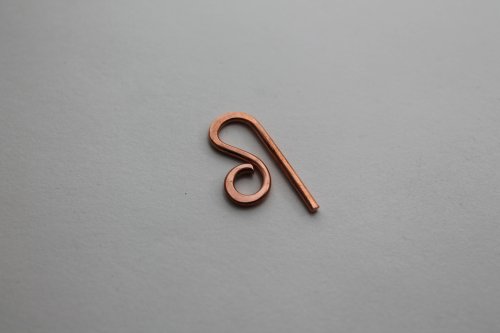
Shape the wire around the jaw, forming a hook.
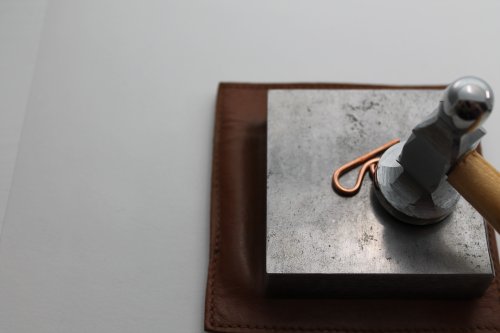
Step 5: The clasp is hammered not only to add contrast in textures but also to harden the metal. Lay the clasp on your bench block or anvil and carefully hammer the outer edge of the loop
Notice how hammering the outer edge increases the length thus forcing the loop to tighten. If you were to hammer the inner edge, the loop would open.
Also hammer the curve of the hook. This time keeping the hammer head perfectly flat, so that the whole face of the wire is hammered evenly.
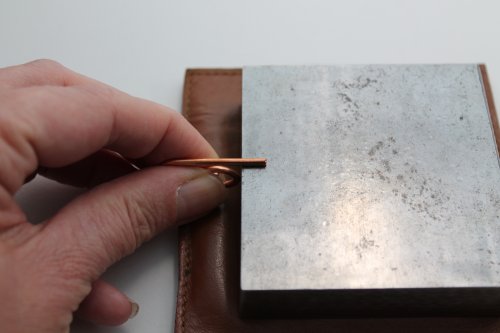
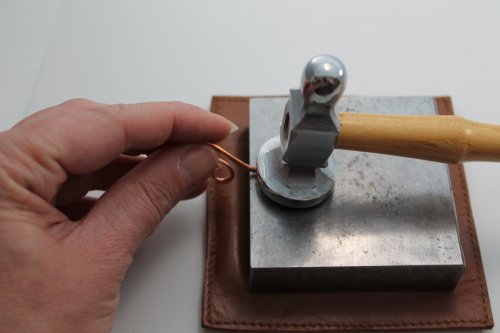
Step 6: Position the end of the wire at a 90° angle to the bench block and carefully hammer the end so that it flares outwards.
Also carefully bend the hook upwards as you hammer to create a gentle curve in the hook.
Step 7: Using the file, shape the end into a smooth curve.
Starting with the roughest grit, sand any filing or tool marks out of the wire. Work each successive grit in the opposite direction to the previous one.
The clasp can be used like this or continue following the steps to embellish it.
Step 8: If you would like to add some color to the clasp, coordinating it with your jewelry, follow the next steps.
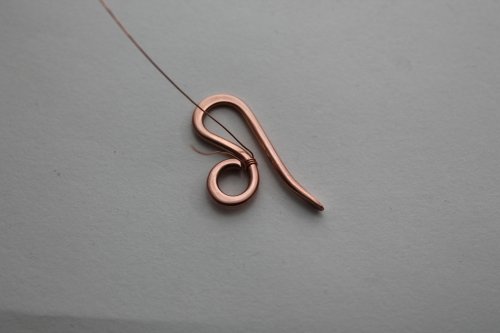
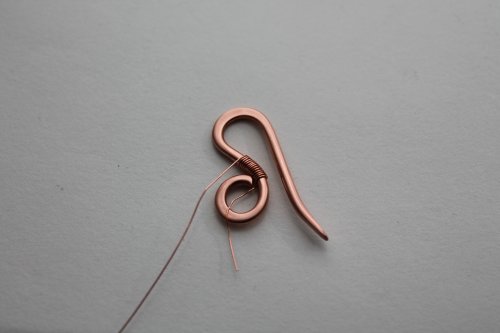
Cut a piece of 28 gauge wire 15” long and attach it to the clasp by coiling 3 times, just after the loop, leaving a 1” tail to hold onto.
Coil another 10 times.
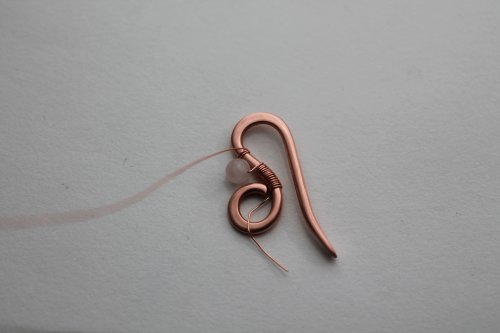
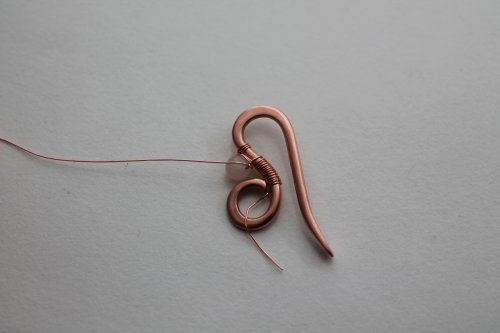
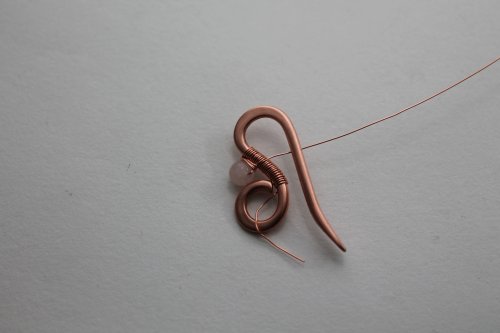
Step 9: Thread a 4mm bead onto the 28 gauge wire and coil the clasp 3 times to secure the bead in place.
Step 10: To hold the bead firmly in place, wrap the base of the bead 3 times, pulling tightly.
Coil underneath the bead 8 times to fill the gap in the existing coils.
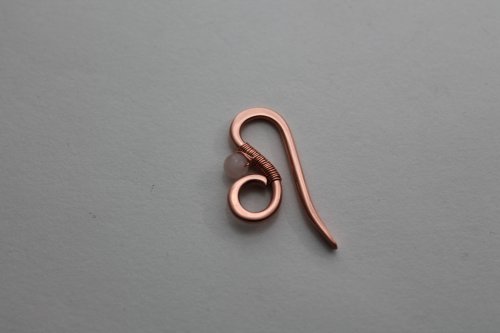
Trim the 28 gauge wire so that the end is on the outer edge of the clasp and tuck in by carefully grasping the frame with the chain nose pliers and using a twisting motion, in the same direction as the coils, flattening the 28 gauge wire against the frame, securing it in place.
You are done!
Happy Wrapping!
![]()
Click to Receive Daily Tips by Email







0 comments