- NEW DVD Series – Stone Setting with Bezels
- Tube Set Charm by Kim St. Jean
- Prong Basket Pendant by Kim St. Jean
- NEW DVD Series – Stone Setting with Cold Connections
- New DVD Series – Stone Setting with Wire
- NEW DVD Series: Introduction to Stone Setting by Kim St. Jean
- Featured Tool: Bracelet Bending Plier
- NEW Dvd by Eva Sherman
- Fun, Fast Fold Forming DVD Series
- Double Band Ear Cuff from Alex Simkin
Three Easy Headpins from Wire! By Denise Peck
by Judy Ellis, Wirejewelry.com
Wire Jewelry Tip for July 18th, 2017
Three Easy Headpins from Wire!
by Denise Peck
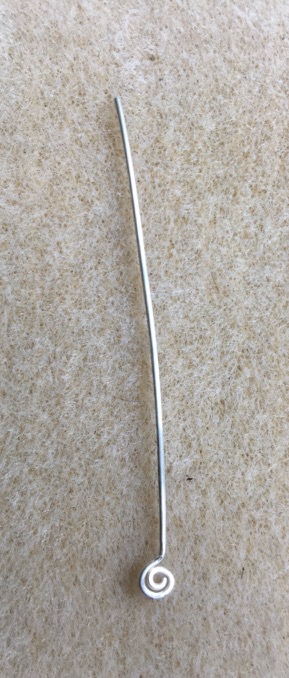
Using a handmade finding can mean the difference between a good design and a great design. And it’s always good to have the skill of improvising, if you find yourself suddenly out of a key component. Headpins are a staple in jewelry design, but one of the more utilitarian. So why not learn to make your own? Here’s three simple ways to create handmade headpins. Use any gauge wire, depending upon the hole size in your beads. Most headpins are 18g- 20g. And half hard wire will hold its shape best.
- Hammered
Cut the wire to whatever length you need for your headpin, then, use a ball peen hammer to flatten one end into a paddle that’s wide enough to hold your beads.
- Pinched
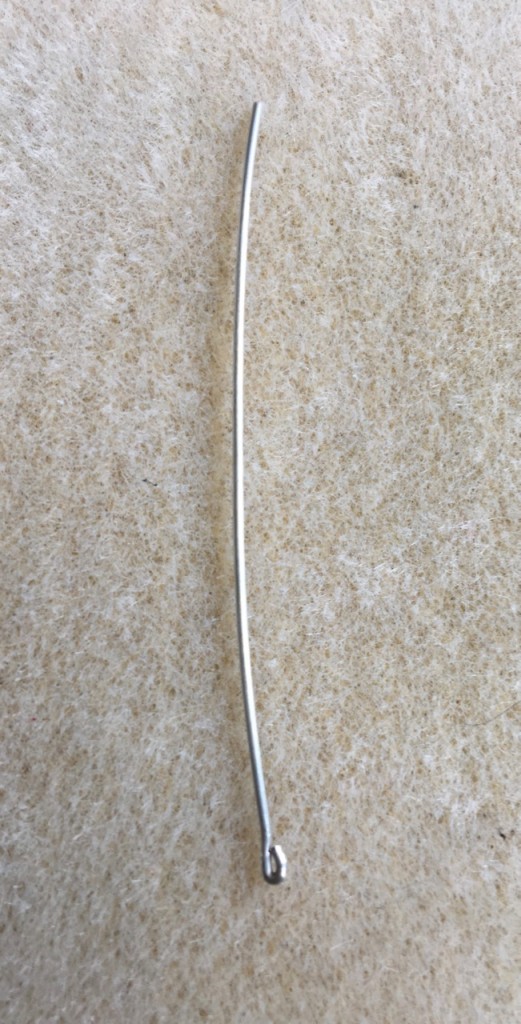
Cut the wire to the length you need, then use the tip of your round-nose pliers to turn the tip of the wire on itself. Use chain-nose pliers to squeeze the turn tightly to create a stopper tip on your headpin.
- Tiny Simple Loop
Cut the wire to the length you need and use the tip of your round-nose pliers to create a tiny simple loop at the one end.
Happy Wrapping!
![]()
Click to Receive Daily Tips by Email


julie
July 18, 2017 at 7:40 am
Awesome ideas…thank you so much for the tip.
Brian
July 18, 2017 at 7:52 am
Great tip thank you x