- NEW DVD Series – Stone Setting with Bezels
- Tube Set Charm by Kim St. Jean
- Prong Basket Pendant by Kim St. Jean
- NEW DVD Series – Stone Setting with Cold Connections
- New DVD Series – Stone Setting with Wire
- NEW DVD Series: Introduction to Stone Setting by Kim St. Jean
- Featured Tool: Bracelet Bending Plier
- NEW Dvd by Eva Sherman
- Fun, Fast Fold Forming DVD Series
- Double Band Ear Cuff from Alex Simkin
Making Pendant Bails with Craft Wire
by Judy Ellis, Wirejewelry.com
Wire Jewelry Tip for October 26th 2016
Two Tips for Making Pendant Bails with Craft Wire
by Judy Larson
Today we have two short tips about making a pendant bail using craft wire. I love sharing this helpful tips with you from our amazing contributors! Enjoy!
Judy Says:
Working with craft wire can present challenges not faced when using sterling, argentium or gold wire. Craft wire is much softer, making it easier to work with, but at the same time, making it difficult to keep wire ends not tucked into the project in place.
This is especially true when wire wrapping a bail using half round craft wire. My solution is to double wrap the bail and tuck the wrap wire end in, which also creates a smooth surface to the bail. Doing this means that your wrap wire ends will never pull away from your project.
Tip 1:
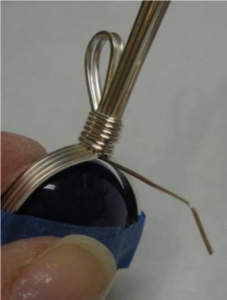
Step 1: Using painters tape, secure all the wire ends together. Temporarily secure the cabochon in the bezel with painters tape. This will keep your bezel wires from distorting while you work on the bail. It will also keep you bezel from becoming too small.
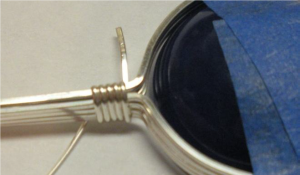
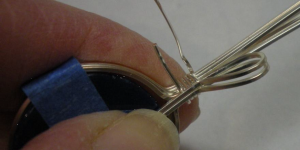
Step 2: Make a hook about 1″ from the end of the half round wire. The bend should be wide enough to accommodate two thicknesses of square wire. Position the hook at the base of the straight wires with the cut end toward the back and the bend on the front of the assembly. Going UP the bail, wrap tightly around the square wires, using a soft jaw pliers to set the half round wire in place after each wrap, until there are 5 wraps showing in the front. Try not to overlap the wraps but have them nestle tightly side by side. DO NOT CUT THE WRAP WIRE OFF!
Step 3: Remove the tape from the bail wires. Pull the back two (or however many you need to) wires slightly away from the bundle.
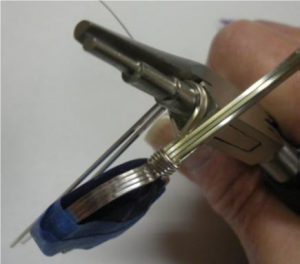
Step 4: Using the largest section of a 3-step pliers, grasp the two separated wires about ½” up from the last wrap. Bend the wires around the plier barrel as shown until they touch the back of the cabochon.
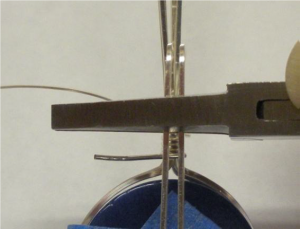
Step 5: Make a 30° bend in the bail wires about 1/8″ up from the last wrap. You will need to hold the assembly up at eye level and “eyeball” where to place your pliers for the bend.
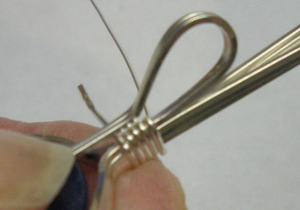
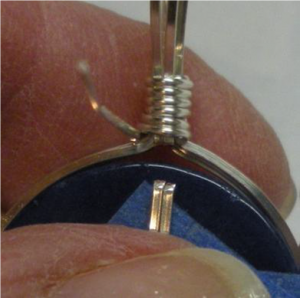
Step 6: Make sure that the wrap wires are underneath the bent bail wires on the back of the assembly (see above photo). Hold the bail wires tightly against the cabochon. Using the long wrap wire, wrap going DOWN the bail toward the cabochon. Wrap tightly over the bail wires and previously wrapped section, securing the bail wires tightly to the assembly. Use a soft jaw pliers to set the half round wire in place after each wrap. Try not to overlap the wraps but to have them nestle tightly side by side. Trim the lower wrap wire off close to the bail wires after three wraps down the bail have been made. You will over up this cut end with your final wraps down the bail.
Step 7: Trim the bail wires off below and flush with the last wrap. (Below, find out how to avoid the bail wires pulling out of the wrap.)
Step 8: Slip the wrap wire tail between the cabochon and bezel just under the last wrap, going from the back to the front of the bezel. Pull the wire tightly to the front. Trim the half round wrap wire even with or slightly inside the outer edge of the bezel wires. When you remove the tape holding the cabochon in place, push the half round wire wire up into the wrapped bail between the sandwiched square wires.
Tip 2:
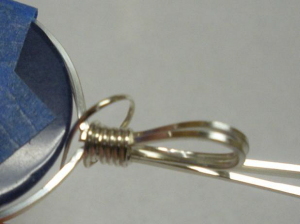
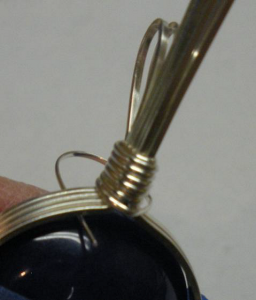
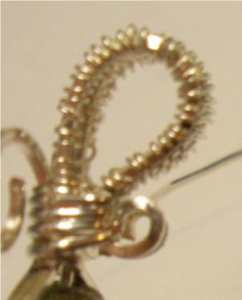
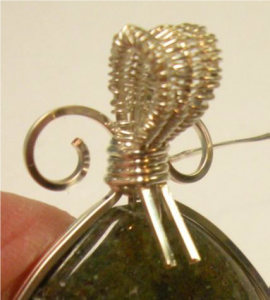
Softer craft wire bail wires can sometimes pull out of the bail wrap, especially if the bail wrap is not tight enough. This problem can be solved with a decorative curl made on the cut bail wire ends.
Trim the two square wire tails to 1/4-3/8″ below the last bail wrap. Using the tips of round nose pliers, tightly curl the wire tails up over the bail shank wrap wires. Trim the tail of the headpin off even with the last bail shank wrap.
I hope you’ve enjoyed these two tips on making a pendant bail. Keep checking back for more great wire jewelry making information!
CLICK HERE to view more of Judy’s posts.
Happy Wrapping!
![]()
Click to Receive Daily Tips by Email






0 comments